| Developer | Tarsier Studios |
| Publisher | Bandai Namco |
| Platform(s) | PC, PS5, PS4, Xbox Series X | S, Xbox One, Switch, Stadia |
| Genre | Horror |
| Release Date | February 11th, 2021 |
LITTLE NIGHTMARES 2 CHAPTERS: Wilderness | School | Hospital | Pale City | Transmission
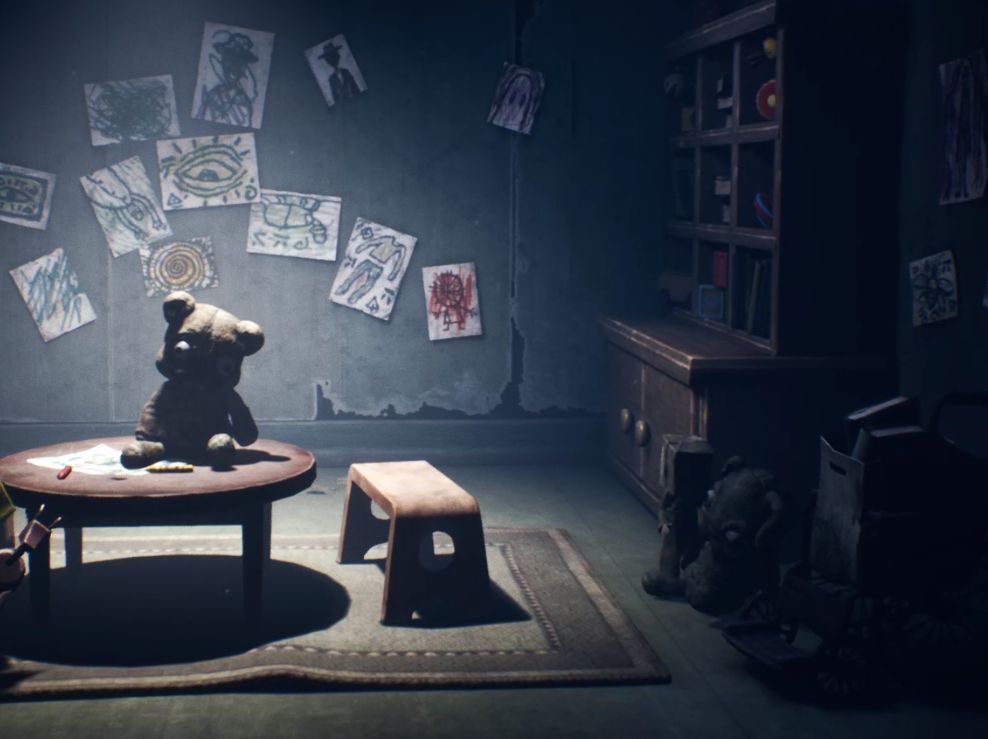
After a daring escape from the school of Chapter 2, Mono and Six find themselves in yet more danger in Little Nightmares 2, this time in a deranged hospital for Chapter 3.
As soon as you arrive through the window, keep pushing right until you arrive at a set of doors that you need Six’s help to open. Follow Six’s exact movements once the door is open to climb up the beds and ropes until you eventually reach the other side of the gigantic chasm. Take notice of the giant battery bulb located here, which seems to be powering everything in the vicinity. Carry this over the other side of the hallway and then place it into the conduit to open an elevator shaft, drop in but do not jump, otherwise the elevator will fall. Walk up to the grate on the right and open it with Six’s help, then crawl through before everything comes tumbling down.
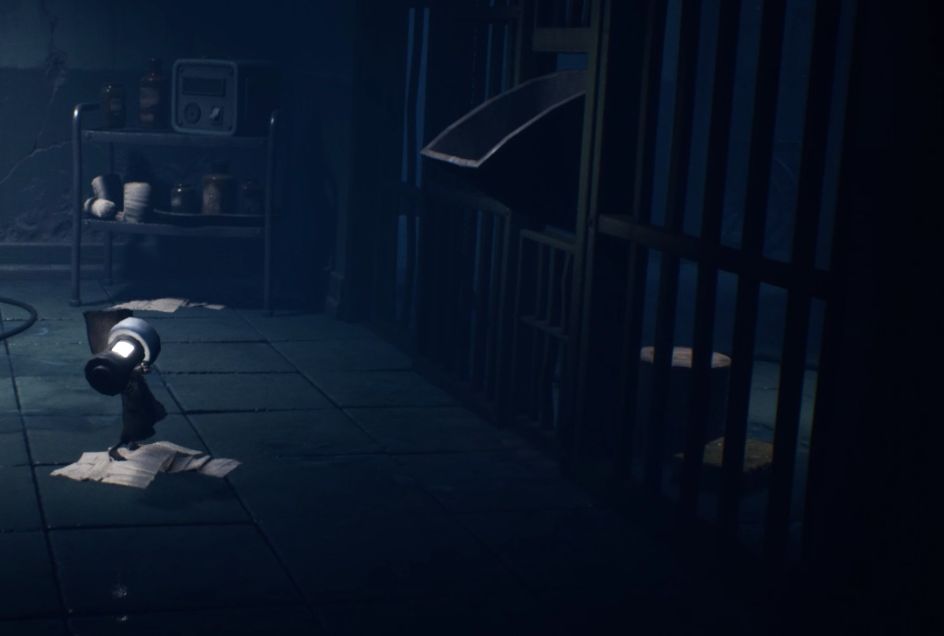
Make your way through the vents and then drop down into a dark room, picking up the flashlight on the floor. You can turn the flashlight on and off with circle/B and point it around with the right stick. Flashlight in hand, proceed to the right, through what seems to be prison bars.
If you walk directly upwards in the next room, you will come across a Glitching Remains near a trolley with a mannequin leg. Continue walking to the right and then walk up through the hallway, cutting to the right and into the room with a light source and a vending machine. Jump up on the vending machine’s lever to make a soda can come out — do this more than five times to unlock the ‘Hunger’ achievement. Take one of these cans and then throw them at a button on the right to open the doors, walk through and then Mono will again have to deal with the strange TV transmission. Walk up to it and move the left stick in the direction that you get the most feedback from. Mono will eventually be dragged out of the sequence by Six.
You will come to in a foyer surrounded by what looks like amputee patients. Sticking on the same floor, go all the way to the right until you arrive at what looks like a giant x-ray machine. If you pull the lever, Six will go behind it, showing her skeleton. For the ‘X Best Friends‘ achievement, quickly run behind the x-ray and then hold Six’s hand while it’s still active. To advance, continue right and then pick up the small bunny with half an ear; if you scan this with the x-ray, you will see that it holds a key.
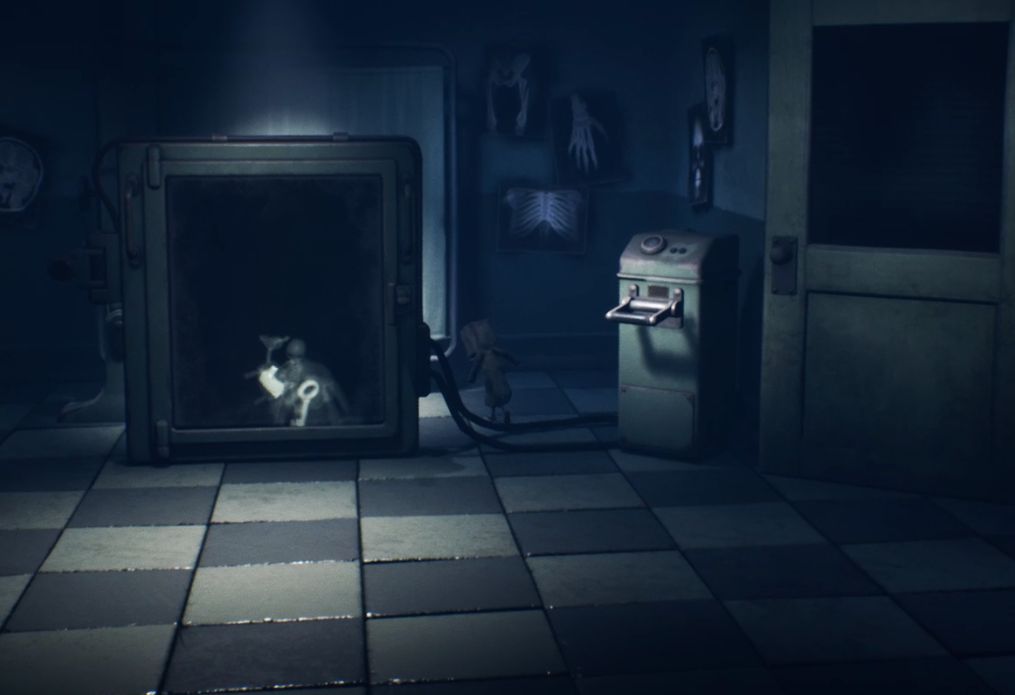
Carry the bunny with you to the left from where you came and then walk into the elevator with Six to go down to the morgue. Walk to the right and throw the bunny into the incinerator, pull the lever, and then claim the key from inside the incinerator.
Travel back to the foyer and then up the stairs. You will notice two conduits for battery bulbs. Use the key on the door on the right to unlock it. Walk through the room filled with mannequin pieces and then travel downwards, accepting Six’s leg up to get through the broken door window. Once in, keep going right until you reach a box of mannequin limbs, drag them out of the way and then go through the gap, climbing over the bunk bed once you’ve reached it. Prepare for a new encounter.
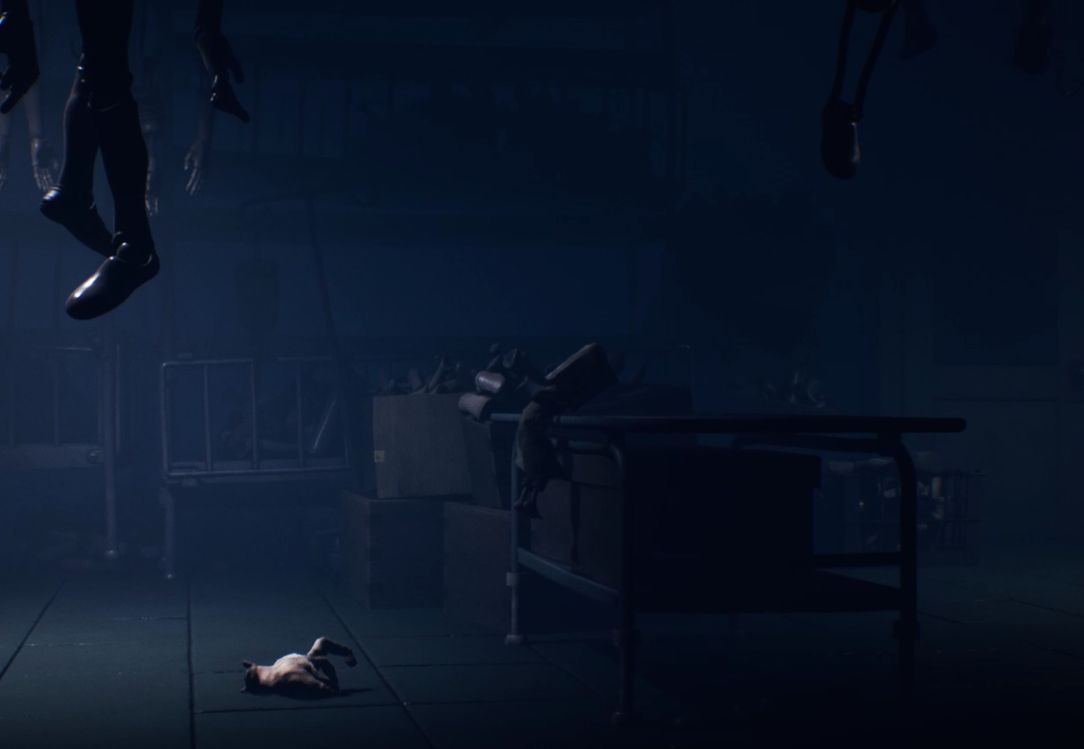
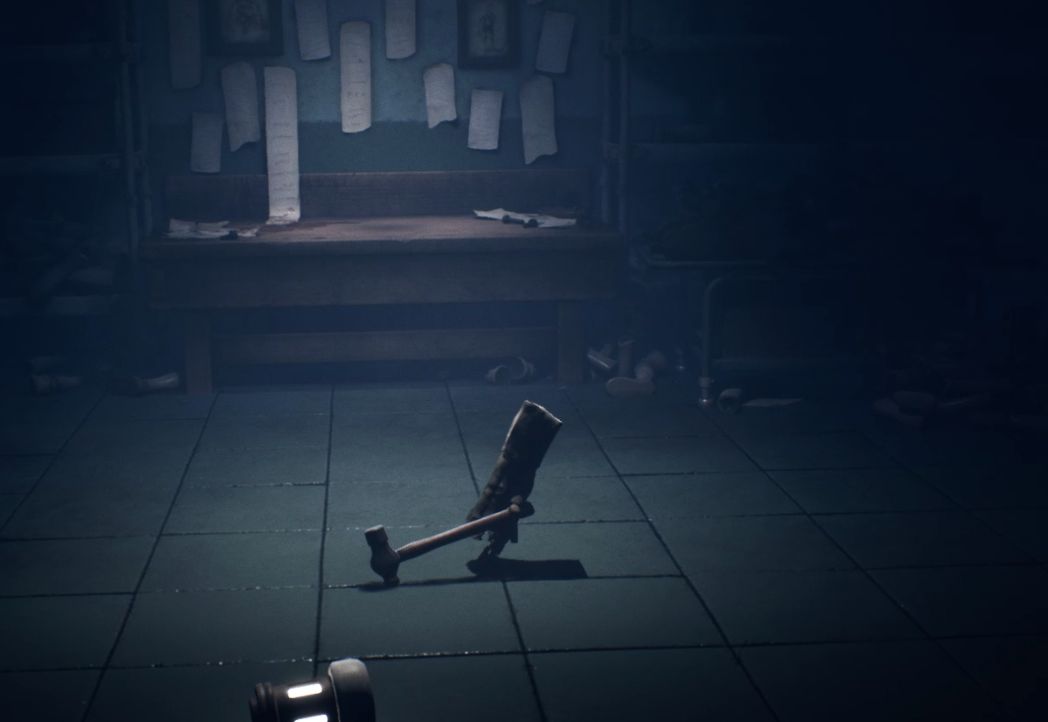
To escape the disembodied hand, simply run when they start limbering up to jump at you, then run and jump up onto the table on the right, drop down, and sprint up onto the climbable shelf and through the vent — don’t delay as the hand will catch you. Drop down into a hallway with body bags and then go into a new room on the left, the sounds of the hands banging above you. The hand will eventually drop down, so make good use of the tables to avoid its grasp and then eventually clamber atop a workshop table with a battery bulb. Chuck this down and then find the hammer in the middle of a light source and attack the hand with it, which is luckily rather easy to dispose of. Each time you hit it, it will scarper away until the third time, at which point it will be “killed”. Keep hitting it after it’s been taken care of to unlock the ‘…And Stay Dead!‘ achievement.
Battery bulb in hand, move to the left and then move another box of mannequin parts aside, smash the door with the hammer and then travel left to be reunited with Six. Return to the foyer and then move to the left side, inserting the battery bulb into the mechanism.
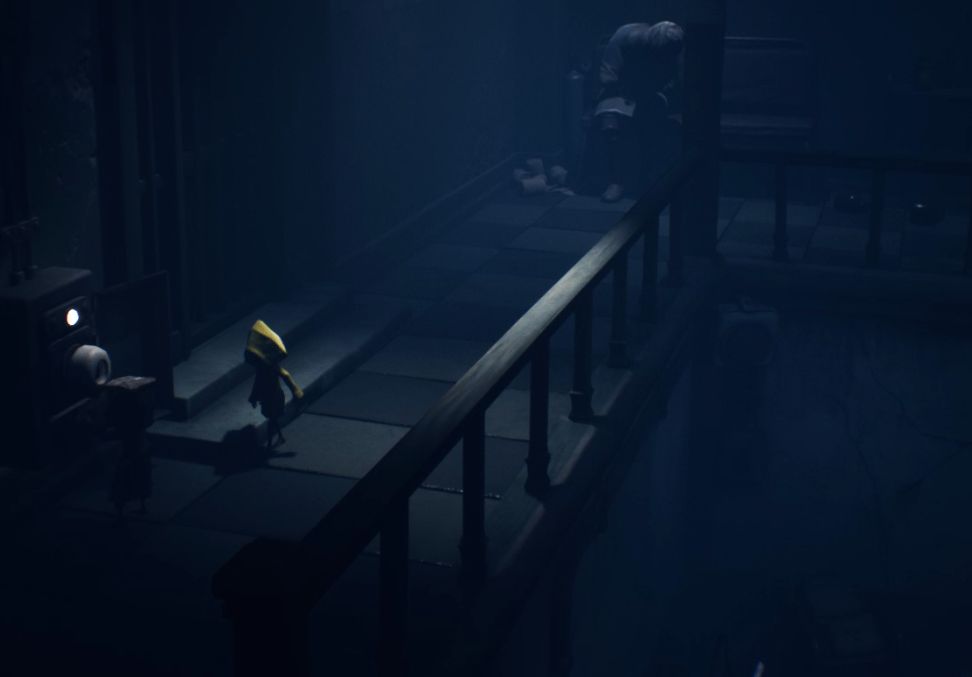
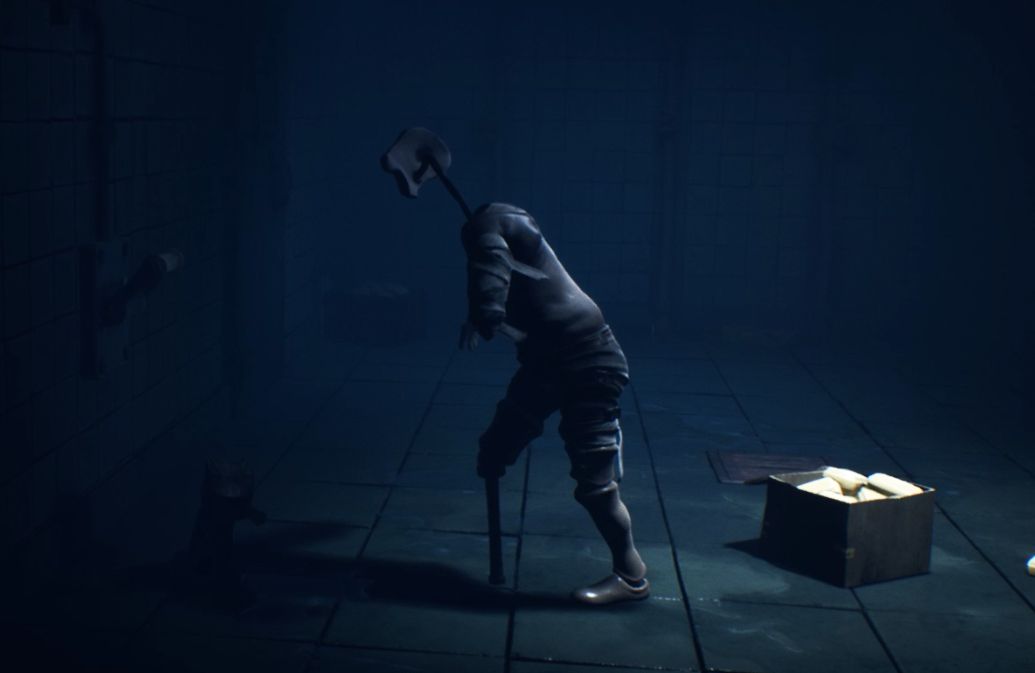
Move left through the wing until you arrive at prison bars. Carry on upwards until Six gives you a leg up through the bars. Drop down and then creep on over to the lever — it’s hard not to notice the “person” stood there. Jump on the lever and hold it until the fuse starts faltering, then jump off and get your flashlight at the ready. The mannequin, known as a Patient, will move when in darkness, so the trick is to move your flashlight away from them so they move close and out of the way of the door, turning the flashlight back on them to freeze them so they don’t kill you. Once you squeeze past them, they will be stuck in the room you were just in.
Continue through the dark corridors until you arrive at a broken door on the left side. Move through and then beware of the mannequins. The trick is to keep switching the focus of the flashlight from one mannequin to the next and then move past them, which can be a little tricky — try crouching so you can more accurately shine the flashlight. Do this in two different rooms until you are able to jump through a broken door window.
Walk to the left and then down through a corridor, where arms will stop thrusting out of doors to grab you — use a light to carve a path. A mannequin will burst through a door, so keep your light shined on them then crouch under a bedframe, beaming the light on the next mannequin until you circle behind them. Keep this method up until you arrive at filing cabinets to climb up and escape through vents.
You will drop down into showers with soap bars all over the floor. Pull the lever. If you go to the back left of the room and then pull a box away, you can crouch through another vent and find more Glitching Remains. Head back then pick up a bar of soap and chuck it at a button on the right to open a gate. Notice the Patient in the wheelchair that is too heavy to move? Go back and pull the lever, which will cause the mannequin to get out of its chair. Shine your flashlight on it while moving backwards until you get back to the lever to turn on the light.
Push the wheelchair to the door and then climb through the flap. There are loads of mannequins in this room, so the best method we’ve found is to simply spin in circles until you can climb underneath a barricade and to safety.
Now in an electric chair room, climb the small stool and then jump onto the lever. Hold it until the bulb battery is ejected. Pick up the bulb battery, stand on the papers on the floor on the right and then throw the bulb battery through the chute. Six will then place this in to a conduit, opening the gate. Travel through and then unplug the battery, taking it back to the foyer and the conduit you need to insert it into — Six will carry the other for you. With both batteries plugged in, simply pull the lever and then walk into the elevator and descend.
Walk down the dark corridor — the music is probably giving away that something not fun is afoot. Go through the door on the right and into a morgue, where you will encounter another hand as Six attempts to keep one at bay. Repeat the same process as before with the lead pipe until the other escapes; Six will then try to pry the boards off the door to the right. This can be a little tricky, but keep moving around both of the hands, focusing on getting rid of the one you’ve already injured. If a hand misses its jump, it will be momentarily dazed. Once both have been taken care of, help Six with the door and then walk through into the next room.
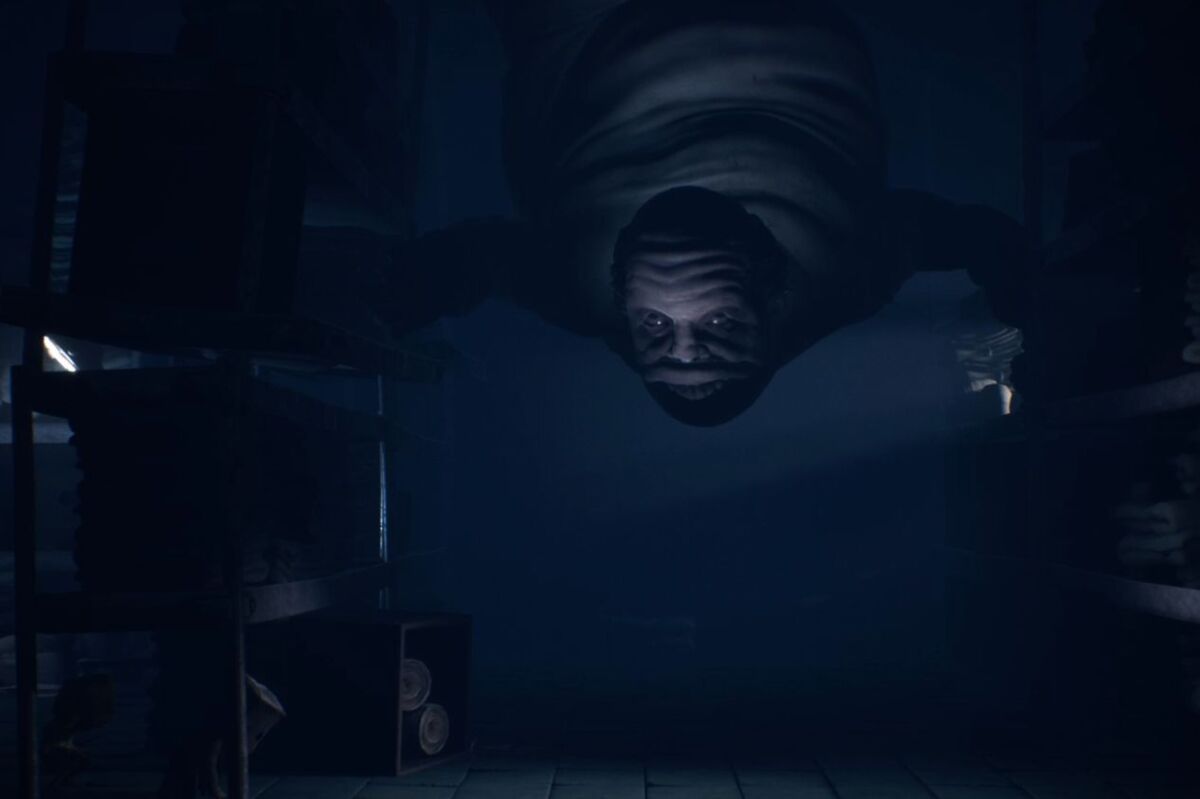
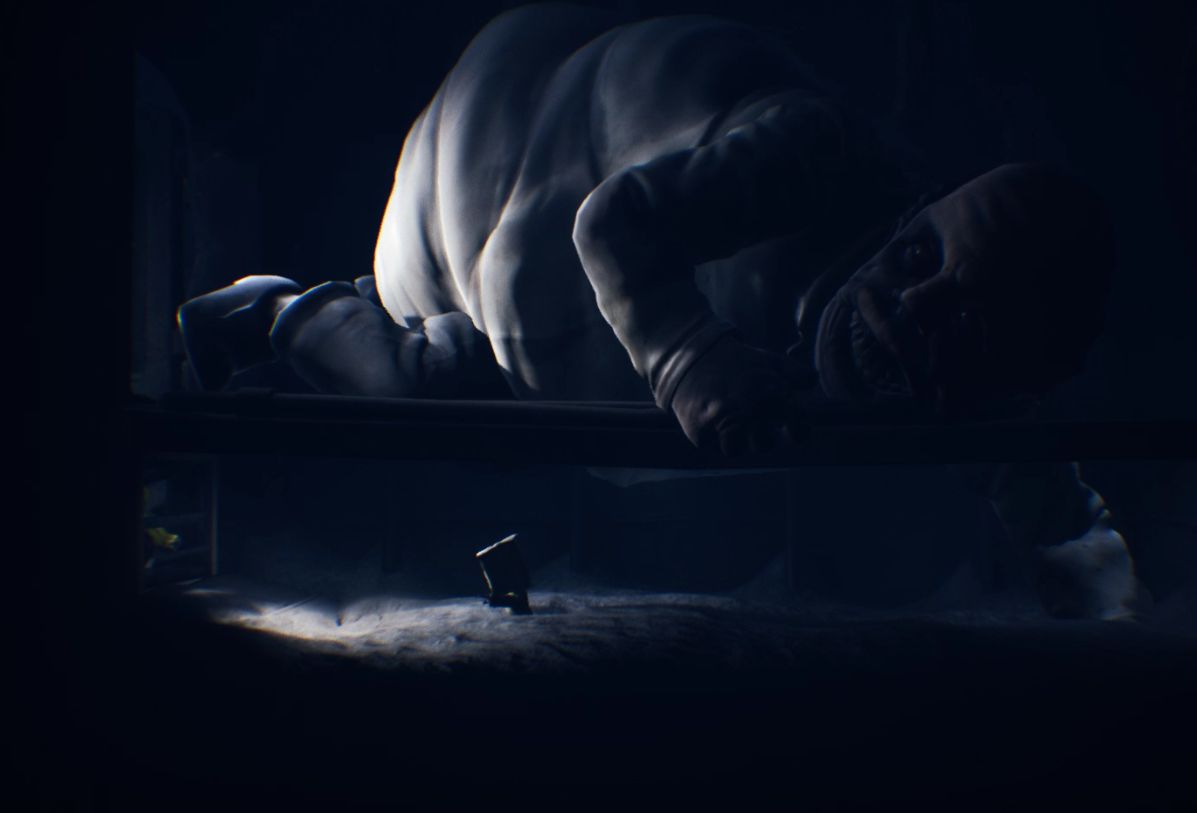
You will encounter the gigantic ceiling-crawling Doctor who is shaking some shelving. He is quite the tricky adversary as he will pick up the beds you are hiding under. Taking care to creep past him, you eventually arrive in a room with a locked gate. Sneak under the beds one by one until you find an object that you can throw at the back of the room. Carry this with you to the locked gate and then throw it at the button to open it, but do not go through. Instead, hide under the nearest bedframe and wait for the Doctor to move into the next room before proceeding. Climb the filing cabinet on the right of the room and then move onto the next section.
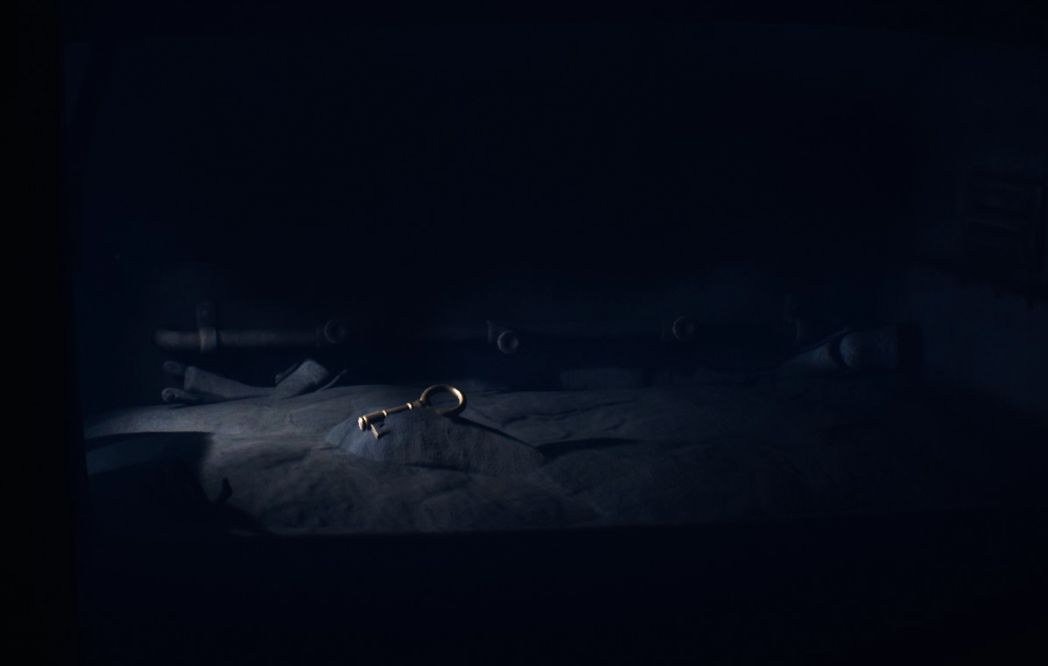
After creeping through some vents, you will end up in another morgue. Walk over to one of the drawers on the left and climb inside, Six will then push you into an adjacent room. Move over to the left side of the room and pull out the bottom drawer, then jump to the middle drawer to provide yourself a platform. Then move to the north side of the room, pull a drawer out and jump over drawers until you land on a table. Jump up to that platform you created earlier and then claim the key. Drop down, go back into the drawer and then unlock the door in the starting room.
Move up the filing cabinet, dash across the tops of the shelves and then crawl into the vents, climbing the ladder to another level. You will again encounter the Doctor; just move to the left underneath the tables when his back is turned until Six can give you a leg up. Clamber on through and notice the Patient in bed. Climb the ladder on the north wall, then fall on the lever on the left wall to affect the Patient and cause the Doctor to come and see what’s going on. As soon as you hear them grunt, hide under the ladder. Once they’re inspecting their patient, run back into the room they were just in and then climb the drawers on the north side of the wall until you can claim the bulb battery. Bring this with you as you go to the right and insert it into a conduit to open the gate.

A chase sequence will occur as the Doctor comes after you, but just keep running and don’t stop. Lead the Doctor into the incinerator, pull the hatch off at the bottom and then jump on the lever to get rid of him for good.
Walk over to the lever on the north wall, get a leg up from Six and then pull it to travel down in an elevator and finish the Hospital chapter of Little Nightmares 2.
NEXT CHAPTER: Chapter 4 – ‘Pale City’ Walkthrough
Some of the coverage you find on Cultured Vultures contains affiliate links, which provide us with small commissions based on purchases made from visiting our site.