| Developer | Tarsier Studios |
| Publisher | Bandai Namco |
| Platform(s) | PC, PS5, PS4, Xbox Series X | S, Xbox One, Switch, Stadia |
| Genre | Horror |
| Release Date | February 11th, 2021 |
LITTLE NIGHTMARES 2 CHAPTERS: Wilderness | School | Hospital | Pale City | Transmission
School is the second chapter of Little Nightmares 2 following Wilderness and takes place, as you might have guessed, in a school where the students are a little wilder than normal.
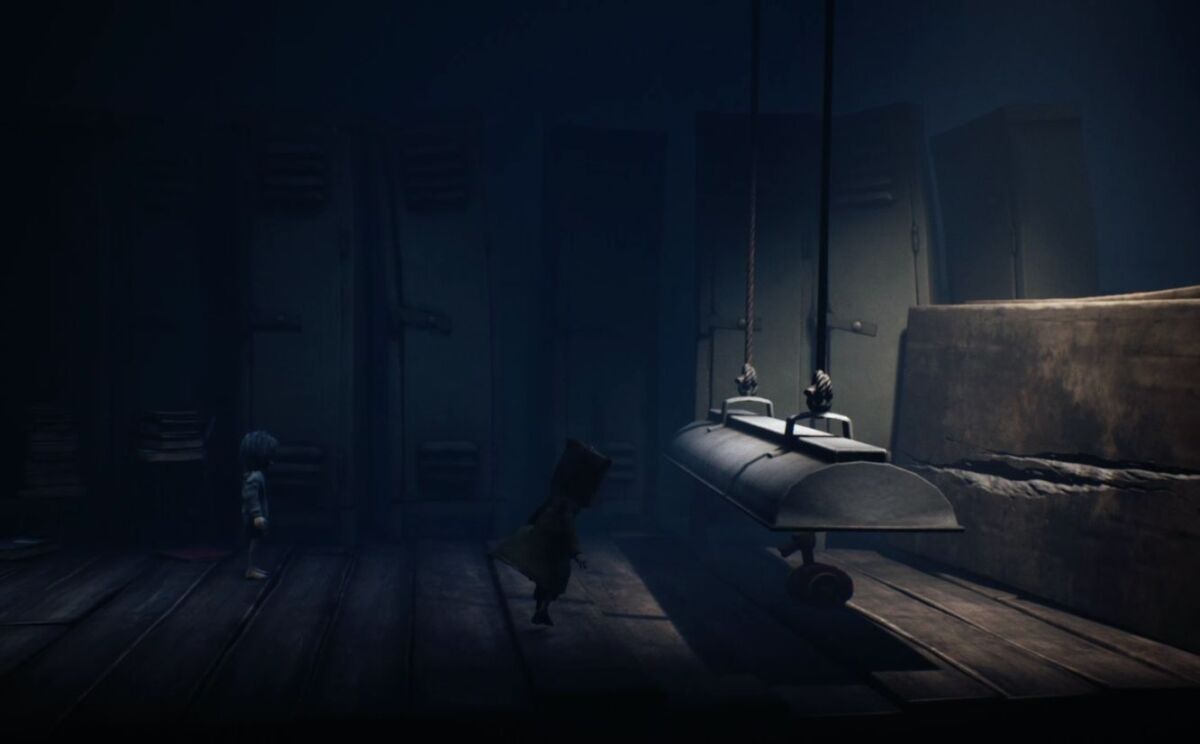
From the off, you’ll walk into a desolate building with what looks like a suit dangling from the ceiling. Continue right until you are briefly in the street and then carry on to the right before you reach an open window you can jump through and into a deserted bar.
Carry on past the bar with all of its suits and empty stools, keep going right until Six beckons you to take a leg up. Interact with her and then jump through the open window. You will then see a rope connected to TVs and not much else. Jump on the broken TV with no screen and then jump to the left and grab the rope. Swing back and forth until you start kicking the TV to the left. Once it’s dropped off the side, you will then be flung up to the next floor. Swing to the left and then jump onto the ledge.

Walk towards the left through the open doorway and then push the TV off the side, which will then fling Six onto the floor above you. Go back through the doorway and then hang a right all the way up the stairs, where Six will be waiting for you across a gap. Jump the gap and then grab her hand to move on.
You can optionally go back to the left where Six started to find a Glitching Remains. Otherwise, jump across the small gap on the right and then continue up the stairs. Walk into the room with another dangling suit and then squeeze through the broken door that’s emitting the strange noise inside.
Once inside, a TV will turn on and start affecting Mono. Walk straight up to the TV to start changing the transmission, holding the left stick in the direction when the screen turns whiter. After two transmissions are altered, you will then be transported to a strange corridor. Press forward down the corridor until you are transported back out and collapse next to Six.
Once you come around, move right then jump through the window and follow the alley until you arrive at a large dumpster. Pull this backwards with Six’s help and then climb through the hole in the fence. You’ve now arrived at your destination for this chapter: the school. Or, rather, the playground.
There are loads of neat little things to interact with in the playground, so be sure to take a second to jump on a swing. There’s even a Glitching Remains in the top right corner by the dumpster. When you’re done messing around, go to the rope made out of bedding by the main entrance and climb up it, eventually climbing through a window.
Walk past the fiery bin and then you should see a lever, which gives you a hint that there’s something behind a painting. Go back and then down the corridor and through the open door, where you should see a ball underneath a ceiling light. Six will also pick up an object to give you a hint. You can pick this ball up and then take it back to the painting to throw it at and knock the painting off, though pretty much any heavy object will work.
Climb through the hole and then you should find yourself in an enclosed space with a chair. Walk until you hear a floorboard creaking, then start jumping up and down with Six until you fall underneath. Carry on walking to the right, down the small ledges, and then pull off a grate with Six and climb through it until you arrive at the classrooms and a new terror: the Teacher.
Keep pushing to the right until you walk through a new doorway, stick close to the screen and either walk over a raised floorboard to activate it and dodge it, or simply jump over it instead. Proceed to the right, crouching as you go until you reach the next corridor. This is pretty much an obstacle course, so beware of any raised floorboards as you move; sticking closest to the screen is the safest. You will eventually arrive at an intersection, move right for a small optional moment, otherwise continue down the corridor while avoiding the traps stuck to the ceiling. Near the end, a locker should collapse, jump onto this and then to the right and through the open door.
The next room features a duck toy for quite clearly a trap, but you actually want to activate this one on purpose. Do so while crouching to cause a light fixture to swing over you, creating a platform for you to use to vault the table. Push on and then past the suspicious locker to start a sequence in which Six is kidnapped by porcelain children, also known as Bullies. Clamber out of the locker and then grab and hold the hammer, dragging it along and then smashing the head of one of the porcelain creeps. Continue through that open door and hug the screen while moving right to activate a trap to take out another porcelain child. Clamber up on the chair and then through the broken glass in the door.
Walk right and make a note of the door with a keylock. Press on until you hear scribbling and then the looming form of the long-necked Teacher.
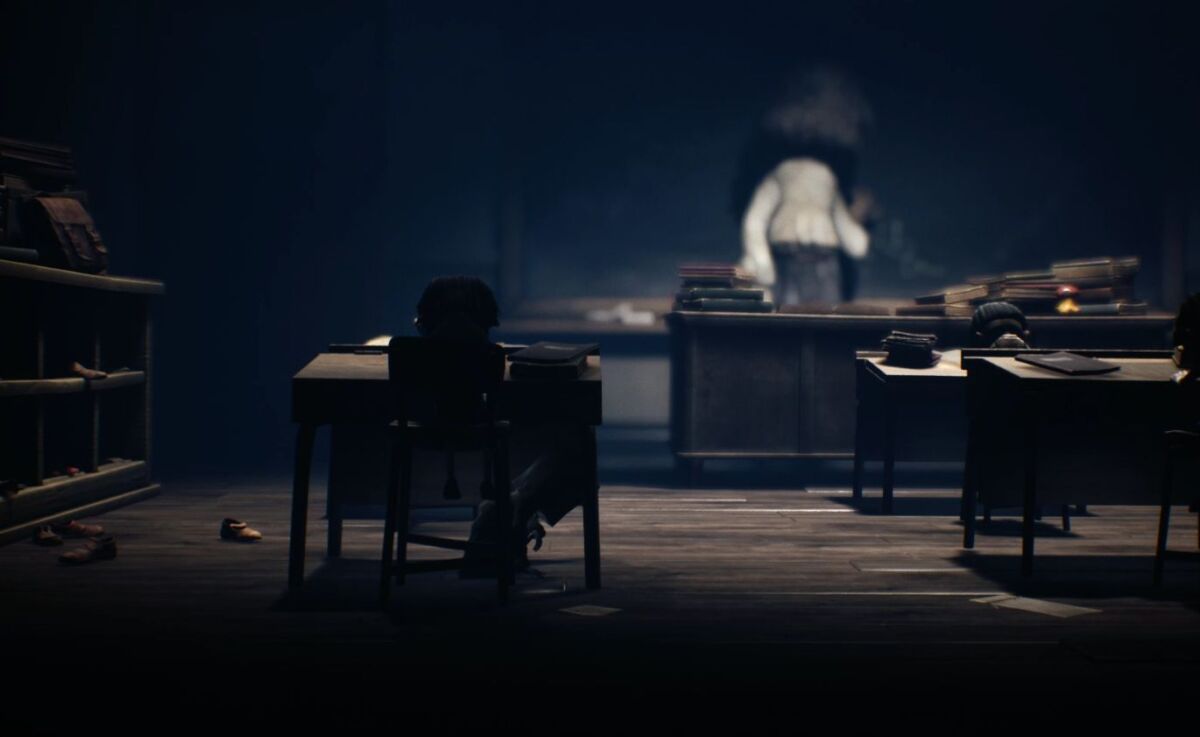
Crouch walk into the classroom once the Teacher has her back turned to you, going from underneath a desk to the next — she’ll make the children attack you if she spots you. Proceed until you walk through an ajar door. Climb up the bookcase with a key atop it, but then immediately jump off and to the side once it starts falling. The crash will alert the teacher, so quickly grab the key and then hide in a little square box until she leaves, closing the door behind her. Luckily, a small flap will then open for you to walk through and out of a cupboard, back into the classroom. Repeat the same process for when you entered and then go back to the keylock from before, insert the key, and then jump in the elevator. Phew.
Once on the next floor, walk right and into the room where the porcelain child is doodling with chalk. To put them out of their misery, walk out of their reach and then wait for them to get pulled back by their tether. When they’re dazed, run and pick up the lead pipe by the chalkboard and then swing it at them. Use the pipe to then break down a door to the right that leads into a closet. Drop the pipe and climb up the dresser and then through the small gap.
This part is a little tricky, so beware. You will fall on top of a rickety structure, causing glass to fall and shatter below, alerting the Teacher who will then extend her neck to check out what’s going on. Quickly walk around the platforms, pick up the glass jar (do not knock it over), and then hide in the little enclave with the glass jar in your hand. Once she’s gone, run and jump to the bedding rope and climb all the way up, moving around the platforms until you can push a plank to create a bridge to the other side. Run over this quickly and then through the hole and back into the vents.
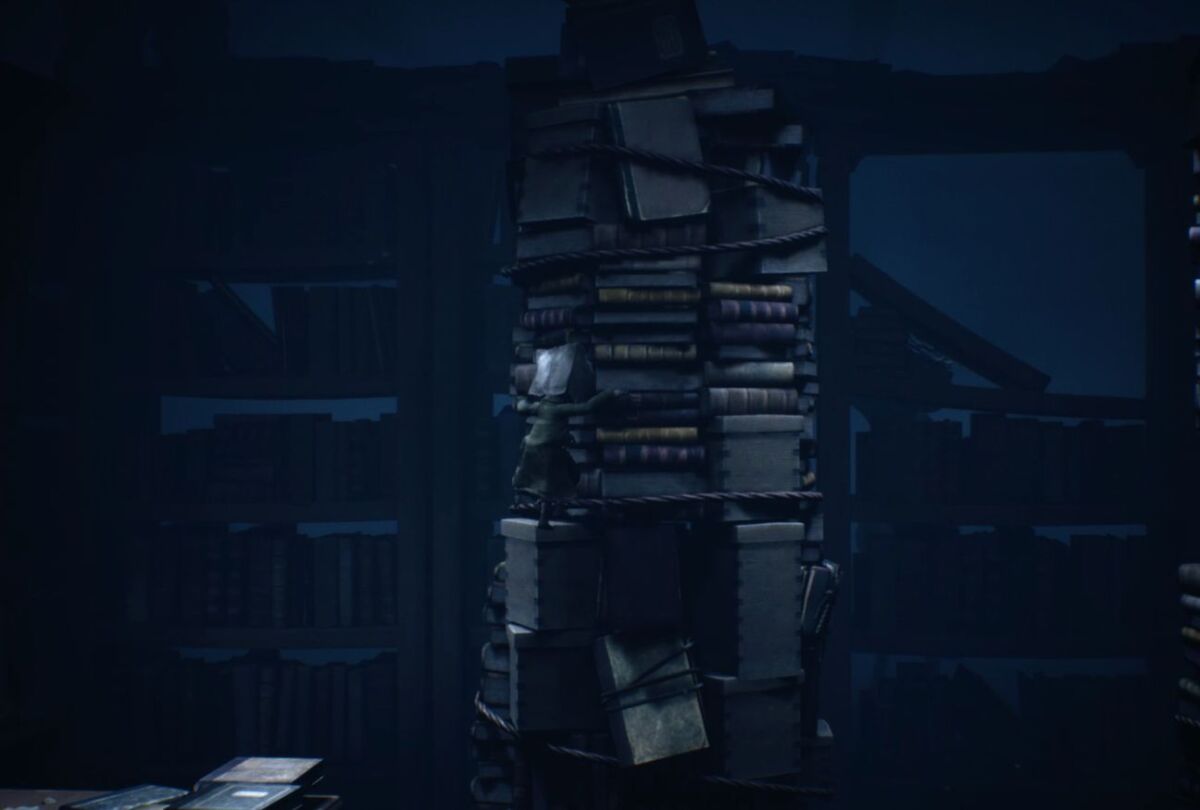
Make your way through the vents until you reach the library, where you will encounter the Teacher again. Drop down and then grab the bookshelf ladder, pushing it all the way to the right. Climb the ladder, and then drop onto a new platform. The Teacher will be alerted, so very quickly jump over the gap and then up onto a ledge, sprint to the right and then slide (crouch while running) through an open gap. You will then have two large stacks of books to jump onto. Leap to the first one and then move around it until you can leap to the second one, which will again alert the teacher. Bide your time and keep moving around the book stack until she gives up, then make the jump over the railing and hide behind some books. Wait for her to leave the library before going to the opposite end of the room and dragging a box of files (you should see scratch marks on the floor) up to the door to use to reach the door handle.
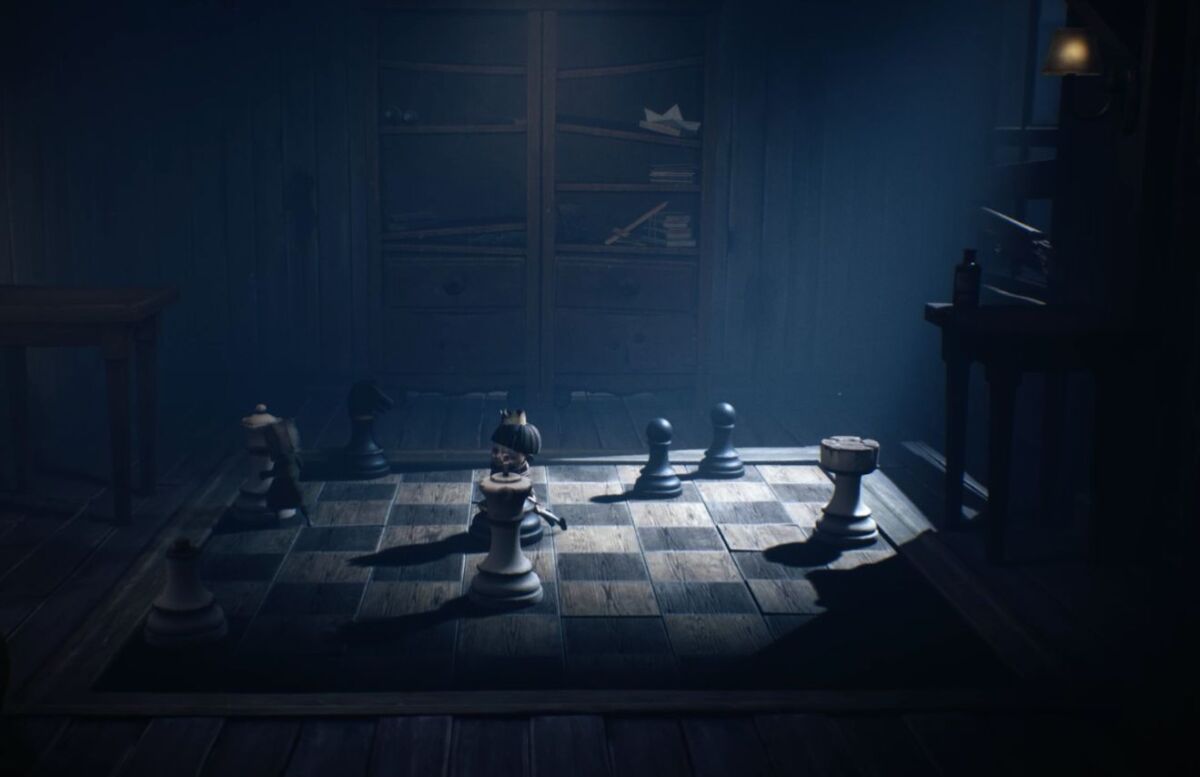
Continue past the fiery bin until you notice a locked door which needs a key. Make your way up the staircase; you can find a Glitching Remains on the left side. Continue right and pick up the top of a white rook chess piece, put it on top of the bottom half next to it, climb on top and then leap onto the door handle to enter the next room. IMPORTANT: take the chess piece you’ve just used with you, go back and get it.
This is the first somewhat tricky puzzle in Little Nightmares 2, but even those who don’t know chess will be able to figure out with this guide. In the room, there is a large chessboard with what looks like a child tied to one of the pieces, making him a black king. If you go to the right, you should see a large eye drawing, jump and grab on this to reveal the puzzle solution.
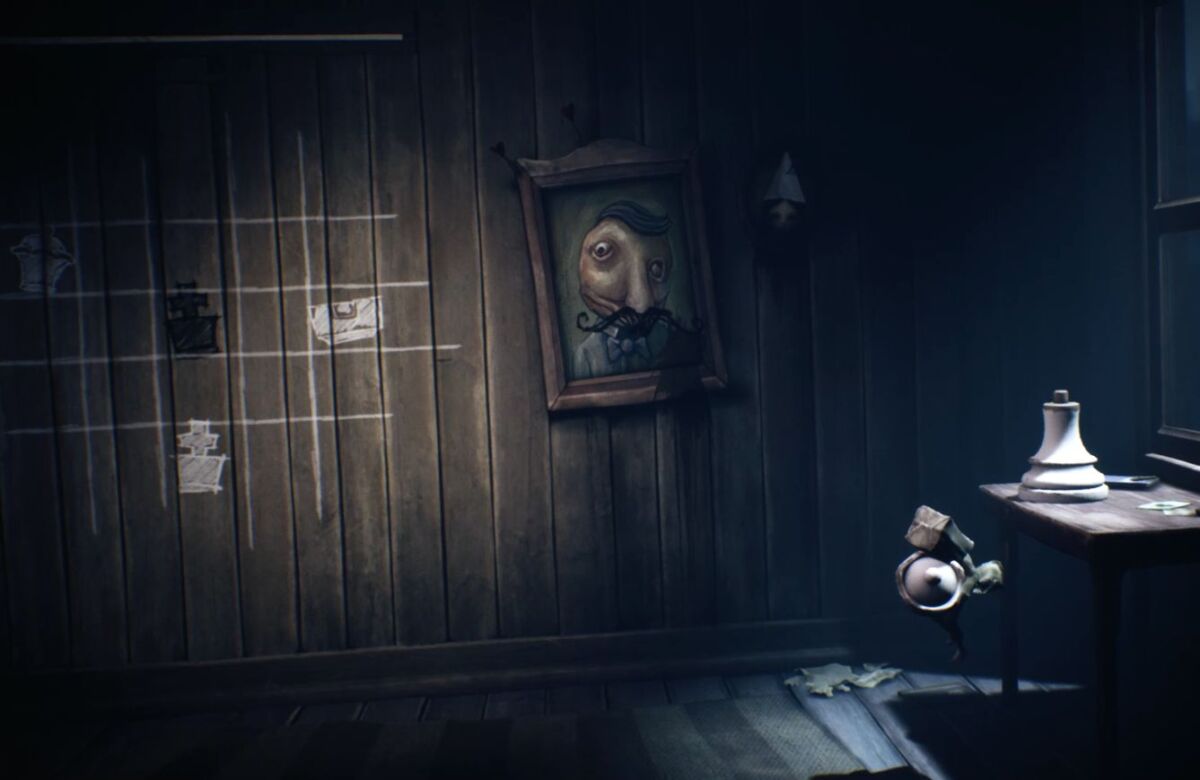
Keep going right and then clamber up on the table and take the top of the white queen back to the chessboard; just leave it on the ground for now. Take the top of the rook and then place it on top of the chess piece closest to the table on the left, using it as a platform to climb atop and fetch the king piece. Bring that down and place it on the white chess piece at the bottom of the board. Finally, swap the rook for the queen piece you found earlier and then take the rook and place it on the white chess piece closest to the table on the right. A light should then activate, so jump atop the rook, then the table on the right, and then leap to grab the light, opening a door where the key you need resides.
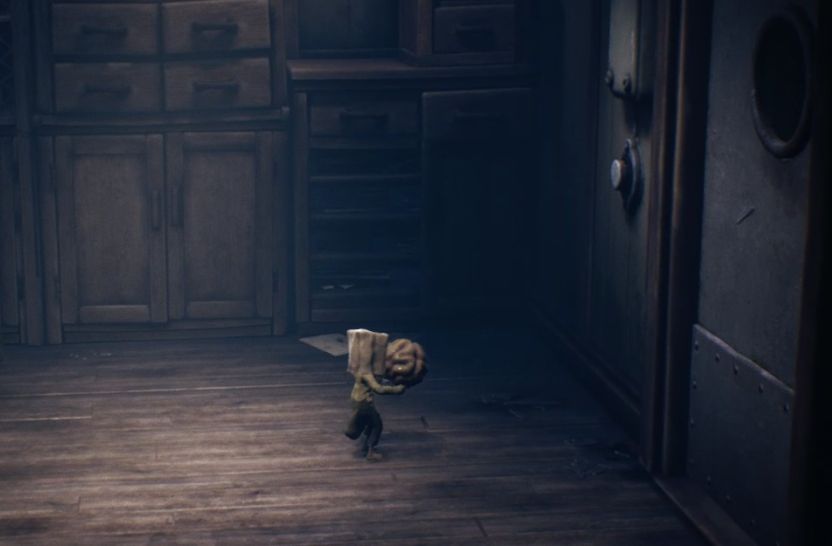
Key in hand, go back to the locked door and unlock it. Go down the stairs and then drag the tray crate and drag it over to the hole in the wall, using it as a ladder. Clamber through and then drop into the kitchen. Continue right, up and over a counter until you see more porcelain kids. Quickly grasp the metal ladle and then swing at and destroy each porcelain kid as they pause to leap on you — it may take you a death or two to get the rhythm. When four have been destroyed, drop the ladle and then pick up one of the porcelain heads, which Mono will equip as a mask. Make your way past all of the mayhem until you eventually arrive in what seems to be a utility cupboard.
Another small puzzle here, but nothing too intense. Climb up the science boxes in the upper right part of the room and make your way across platforms and up more cupboards until you find a brain in a jar. Chuck that down to the bottom of the room and then leap onto the hook to safely return. Pick up the brain and chuck it at the button to open the door.
On the other side of the door, you will come across an old foe: the Teacher. Move through the hole in the wall and under the desk. Move from shadow to shadow in this room until she walks into the next room. With her standing at another desk, climb up the unit very slowly and then hide behind the jars. Move to the right and then the teacher will turn her back to you; move past her and to another jar on the other side, crouching all the time. She will then go over to the sink, so move downwards and then jump over the small gap. Wait for a second behind the jars there and then move to the right when she walks to the board, using her scribbling as sound cover for you to then sprint and jump over the gap and through the window. Drop down and then climb the bookcase and into the vents.
Drop down from the vents and into the most annoying/fiddliest part of Little Nightmares 2 so far, purely because the hitboxes and depth perception with the hammer aren’t great. Grab the hammer and then hit the ground, causing a porcelain kid to give chase, which will then activate a trap — move upwards to avoid that. The trap should flatten the kid, but another will soon follow, so swing the hammer just as they’re gearing up to attack you. Move on with the hammer and then down a hallway, where two more kids will pounce — follow the same method as before. Eventually, a kid will jump out of a locker at you, but just move in close and then swing the hammer, which will cause a second kid (who is hiding very poorly) to attack, so just repeat what you did before. Watch out for the trap as you move to the right and then enter the bathroom, where you will find Six dangling from the ceiling. Dispatch of the two kids and then hit the wooden beam with your hammer to be reunited with Six.
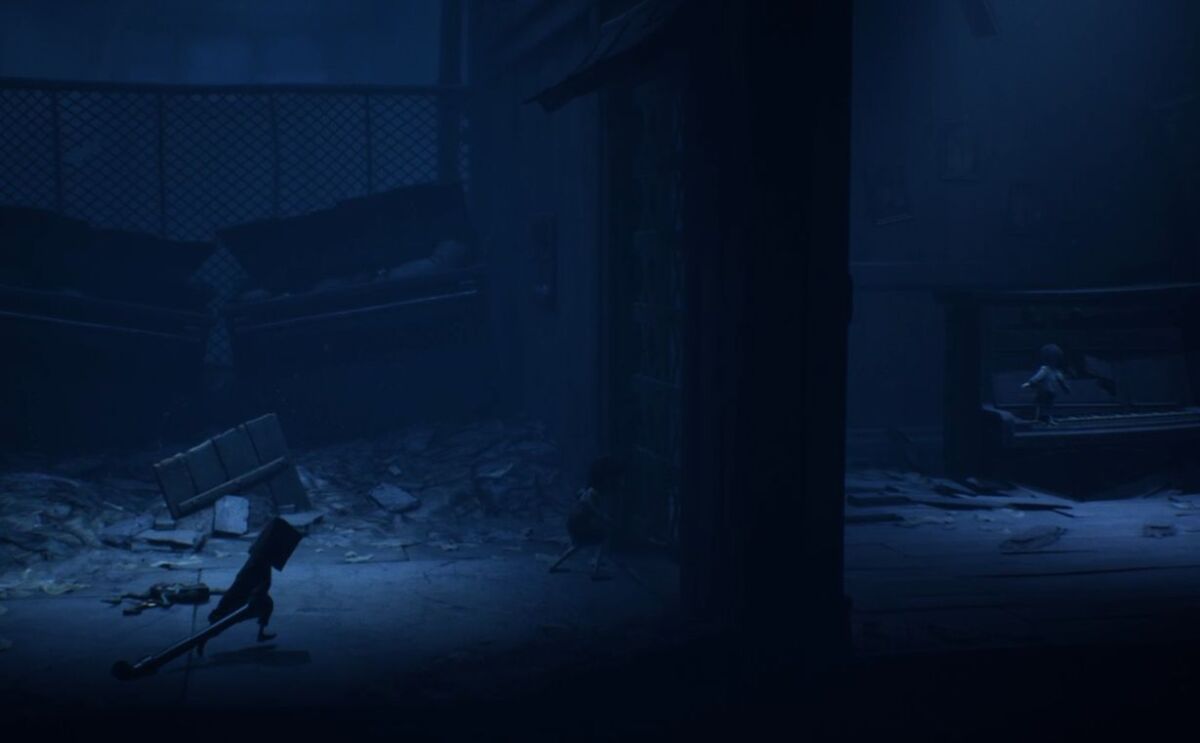
Proceed to the right, climb out the window, and then move across the plank bridge. Once inside again, move over to the crank wheel behind the piano and turn it until the piano falls. Jump up and down on the piano enough so that it breaks through the floor, taking you with it. Notice the locked door on the right. Move to the left and then to the hole in the wall, where Six will give you a leg up. Climb through and then grab the lead pipe while Six distracts the porcelain kid, giving you a chance to eliminate them. Pick up the key from the frog the kid was playing with, lift the shutters up and then unlock and go through the door.
Grab the mallet while crouching in the new room, then take out the kid with it. Pull out the drawer in the dresser and then vault over it. Travel up the stairs and try to go through the door, at which point Six will gesture you for a leg up. Get to the top of the dresser and then push the box off the top, allowing Six to climb up and open the hatch. Crawl through the hatch for one final meeting with the Teacher.
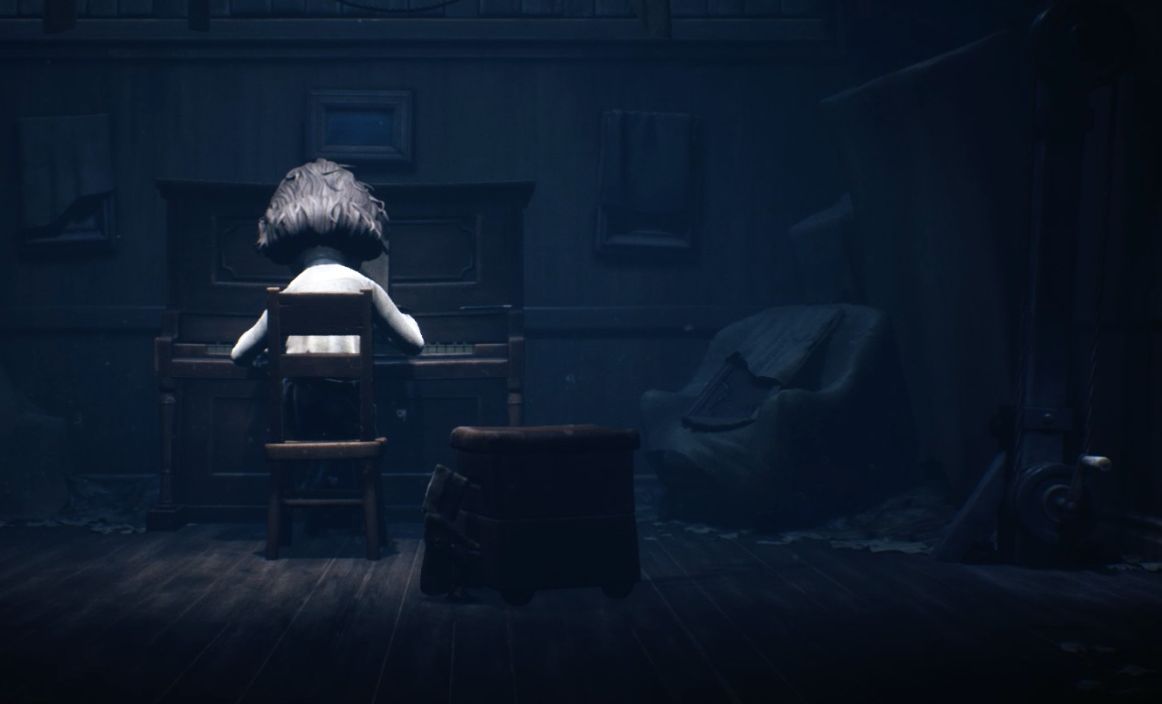
This is the least hassle out of all the encounters so far. Making sure only to move while she is playing the piano, drop down to the floor and then move over to the crank, turning it to lower a bridge. When that’s done, push gym equipment right next to the crank back to where you jumped down from, then make your way up to and over the bridge before climbing through a hatch. Keep moving right in the vents and you will eventually escape the teacher and fall into a dumpster.
Clamber out then continue to the right until you reach a dumpster with an open lid. Push this dumpster backwards with Six’s help, making the dumpster close. Move the dumpster to be in the middle of the TV and the edge, then climb on the TV, onto the dumpster, and then over the edge.
Continue right, collecting the Glitching Remains by the paper boat if you so wish. Walk through a doorway until you find Six’s yellow raincoat, which she will wear from now on.

Move towards the door on the right and take a leg up from Six to move on. Carry on through the tailors, out the window, then accept Six’s leg up onto a dumpster with a TV on top. Go right along the roof, drop down, then push the panel off the fence to create a hole for Six to climb through. Follow her to the hatch then crawl through it and back into the vents. Clamber out the other side, and then through the open window to finish the School chapter of Little Nightmares 2.
NEXT CHAPTER: Chapter 3 – ‘Hospital’
Some of the coverage you find on Cultured Vultures contains affiliate links, which provide us with small commissions based on purchases made from visiting our site.