The time has come, guardians, to equip your best gear, gather your fireteam, and descend into the Hellmouth to slay a Hive God. Bungie has brought back a reprised raid from the Dark Below expansion that launched in 2014 and has updated the mechanics dramatically to fit into the Destiny 2 sandbox.
Whether you’re trying to beat the raid during contest mode to earn some exclusive rewards or want help beating each difficult encounter, Cultured Vultures has your back. There’s something new for both veterans and New Light players, as the whole Crota’s End experience has been reworked to offer a fresh challenge.
How to Enter The Hellmouth
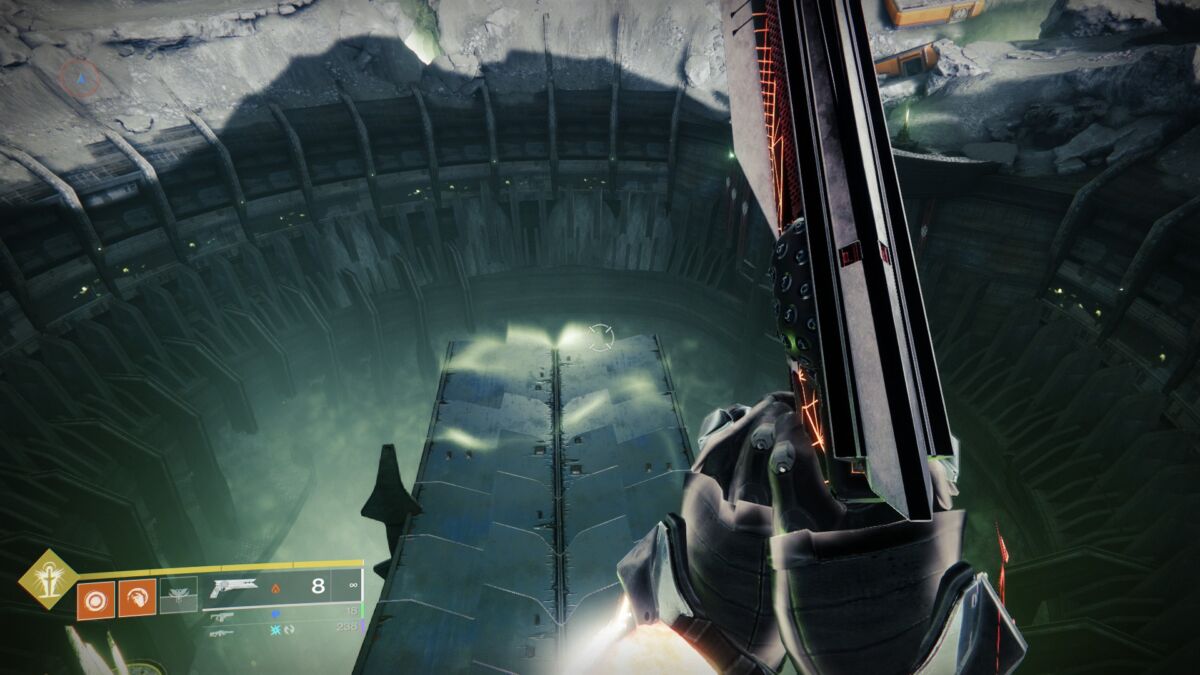
If you ever played the original in Destiny 1, then you’ll remember just standing on the plate in the centre to create the bridge, hassle-free. Well, even this simple step has changed and instead introduces the main raid mechanic right from the get-go.
As you spawn in there will be this glowing orb called Chalice of Light. Someone on your fireteam will need to pick up this buff and stand on the plate ahead to begin to build the bridge. Whoever has the Chalice of Light will see a bar slowly build up on their UI. When this bar is full, you’ll see a debuff appear called Engulfed in Light, which will have a countdown from 10. When this gets to 0, you die.
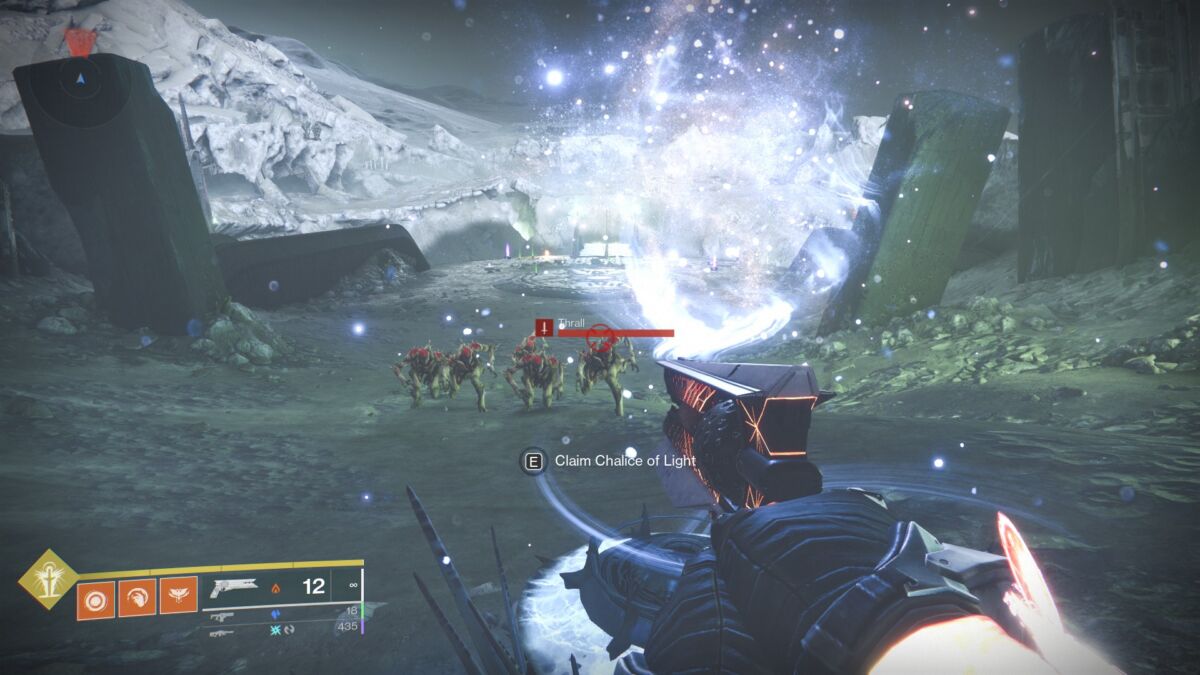
To avoid this, someone else on your team can take the buff from you at any time, and doing so will give that player a new buff called Enlightened. There will be a prompt on the plate to enlighten it, which will begin the construction of the bridge. Multiple players can do this one after the other to speed up the construction and then dive down into the pit for the first encounter.
How to Complete The Abyss (First Encounter)
Down in the Hellmouth will be another Chalice of Light. Someone must grab it and run towards the lantern in the distance. There are going to be infinitely spawning thralls and cursed thralls, as well as traps to watch out for, so be prepared.
Two new debuffs are introduced: the first is Weight of Darkness, which increases from x1 to x10. The higher the number, the slower you’ll move and the more mobility options you’ll lose, such as jumping and sprinting. The second is Engulfed in Darkness, which is a countdown timer starting at 1 minute. If the timer runs out, your team will wipe.
To prevent this, you’ll have to do the same thing with the Chalice of Light until someone gets the Enlightened buff, then interact with the lantern to light up that area. You’ll then be Drained of Light, and unable to pick up the Chalice again until someone deposits it into a preservation node (there is one for every 4-5 lanterns), which will reset the buffs for the next set of lanterns.
Staying close to the lantern will reduce the Weight of Darkness over time. The lantern will explode after a short duration, so only stay as long as necessary.
Rinse and repeat until you get to a plate, then do as you did in the introduction, and you’ll have successfully completed the first encounter.
How to Complete the Bridge (Second Encounter)
Just as before, someone will need to get the Enlightened buff from another player with the Chalice of Light and deposit it on the middle plate. This will begin the construction of the bridge needed to get to the other side. One player must always be standing on it to complete this; otherwise, you will lose progress.
During construction, there will be 2 Annihilation Totems, one on each side. They will glow crimson and eventually team-wipe you unless someone is standing in their aura. Divide 3 of your teammates, one on each totem and one in the middle, with the remaining swapping the chalice buffs to help build the bridge.
After doing these enough times, a Swordbearer will spawn and drop a sword when defeated. Only players with the enlightened buff can pick up this sword and cross the bridge. Players without the sword or Chalice of Light will be killed trying to get across.
Make sure you bring a teammate with the Chalice buff, as you’ll be faced with a Gatekeeper. This strong hive knight also wields a sword, so take him down together. Only the player with the sword can do damage, but the second player can freeze/suspend the Gatekeeper or heal the sword user.
The player with a Chalice will need to deposit the buff in the preservation node; otherwise, they will die. The sword user will have to deposit it near the centre to preserve it.
After repeating this step two more times and having defeated 3 Gatekeepers in total, there should be 3 players on each side. There will be two Annihilation Totems and a centre plate like before, so the three people who made it across have to perform the same actions as they did at the start (1 player on each totem, 1 in the centre) to finish building the bridge.
When 2 players remain on the starting side, make sure to cross the bridge together, as the sword carrier and Chalice holder can cross at the same time.
Once everyone’s on the other side, continue passing the buff around and killing enemies until Hive Ogres and Wizards spawn. Kill them, and then a small army of Swordbearers will come out. Enlightened players can pick up the sword deposited earlier and start going to town. The rest should provide as much support as possible to suspend, blind, and freeze the Swordbearers while healing the players dishing out the damage.
How to Pass Through the Thrallway
Yes, a literal hallway filled with mostly Hive thralls and barriers. Simply juggle the Chalice buff until someone becomes enlightened, which will allow that player to pass through the barrier. Above will be a Shrieker. Once defeated, the barrier will close, and the rest of the team can pass through. Rinse and repeat until you get to the end, then deposit the chalice to continue to the next encounter.
How to Defeat Ir Yût, The Deathsinger
The Thrallway was a warm-up for the first boss, as the barriers will be present. Split your fireteam into teams of 3 (one on the left, the other on the right) and kill the Blistered Knights as quickly as possible. Once you’ve defeated enough enemies, the barrier in the centre is going to deactivate, and once again, you need to kill more enemies.
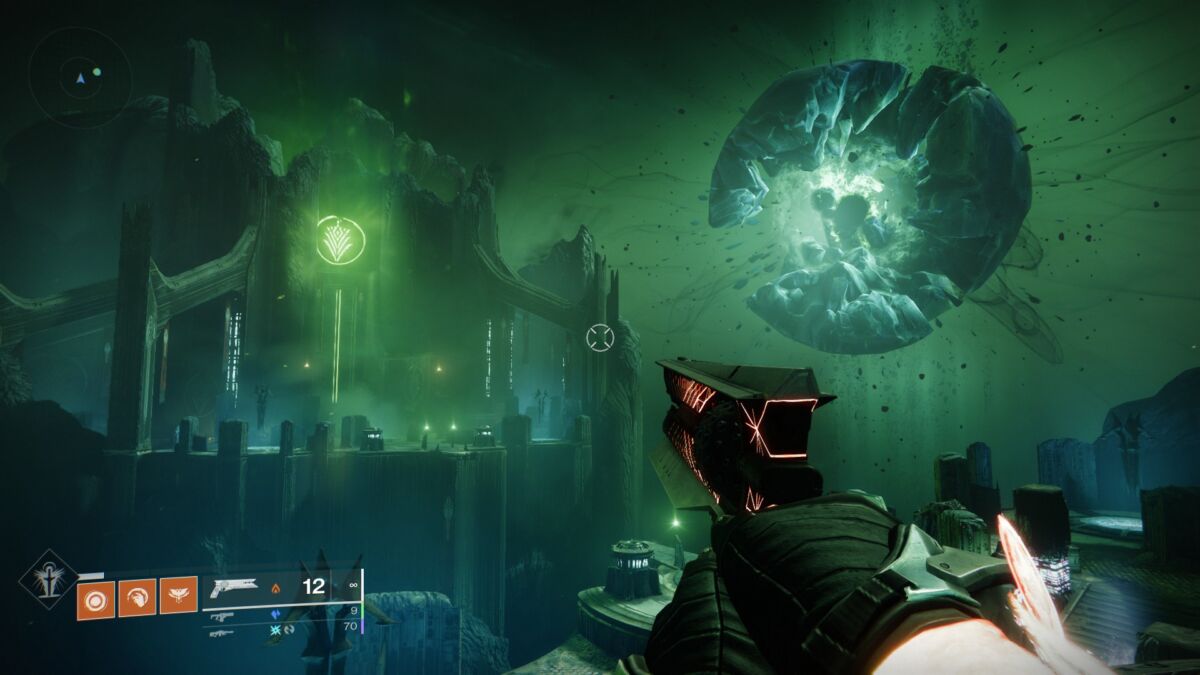
Eventually, the Shriekers will activate, and once those are defeated, you’ll be able to progress into the middle, where the Chalice is next to the green crystal.
Players will need to juggle the Chalice buff as usual and search for 3 Hive Wizards hidden in 7 different rooms, each with a barrier in place. Enlightened guardians can pass through.
When the first player kills the first Wizard, they will get a debuff called Dark Liturgy, which will wipe the team after 45 seconds. It’s recommended to spot all 3 Wizards first before going into the rooms so each teammate can kill them at the same time.
When all Hive Wizards are eliminated, the boss’s health will be vulnerable, and all players need to rush to Ir Yût, The Deathsinger, and begin the damage phase. Players with the enlightened buff can extend the damage phase by running up to the boss and activating Expunge to extend the duration.
Keep in mind that if you don’t dish out enough damage before the Dark Liturgy countdown hits 0, your team will wipe. Repeat these steps, but this time there are 4 Wizards to deal with instead of 3 and 5 Wizards for the last damage phase. Then silence the Deathsinger once and for all and prepare for the final encounter.
How to Defeat Crota, Son of Oryx
What the raids all about. Be ready, because this guy has been juiced up since his debut in Destiny 1. To start, players will need to kill Hive Wizards and Boomers in the towers to spawn Ogres.
Once the Ogres are down, a Swordbearer will appear. Any Enlightened player can pick up the sword dropped by the Swordbearer, just like in the bridge sequence. You can repeat this step to get additional swords that you’ll use to remove Crota’s shield.
Throughout this encounter, players will have a debuff called Presence of Crota, which will prevent players from swapping the Chalice buff at any time. You will instead have to go to a specific location in the arena that is glowing and swap in its aura. This can spawn in several locations, so it’s good to call out to your fireteam and meet there when the Chalice is full.

With a sword in hand and the readiness of your team, it’s time to go to town and slap him harder than Oryx did. Be prepared because Crota has a sword as well and will likely destroy you in contest mode, so having a Well of Radiance or some form of healing is a must.
Once his shield is down, everyone else can inflict damage. Using a Tractor Cannon will weaken Crota and allow the rest of your team to dish out even more damage.

The Lament exotic sword proved most useful in this encounter, as everyone’s going to be near Crota, so using rocket or grenade launchers is not advised.
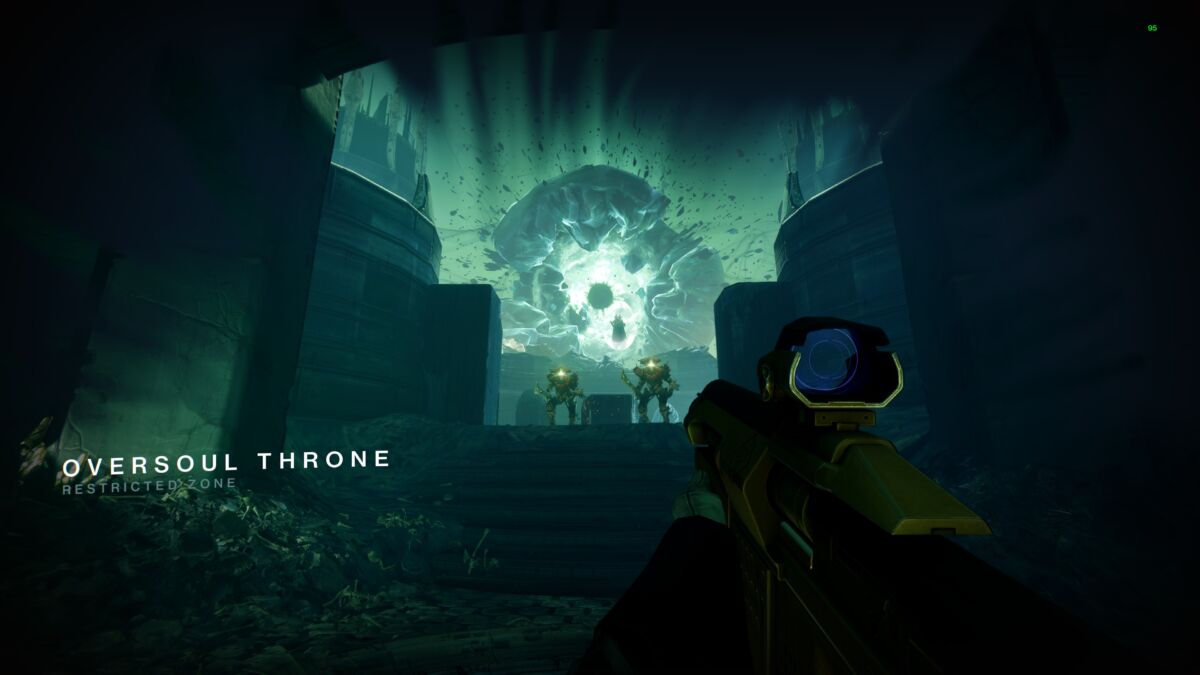
During the damage phase, there is another debuff called Oversoul, which is another timer that will wipe out your team when it runs out. Enlightened players can shoot the big orb in the sky, which will deactivate this debuff. It will also end the damage phase, so you want to do this as last minute as possible to get the damage in.
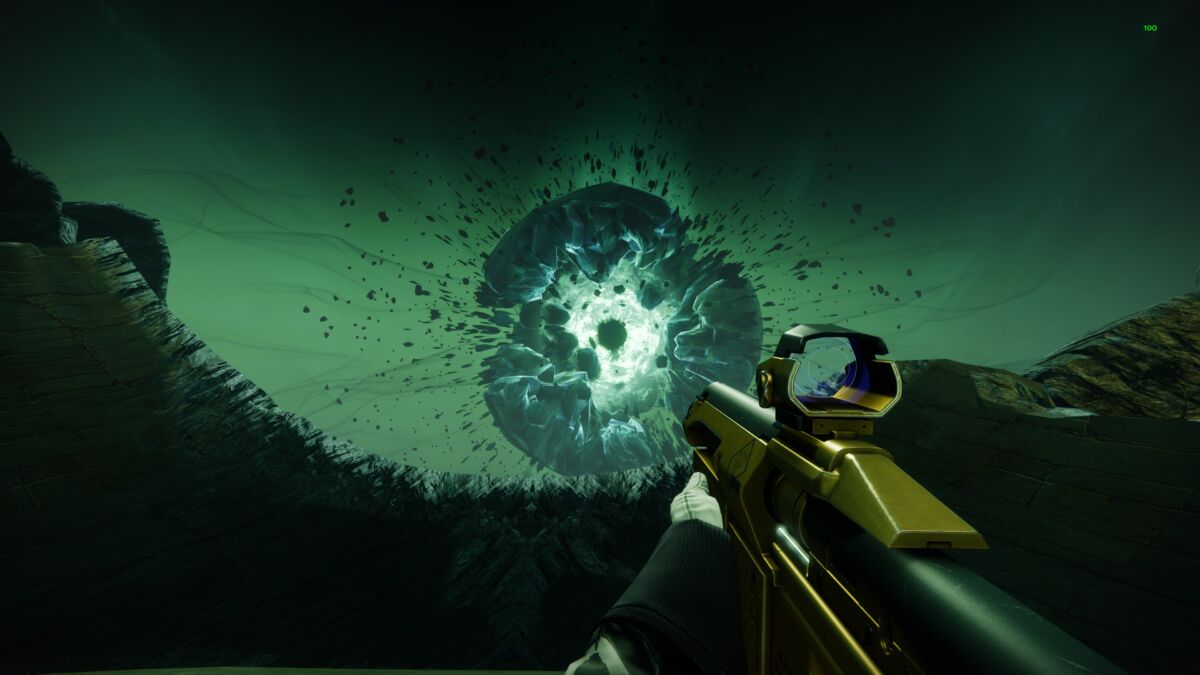
Don’t get too greedy and keep an eye on the timer so you can make it to the final phase.
Once you’ve depleted most of Crota’s health, players will enter a final stand with the big boy, where you must kill him or be wiped. The Oversoul this time cannot be damaged, so unleash everything you’ve got and give Crota a fitting end.
READ NEXT: Destiny 2: Crota’s End Raid – All Loot You Can Obtain
Some of the coverage you find on Cultured Vultures contains affiliate links, which provide us with small commissions based on purchases made from visiting our site.