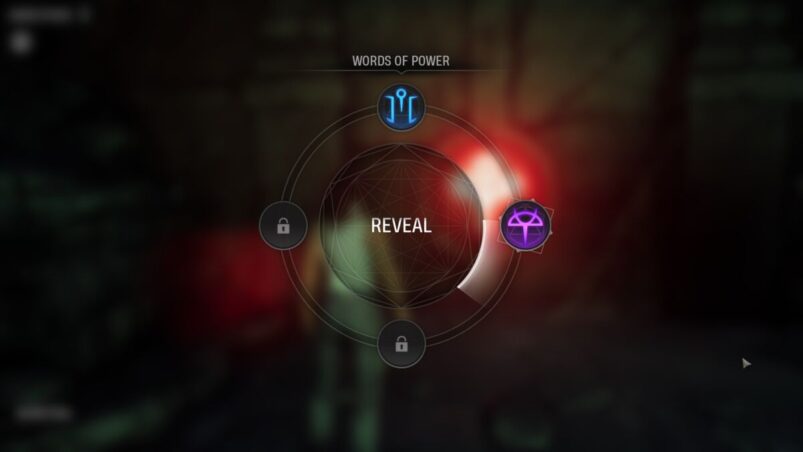
Words of Power are unique exploration abilities in Marvel’s Midnight Suns that you unlock by collecting Moon Seals and completing Challenge Missions at Blood Gates.
There are four Words of Power in Marvel’s Midnight Suns: Open, Reveal, Purify, and Break. Open is the first one you unlock and cannot be missed if you just explore the Abbey for a little bit. The rest, however, require some figuring out and serious exploring, which us especially annoying if you’re trying to figure out you can build bridges, get rid of the vines, and break down the fractured walls across The Abbey.
If you’re searching for the Words of Power in Midnight Suns, here’s how and where you unlock every single one.
Atum – Reveal (Build Bridges)
First of all, you will need to have collected the Moon Seal, which you earn from collecting all rods for Agatha’s Altar in the west of The Abbey. All of them are fairly easy to find as long as you just keep exploring with the Open Word of Power. The only one that may give you some trouble is the Earth Rod.
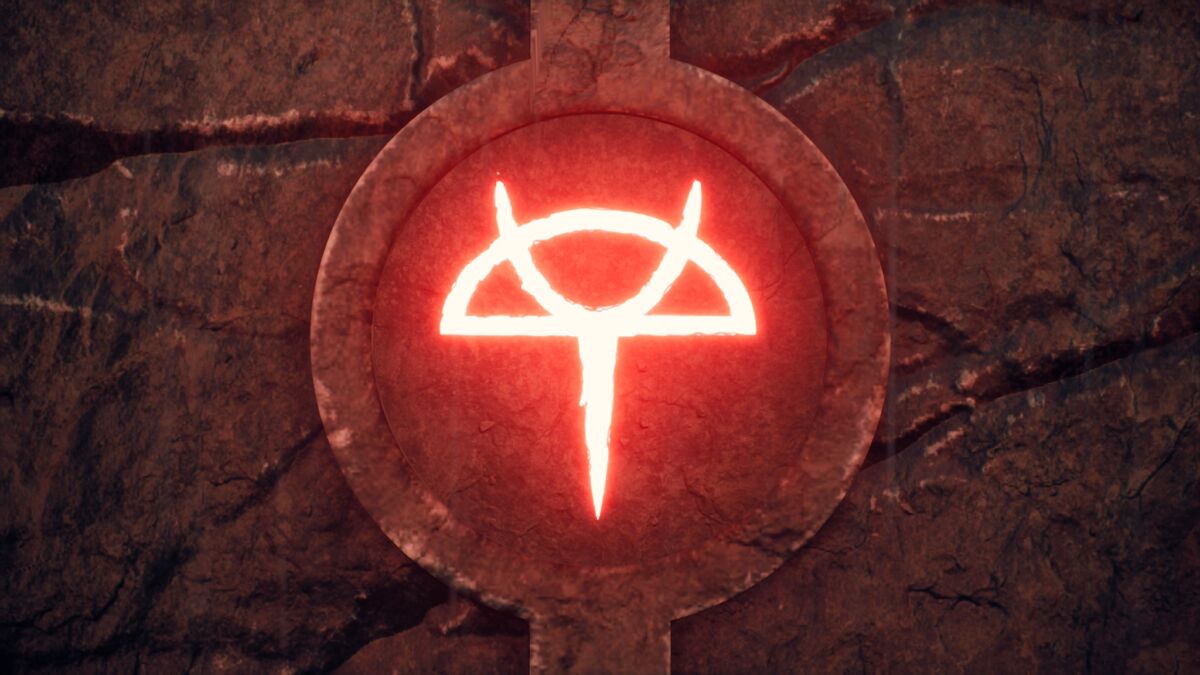
With the Moon Seal collected from Agatha’s Altar, make your way over to Standing Stones in the east of The Abbey, then approach the giant gate with a glowing eye called the Blood Gate.

Press your interact button to open a portal.

Walk through the portal to start the Trial of the Elder Gods: Atum Challenge Mission. This isn’t too tricky, as long as you’re above level 8. Keep using Charlie’s marking ability to let you get rid of all of the dogs without using up your card plays, then use the environment and Hunter’s attack cards to contend with the big guys. As long as you complete the Challenge Mission within four turns, the wall will break and you can walk inside to the tomb.
Approach the altar inside, then place the Moon Seal on the altar itself.
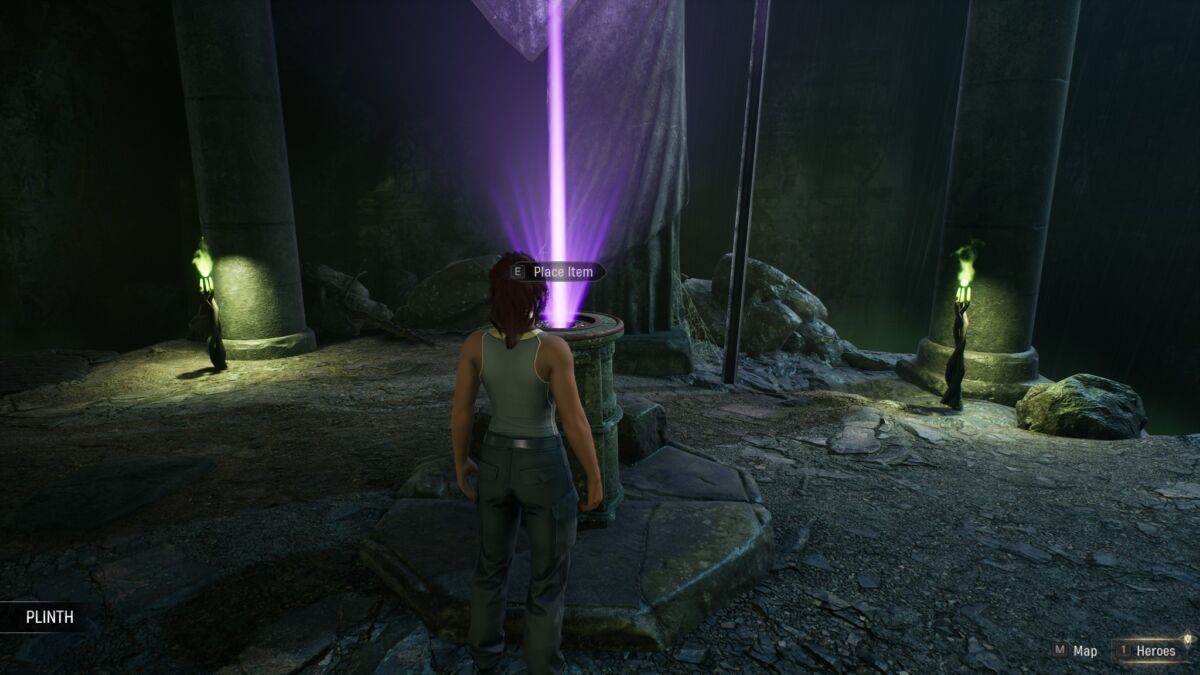
After you’ve done this, you’ll then be able to use the Reveal Word of Power from Atum to help you build bridges by bringing up your Word of Power and then choosing Reveal on the right in front of any sign bearing Atum’s eye.
Hyppus – Purify (Remove Green Vines)
If you thought the last Word of Power was tough and a bit long-winded to unlock, you’ve barely even begun when it comes to Hyppus.
Get to Shaw’s Church in the north of the map past Valley of the Winds, which you can now get to after using Reveal just to the west of the Blood Gate you just overcame to build a bridge.

Carry all along this path until you get to Shaw’s Curch, then use your Words of Power to open doors until you get to the back of the church. Don’t forget to open the chest out here on the left as you enter the backyard.
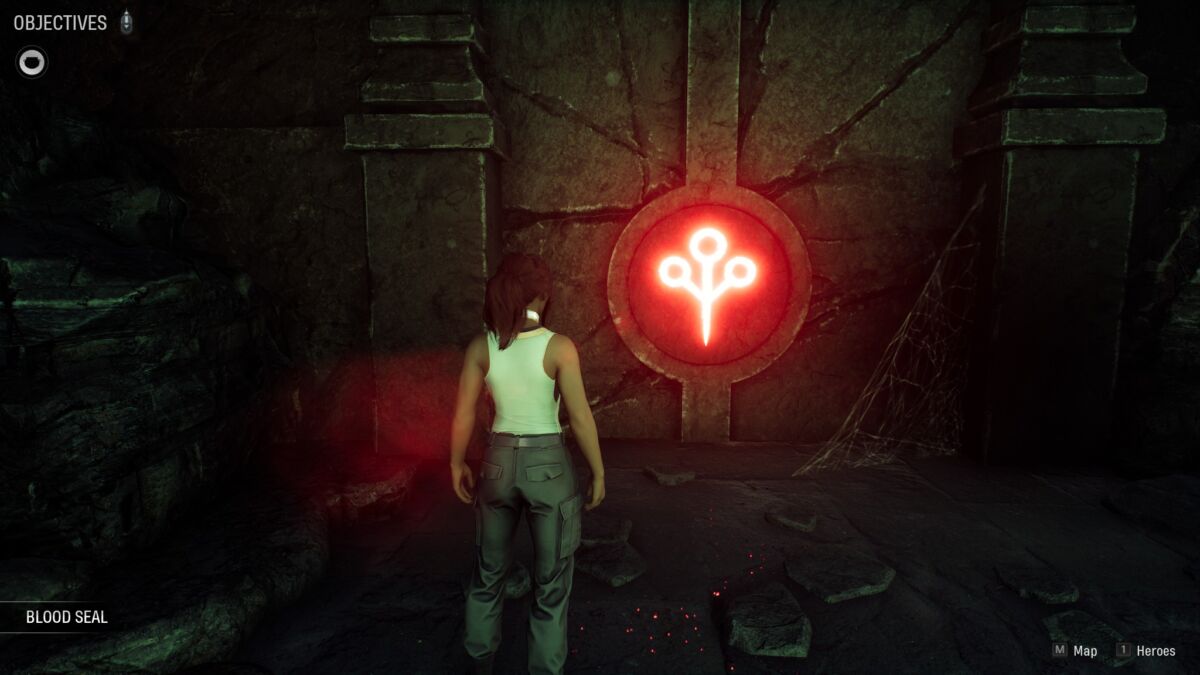
Your progress will then be blocked by wards. Go find Doctor Strange and bring him to the wards. He will tell you that he has to think about it, and you must extract a sample from Venom as part of the main story before you can progress.

Once you’ve properly defeated Venom, pick up the Symbiote vial from the Forge, then return to the ward at Shaw’s Church, clear the ward, and look at Shaw’s bones. After talking to Agatha, return to his study and use the Reveal Word of Power on his desk to discover pages that Agatha then wants to study.

Later, Agatha wants you to locate all of the Witch Covens and collect Stained Soil from within them and return them to her after giving you clues on pieces of paper that relate to
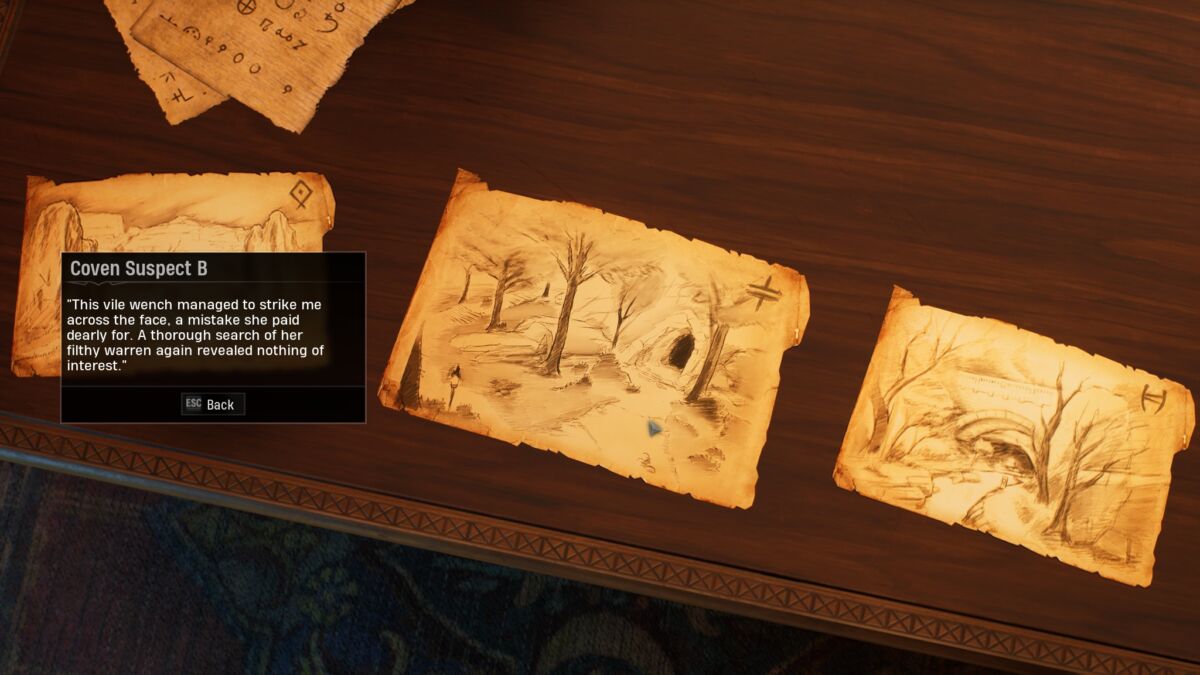
Here are all of the locations for the Stained Soil and Witch Covens from the hints she gives you.


Once you’ve collected them, Agatha will then direct you to The Hanging Tree, which is located near the graveyard partway between Shaw’s Church and Everflowing Glade. Just follow the path to the west of Shaw’s Church.

Use your Reveal Word of Power to unearth the Moon Seal within.
Take the Moon Seal to Elder Hyppus Shrine, which you will need to use your Words of Power pretty liberally to reach and build bridges towards.

Touch the large stone like before to start the Elder Gods: Hyppus Challenge Mission, but bear in mind that you will need to be at least level 12, as this challenge is significantly harder.
This one has the same objective: defeat 16 Lillin within four turns. However, the fact that they keep multiplying doesn’t help. Just like before, keep using Charlie’s marking abilities to clear all the dogs out of the way, then prioritise the humanoid creatures over the giants this time, as they’re the ones who keep multiplying. Unless you get rid of them first, you’re just going to have too hard a time.
Just like last time, place the Moon Seal on the altar and you will unlock a new Word of Power: Purify. This allows you to turn back time and remove the corruption (meaning all the green vines), with the path now being cleared for the fourth and final Word of Power.
Set – Break (Fractured Walls)
Now that you have Purify, make your way to the location on the map below and clear the corruption you find there to continue your progress with Words of Power.

Walk down the stairs and enter Garden of Envy, with Agatha waiting for you at Lilith’s Garden down the road; clear the corruption to gain access. Talk to Agatha and she will tell you that you need to collect three shards of another Moon Seal. Agatha asks you to return to her tomorrow, but you can start collecting them as soon as you stop talking to her.
The first one is actually incredibly close by. Just run back down the slope you came up to Lilith’s Garden and use Open on the door to what seems to be a mini graveyard at this location below.

Enter the graveyard, collect all the loot, then look for a log to the right that you can run all the way up and around until you come across the first shard.
For the next shard, leave the way you came in, then go right and use purify to open up paths until you arrive at this location below near the top of the map.

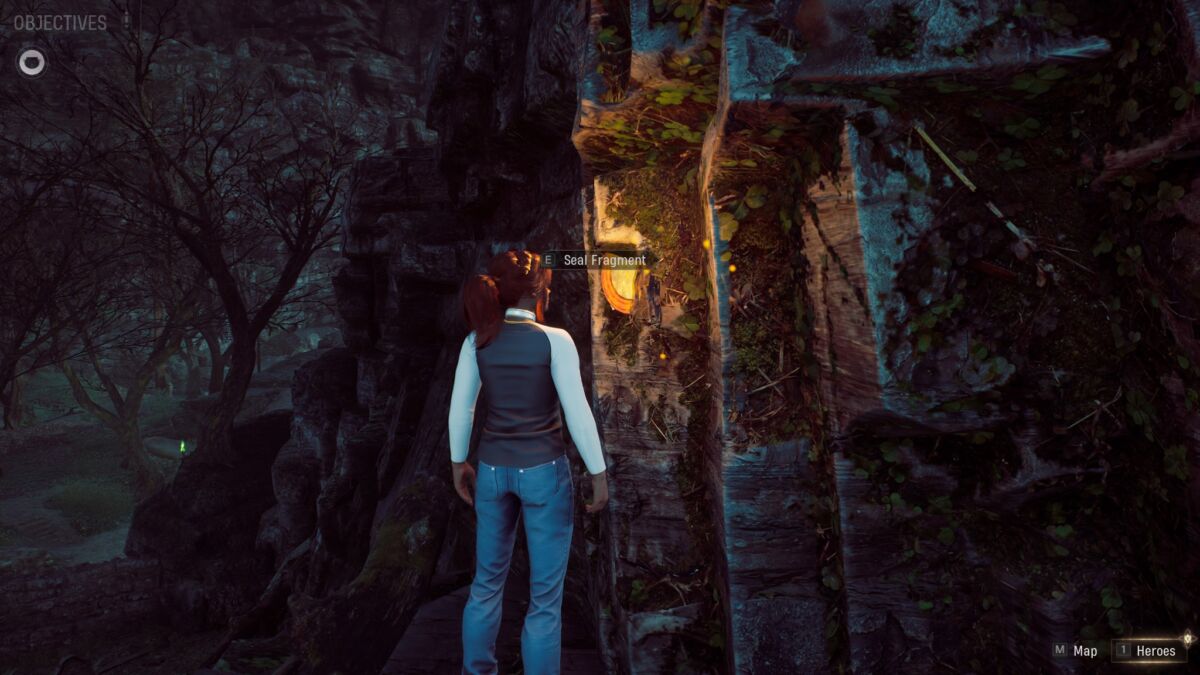
Use Purify on the vines blocking entrance, then make your way up the staircase (use Reveal on the submerged statue first you want a legendary chest), then find the first Seal Fragment at the top of these stairs.
The final shard actually requires you to do a little bit of backtracking to the area near Shaw’s Church. Walk back up the stairs that let you to the Garden of Envy in the first place, then find the graveyard and follow the green light up some stairs until you find some vines you can purify at the location below.

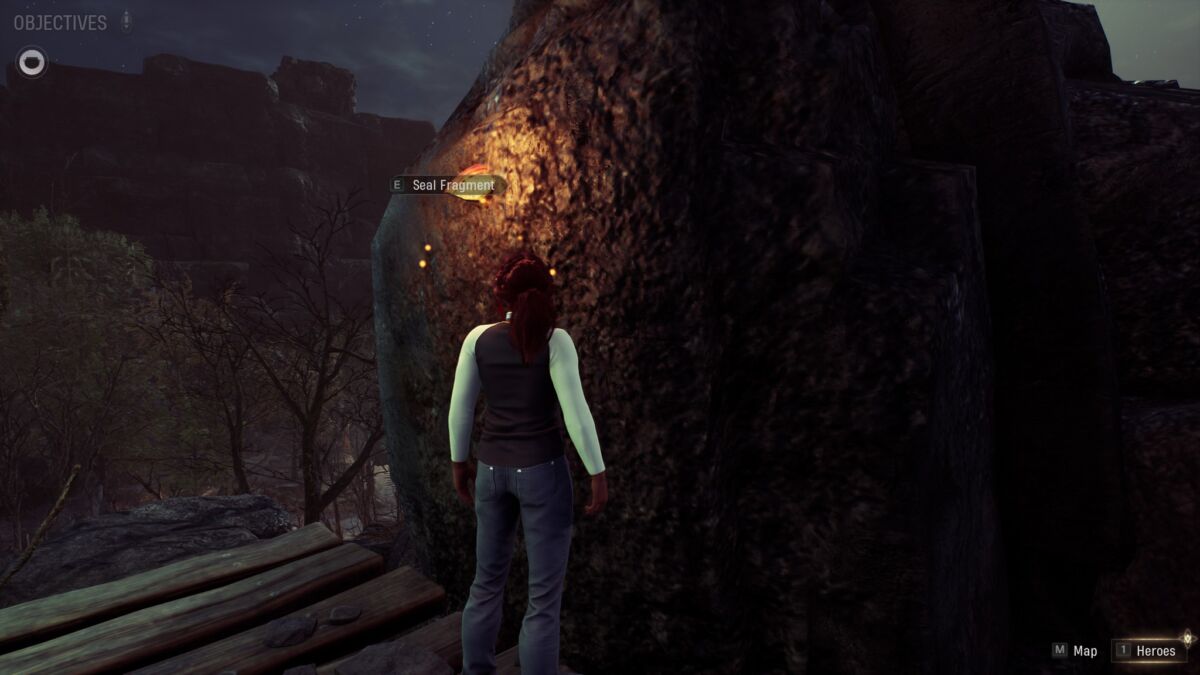
Follow the stairs up and then claim the second Seal Fragment that’s jutting out of a rock.
With all three shards, you can now take on the Blood Gate and the Elder Gods: Set Challenge Mission within, which you should be level 16 at the very least for. You definitely want to have unlocked the Demonchylde suit for this one and equip its Heightened Senses passive, as it gives Charlie 1 resist each turn and also gives you a higher chance for your cards to be passive.
The fight itself is about as challenging as you’d expect considering the level required. Two of the big guys can absolute decimate your health and cause wounded and bleed, so try to focus on them first and foremost. Remember Charlie’s ability that allows her to mark enemies, meaning that they will refund a card play once defeated — very useful for dealing with the minions. If you’re aligned Light, Holy Burst is an absolute must here, as it allows you to deal out damage while healing your team, and any card with knockback is also highly recommended to clear out the minions and dole out damage to the elites, as well as any cards that increase heroism so you can use your environment. It might be a challenge, but defeating 16 enemies in four turns is your objective.
Once you’ve managed it, the gate will open and you can place the Moon Seal on the altar, just like before. You will be rewarded with Break, the ability you need to bring down all the fractured walls and large blockades you’ve no doubt encountered across The Abbey. You can travel south from Lilith’s Garden to break open a fractured wall and discover Misty Moors
Marvel’s Midnight Suns is available on PC, PS4, PS5, Xbox One, and Xbox Series X & S.
READ NEXT: 20 Best Superhero Games of All Time
Some of the coverage you find on Cultured Vultures contains affiliate links, which provide us with small commissions based on purchases made from visiting our site.