Code Vein has finally arrived, and it demands to be noticed. A very good Soulslike experience that offers enough new features to claim its own identity, while creating a gameplay loop that feels less punishing, Code Vein is definitely appealing to those who might have been intimidated by FromSoftware’s more hardcore output.
That being said, Code Vein will unapologetically crush unpreparedness underneath its boot heel if you let it. This is a Soulslike, after all, and failure to prepare is simply just preparing to fail. So with that in mind, we’ve put together a host of tips that should make your journey through the world of post-apocalyptic Revenants just that little bit easier.
1. Bloody Haze
Much like how the world of Dark Souls is predicated on the consumption of souls, Code Vein’s primary currency is Haze, which can be used to level up at Mistles, purchase new items from the characters at home base or upgrade your arsenal to new heights (with the right materials of course). No, not the PS3 game Haze, this is another thing.
Like Dark Souls, death means your Haze will be left wherever you died, and if you fail to collect it before you perish again, that Haze will be gone forever, so be sure to cash in your Haze whenever you can. I’m still lamenting the loss of over 60K worth of Haze. You can also collect loss shards and crystals that reward more Haze, which are inventory items you can cash in at any time for a Haze boost, but save those for when you’re at a Mistle.
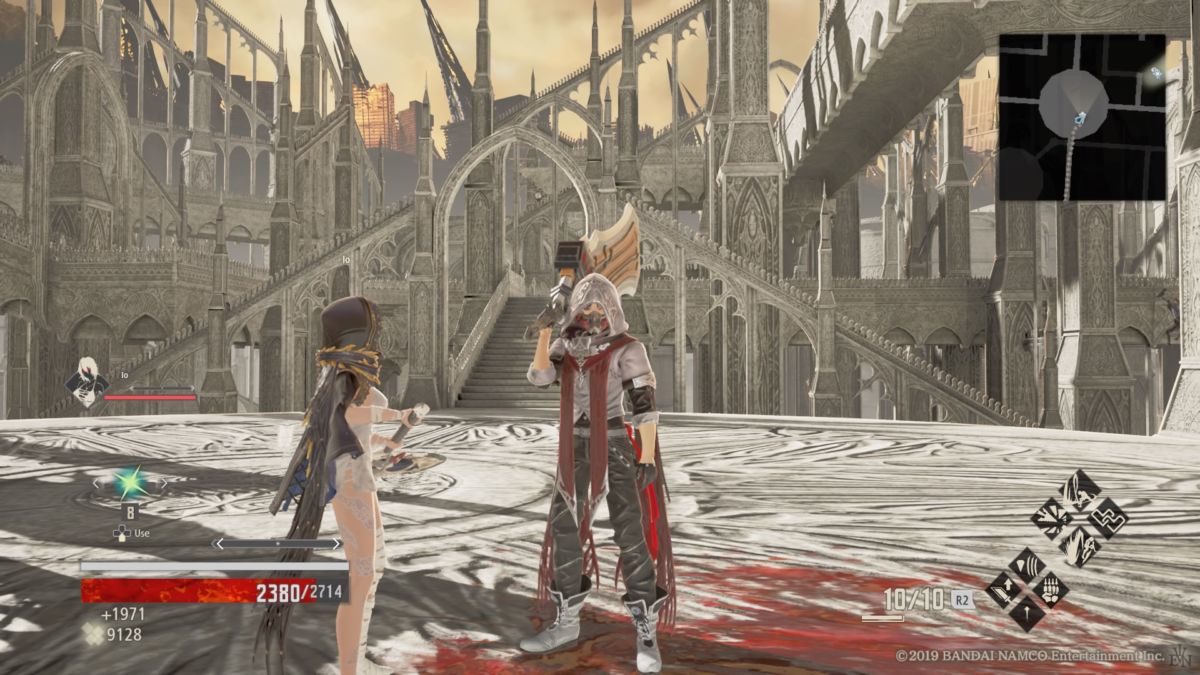
2. Use And Abuse Your Partner

Perhaps the best tool in your arsenal is the fact that an AI partner will accompany you throughout your journey. The AI partners, which consist of Louis and Yakumo to begin with but more are added later, are helpful allies in your struggle against the Lost. Each character has their own abilities and moves, allowing you to create teams that specialise in close quarters, ranged gunplay, casting or a mixture of the three, so it’s worth finding the partner right for you.
More to the point, it’s worth using the AI partner to make fights much easier. While you will often draw the most aggro as the player character, the AI partner can sometimes take some of the focus away from you, allowing you to better recover during encounters. The partner will also point out secrets on the map for you to find, as well as warn of potential ambushes. Most crucially, they can prevent your death by sacrificing their own health, and you can do the same for them. It’s definitely worth keeping them around.
3. Explore Everywhere, Carefully
As with all Soulslike games, exploration is one of the biggest aspects of the overall gameplay, offering some hefty rewards if you’re up to the challenge. When you enter into a new area or find a new Mistle, it’s worth picking an unexplored direction to explore and following it through, as it will often lead you to another Mistle, a device that unlocks the next area or opens up a shortcut to the previous Mistle, or leads to a difficult enemy guarding some valuable loot. This loot includes new weapons, abilities and upgrades to the amount and power of your Regeneration, Code Vein’s Estus Flask equivalent.
Activating new Mistles will show you a portion of the level’s layout on the map, which, when combined with the footstep system that tells you which portions of the map you’ve explored, can often illuminate where you need to explore next. That said, be careful in areas you haven’t explored yet. Running around a corner too quickly is the fastest way to accidentally throw yourself off a cliff.
4. Search Low
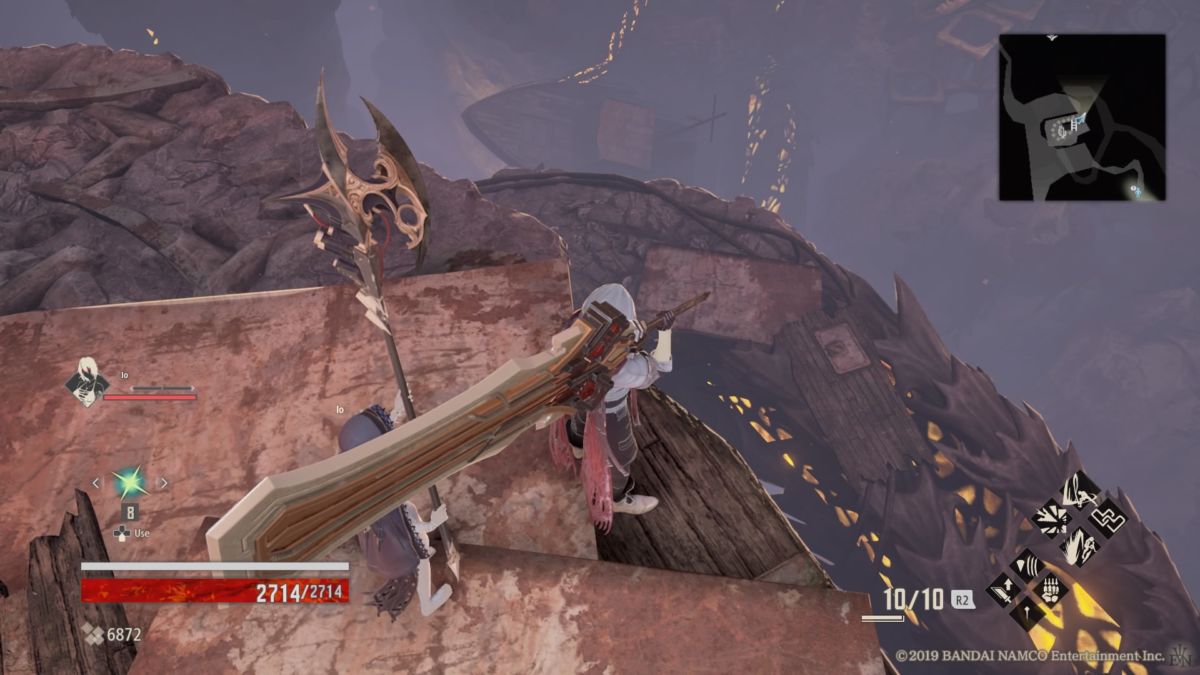
Something in particular to note is that Code Vein’s level design empathises verticality in a lot of instances. In earlier levels, players can drop down to secret areas to fight more challenging enemies and unlock new gear, so again, it’s worth exploring for that alone. The Dried-Up Trenches area is littered with hidden goodies to be found by taking a (small) leap of faith.
Once you’ve reached The Cathedral of the Holy Blood, this gameplay design bubbles to the surface, as progression is only possible via dropping down to new areas. A good rule of thumb in that area in particular is to make a note of the paths that have openings. Many of the narrow pathways have low walls that block you from walking off the edge, but there are a few openings, and it’s usually here where you can drop down to another area. Just be sure to look before you leap.
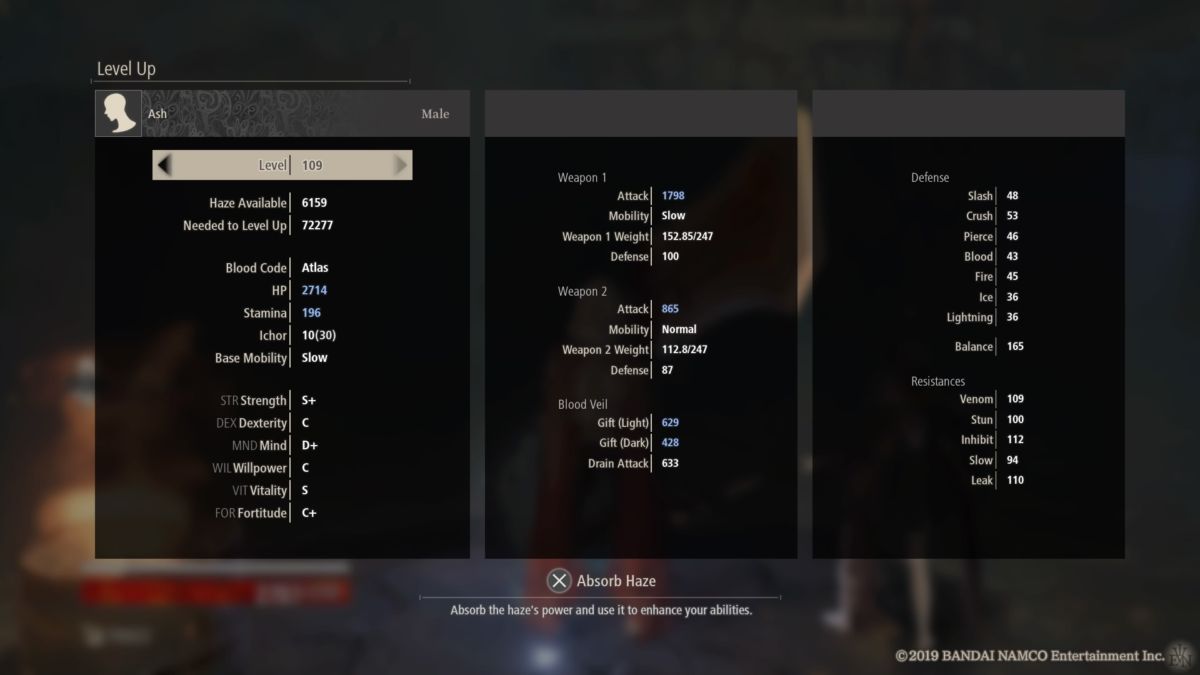
5. Unlock The Blood Code
The biggest innovation that Code Vein has to offer is the Blood Code system. As a Void-type Revenant, you have the power to absorb the classes of others, able to switch between Codes on the fly to suit the needs of the situation at hand. These classes allow you to focus your proficiencies in close combat, ranged attacks or “casting”, which allows you to use more special Gifts to gain the upper hand.
Unlike other Soulslike games, where levelling up is done via each individual attribute, levelling up in Code Vein simply upgrades all of your broad stats (health, stamina, strength). It’s your choice of Blood Code that truly determines your core attributes, so it’s worth picking one that matches your preferred play style. No point picking the Ranger class if you intend on charging headfirst into battle with a giant Zweihander.
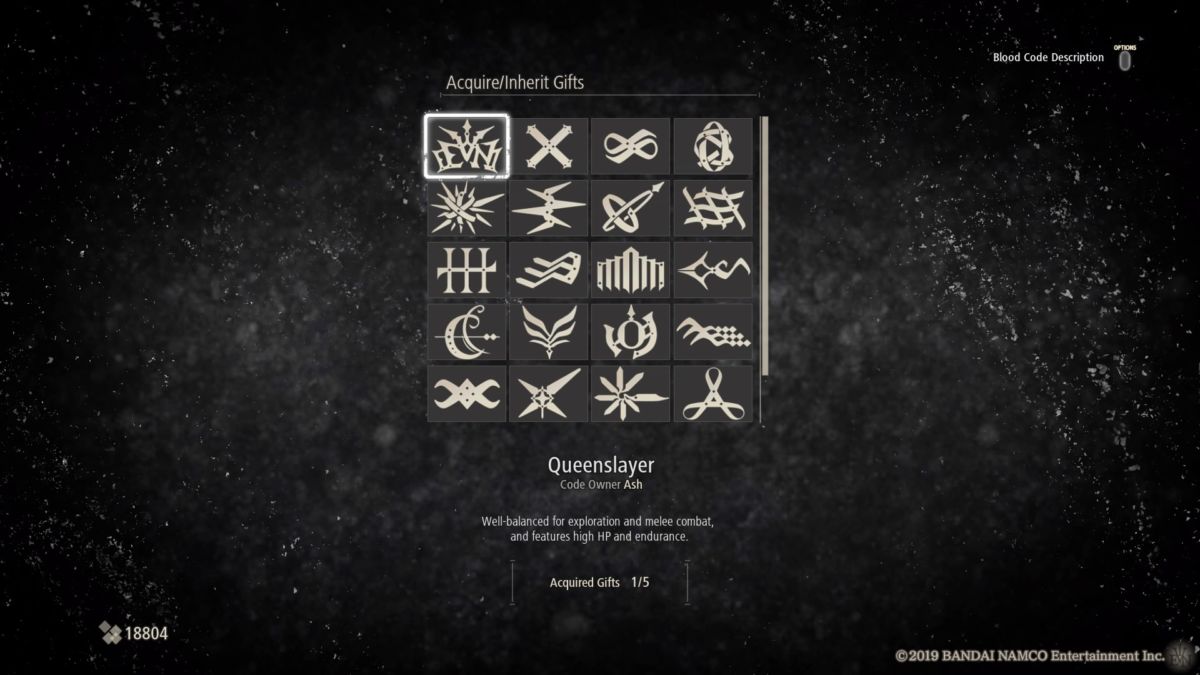
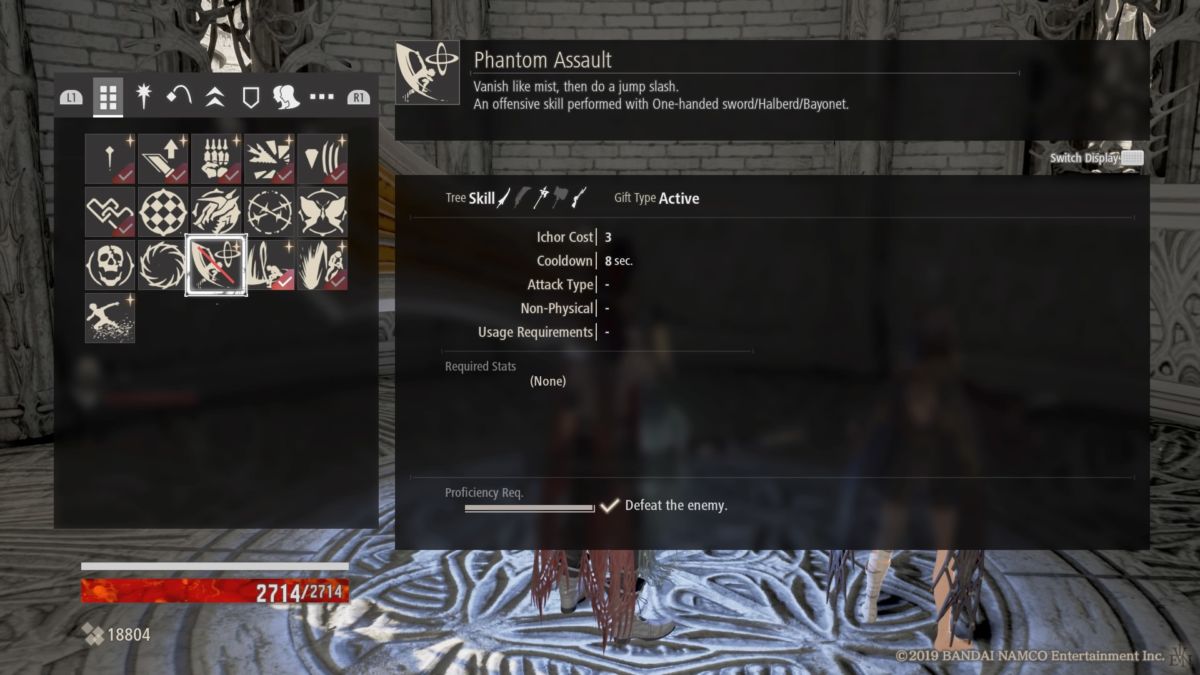
6. Master of Blood Codes
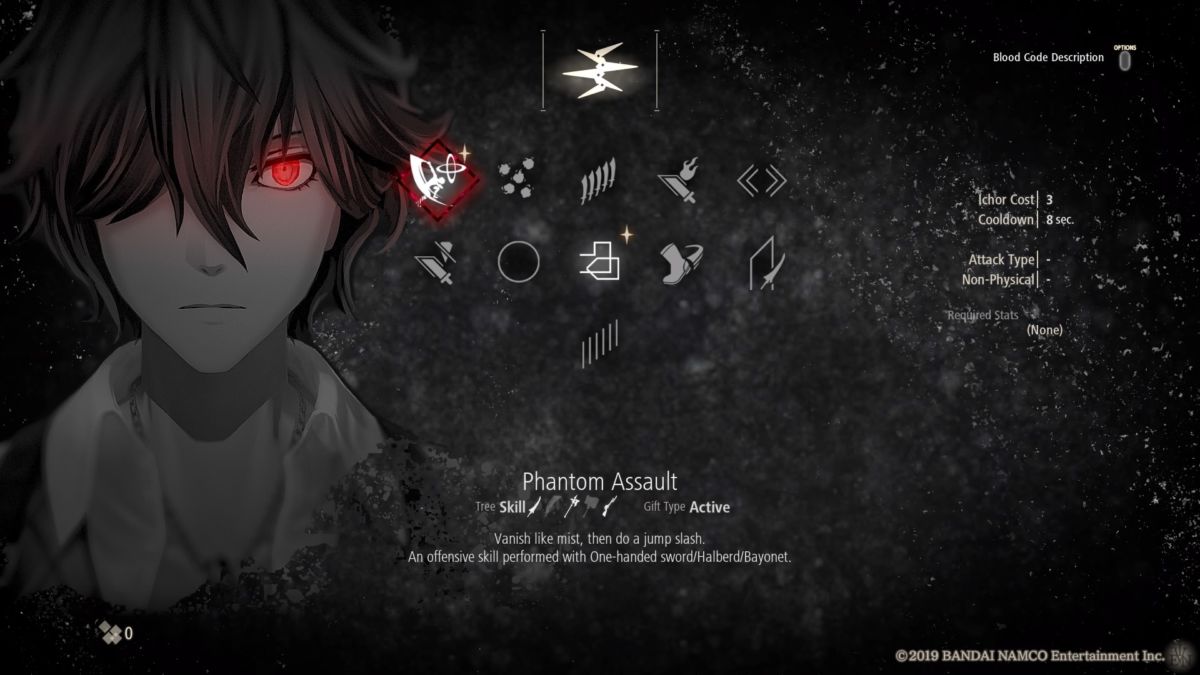
One of the best parts of the Blood Code system is the ability to mix and match abilities from one Blood Code to use in another via the mastery system. Essentially, you can spend haze to learn abilities tied to a specific Blood Code. Once you’ve learned said ability, certain requirements need to be fulfilled which will lead to you mastering the ability, which will allow you to equip the ability on any Blood Code.
For the most part, mastering abilities requires defeating a set amount of enemies, so you might need to grind for a bit of time with a different class to unlock an attribute buff for your main class. You can also find Awake materials, which can allow you to max out your proficiency in an ability instantly. There are multiple kinds of Awake materials, but if you have them to spare, they can be a great time saver when building your class.
The idea, in essence, is to learn and master the Gifts of the starter Blood Codes (Fighter, Ranger and Caster), and then take those Gifts with you once you’ve unlocked a new Blood Code that improves upon the style of play you prefer. There’s over 20 Blood Codes to be found, so be sure to experiment to find what works for you.
7. Ichor Blimey
Another resource you have to manage is Ichor, which is needed to activate Gifts, powerful abilities that can be used to dominate your enemies. Each Blood Code you choose has a set amount of Ichor, with more strength based classes relying more on brute force and standard attacks, while other classes tend to have larger pool of Ichor to pull from, allowing to perform powerful attacks more often.
It is possible to increase your overall amount of Ichor through certain items that you can unlock during the later stages of the game, or by performing drain attacks. Holding the X button, or cross button if you’re a heathen, will perform a drain attack that deals decent damage while replenishing and upgrading your Ichor Reserves.
Performing parries and backstabs will also upgrade your overall Ichor level, but it’s worth noting that Ichor upgrades are temporary. Once you rest at a Mistle, you reset back to default, which creates a strategic decision: do you press on with reduced Regeneration but bolster Ichor, or do you play it safe and cash in your reserves? The answer is always to play it safe, but the option is always there.
8. The Best Defense Is A Good Defense
From a defensive standpoint, you have three main options at your disposal: guarding, dodging and parrying. Veteran Soulslike players will recognise how each of these builds operate. Guarding reduces the amount of damage taken at the cost of stamina. Dodging requires a bit of precise timing and positioning, but allows you to avoid damage completely, while parrying completely nullifies an attack before launching a powerful drain attack for massive damage and improved Ichor.
The trick is to know what defense works best for the class you’re running. An agile class will want to focus on dodging, as they’ll be able to dance around enemies with their high mobility and stamina, while Blood Codes with improved drain attacks will prefer parrying. The timing is precise on parries, but your character will light up to help you get a sense of the timing. As for the big strong classes with swords the size of two story buildings, you can upgrade yourself to the point where you take no damage from blocking attacks, making it a safe and reliable option, so long as you don’t get attacked from behind, anyway.
9. Hocus Pocus Focus
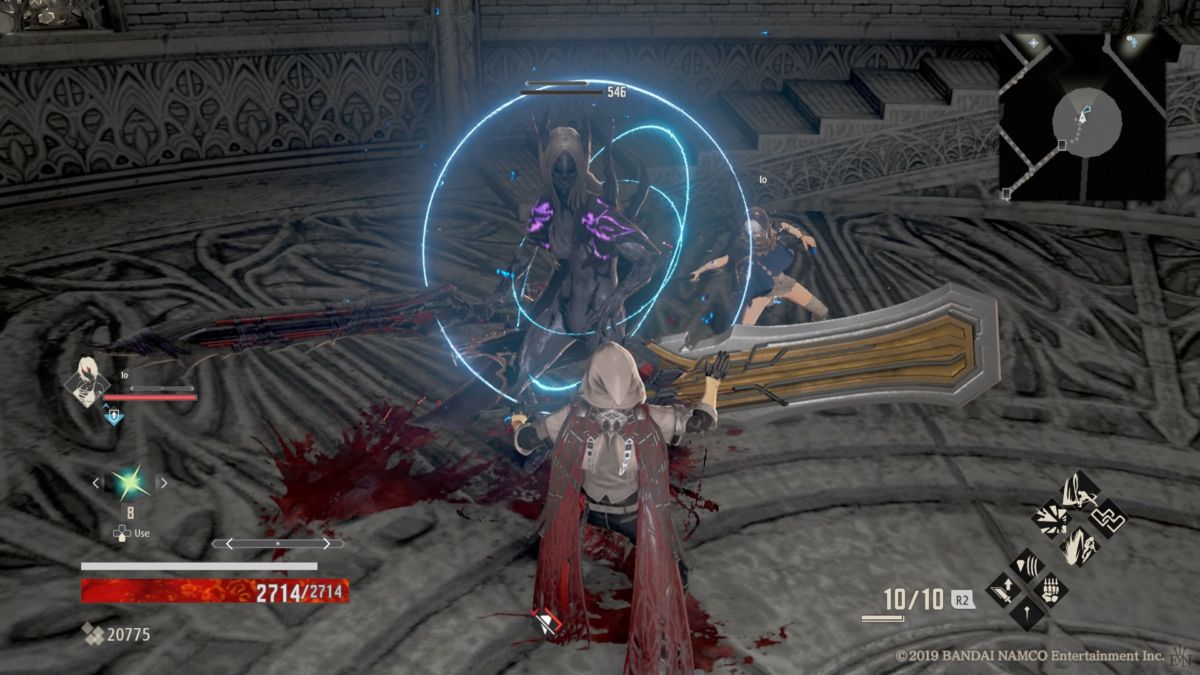
If you have a rocksolid defense, blocking and dodging attacks left and right, or if you’ve taken too much damage, you’ll enter into a focused state. In this form, you instantly recharge all your stamina and your balance stat is temporarily improved. Balance is the same as Poise in Dark Souls, making enemies less likely to interrupt you while your attacking.
Of course, the Focus mechanic isn’t just limited to yourself, as enemies can also enter into a Focused state, giving them the same buffs. You can tell when an enemy has become Focused, as the bar underneath their health, and their body as a whole, will glow blue. If their health is low, it can worth pressing the advantage before the enemy can launch a counter attack, otherwise tread carefully.
10. More Than A Dash
The R1 or RB button is used during exploration to dash, allowing you to traverse the map quickly at the cost of stamina. It’s a useful ability, but the dash button houses some other useful moves that are worth knowing about. On a simple level, you can press either light or heavy attack to perform the same basic dash attack, which is a great way of opening up a fight.
However, the dash button can also perform other moves. Holding R1 from a standing position and pressing light or heavy attacks will perform additional moves, adding to your overall repertoire. While focused, your R1+heavy attack will launch the enemy for a drain attack, while R1+X is used for a combo drain attack, which is great for refilling that Ichor.
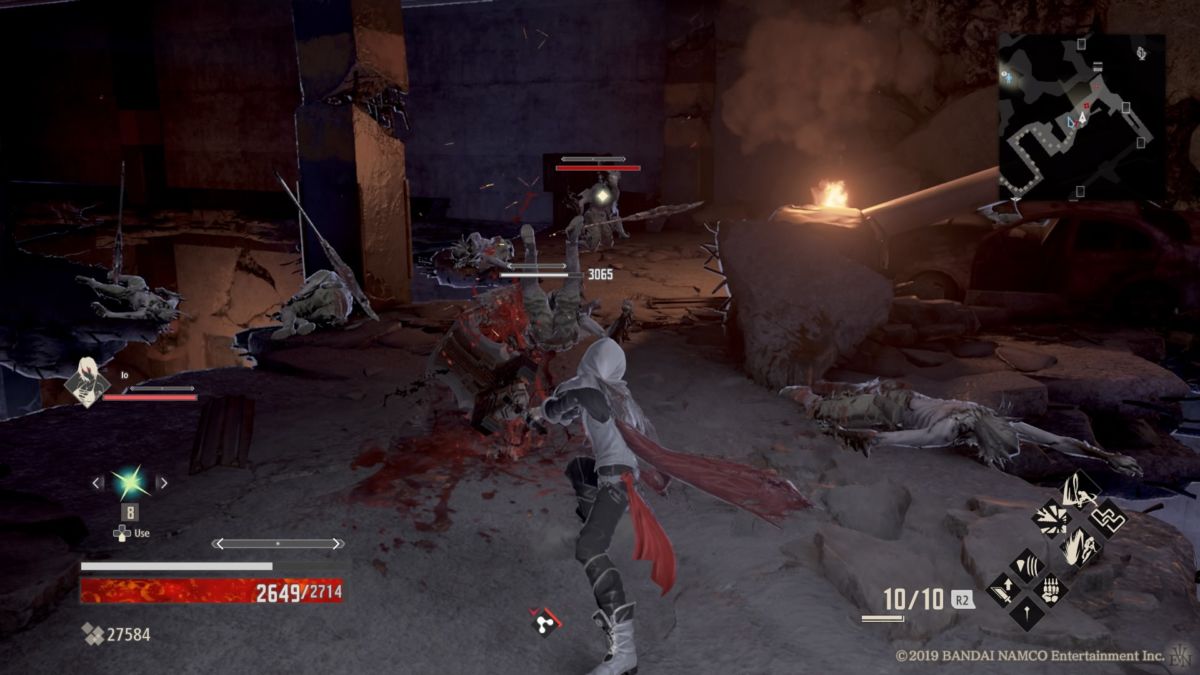
11. Invaders Must Die (The Trials of Blood)
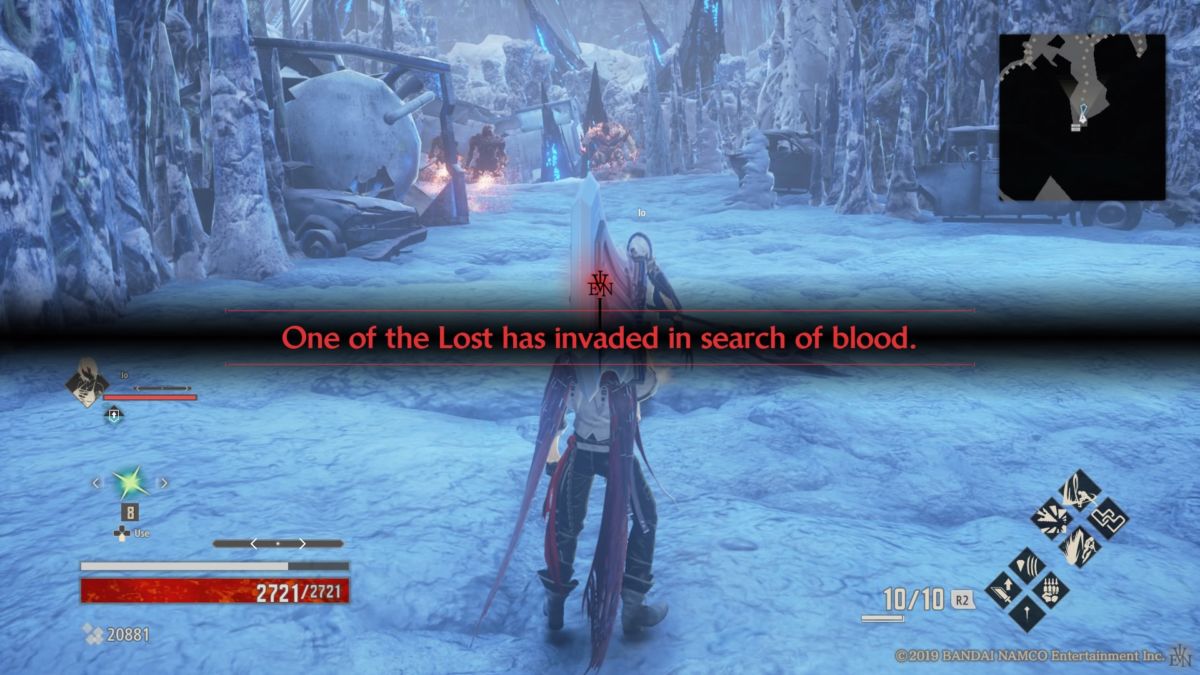
One of the biggest challenges you face when exploring the world of Code Vein is The Trials of Blood. They’re optional challenges where hordes of Lost spawn in waves, and you either try to survive in order to earn some sweet loot and plenty of haze, or you can hoof it back to the nearest Mistle at the first sign of trouble.
While these moments are both challenging and optional, they’re worth doing, as the Haze you can earn from completing them is usually enough to earn you a level up or two, and honestly, who could say no at the prospect of a new, potentially better weapon? Still, these moments can take you off guard on first discovery, so the best advice is to fall back initially, then come back when you’re good and ready.
If you’re preparing to take on an invasion, make sure you’re fully healed and loaded with Ichor. If you’ve got traps or damage buffs, use them. Most of these fights take place in areas where enemies can only come at you from one or two directions, so use the environment to your advantage. Funnel the enemies together in an attempt to wipe them out with the same attack, and above all else, don’t get surrounded.
12. Vestige Interest
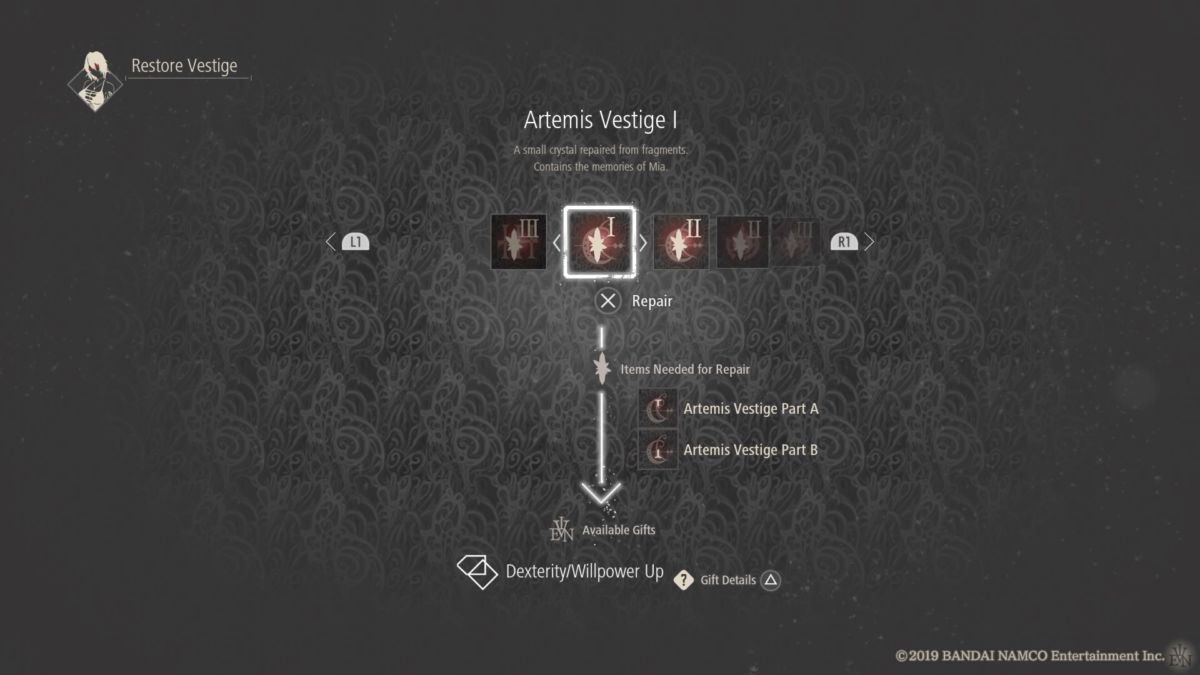
As mentioned, you have the ability to change blood codes on the fly, and in certain moments during the story, your character can absorb Vestiges that allow you to unlock another’s memories and blood code, allowing you to use their skills for your own. Some vestiges come directly from boss fights and story progression, but talking to the folks at home base can allow you to unlock even more.
The work doesn’t stop there, as for most Blood Codes, you can find additional Vestiges out in the world that unlock more Gifts within that skill tree. Again, it’s worth exploring to find these goodies. In order to get the benefit of these fragments, you have to speak with Io back at home base, who will restore these fragments for you. Code Vein mentions this feature in the hints section, but doesn’t make it obvious, so it’s worth having the knowledge going into the game.
13. Relationship Advice

Perhaps one of the weirdest features in Code Vein, but one of the most useful, is the relationship system. No, you can’t shag the characters in your Home Base, though there is a Hot Spring. Anyway, I’m getting sidetracked. Basically, you can offer presents to your friends to earn trade points, cashing those in for new items.
The items themselves are mostly filler, though there’s upgrade materials and the chance for the new weapons for the most dedicated. Maximising the effectiveness of the trading system is pretty straightforward too, as you should give the tools to the mechanic, the old world relics to the leader and head researcher and so on.
It’s said that the act of giving presents is the reward, but in Code Vein, the reward is receiving your own presents. The other characters will occasionally send you items which you can collect at a Mistle. These items can be used there and then to grant you additional Haze, making them perfect for if you need a bit of an extra boost to reach that next level up.
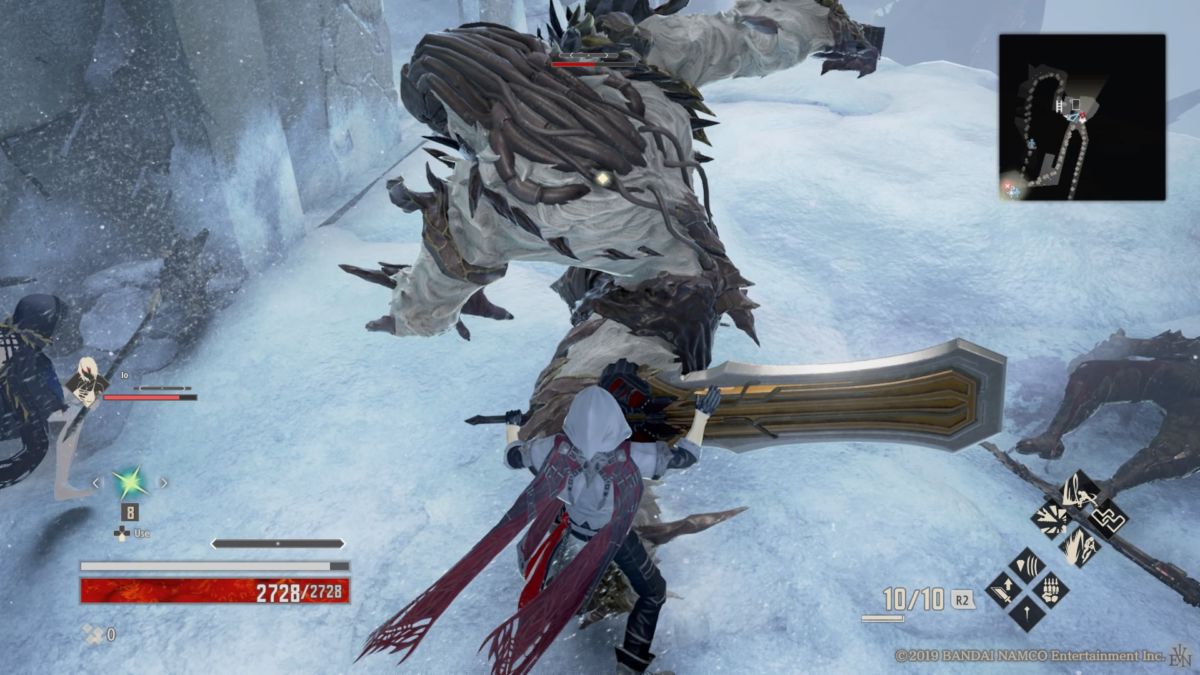
14. Boss The Bosses
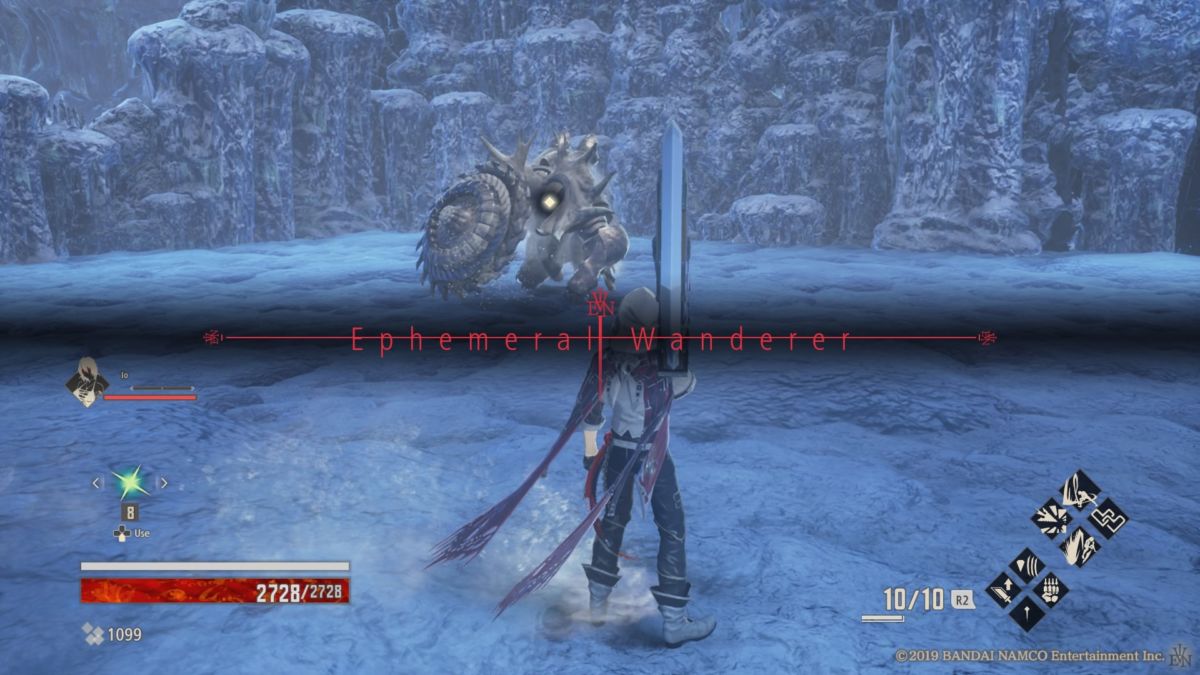
It wouldn’t be a Soulslike-esque game without boss fights, and Code Vein definitely has plenty of them. Thankfully, though, the earliest boss fights in the game are often located right next to a Mistle, or have very little in the way of enemies blocking your path, so even if you’re stuck, you’ll be able to get right back into the fight as soon as you spawn. The difficulty in reaching a boss fight is increased in later areas, but by then, you should be proficient enough at the game to navigate this additional challenge.
As a general rule of thumb, stamina conservation and a measured approach are the keys to survival. All out attacks will likely end in suffering, as you won’t have the stamina to defend yourself from a counterattack, so take your time, learn the patterns and strike when it’s safe. Also, at the very start of boss fights before the boss is ready to attack, and the moment they change into a second form (if they have one), the boss tends to take reduced damage. Use this time to prepare yourself for the coming onslaught by healing up and getting your Gifts ready.
15. The Call Of The Depths

Another set of items you can find during your travels are maps to a place called The Depths, which are high level dungeons closed off from the world of the main game, filled with better loot and new items to discover. In order to travel to The Depths, you need to find maps out in the world, then speak to Davis while at the Home Base. Side note: Davis might be the most handsome character in the entire game.
For starters, after you’ve completed the initial tutorial section by defeating Oliver Collins, you can encounter a merchant by the name of Shang in the same area. Speak to him and you can trade Old-world Materials for valuables which can be exchanged with your party. He’ll also keep you appraised of some new areas to explore in The Depths, so make sure to visit him on a regular basis. Shang isn’t the only character you can encounter who can give you a map to The Depths however, so make sure you re-explore old areas to find new characters and opportunities to venture into The Depths.
Each level of The Depths is littered with enemies, along with a number of boss fights and one Trials of Blood invasion. They can be rough for those who aren’t prepared, but it’s worth taking things slowly. Explore at your own pace, and retreat back to the Mistle if things get too much. There’s only one Mistle, located in the centre of the level, with multiple paths branching out from there. The paths don’t connect to each other, making each spoke of the central hub its own challenge. Take your time exploring one branch at a time, persevere, and you’ll conquer The Depths.
16. Upgrade Yourself
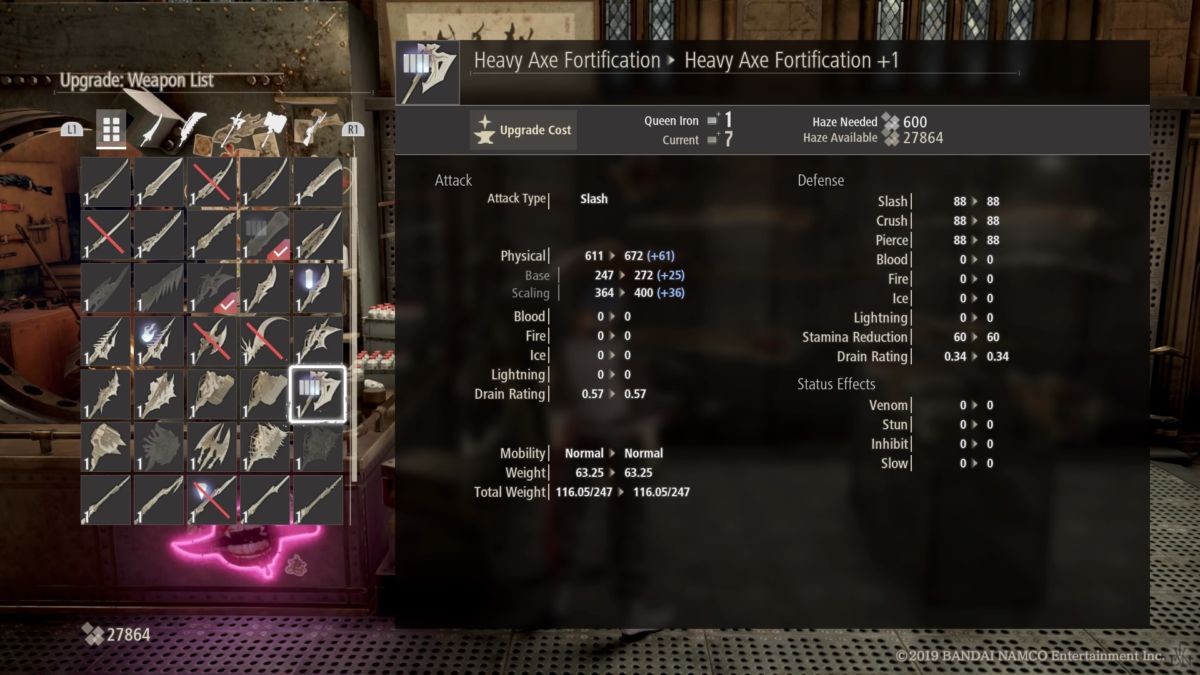
Leveling up, passive gifts and Blood Codes are only part of the solution when it comes to improving yourself, as you’ll need to upgrade your weapons and armour in order to keep your head above water. Base upgrades are simple enough, require a small amount of Haze and some crafting materials, with higher upgrade materials only dropping in higher level areas.
Alongside normal weapon and armour upgrades, you can also transform your equipment with chrome materials to gain new status effects like venom (poison), stun, slow and more, or fortify the weapon and armour, making them heavier but stronger offensively and defensively. There’s plenty of transformations to consider, many of which are related to your various Blood Codes and can be earned via the relationship system.
It’s about finding the weapon and armour transformations that accentuate the strengths of your build. A speedy class will want to focus on transformations that improve your stun or slow capabilities, allowing you to get more hits in unimpeded. For someone like me, who likes playing the big slab of meat with the big lumbering sword that does massive damage, fortifying my gear made the most sense, giving me the damage needed to end fights before the begin, along with the defense needed to survive more prolonged battles.
Some of the coverage you find on Cultured Vultures contains affiliate links, which provide us with small commissions based on purchases made from visiting our site.