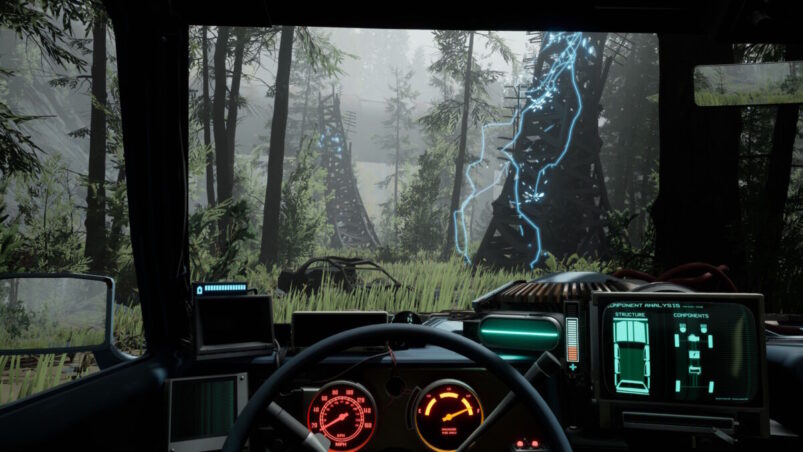
Pacific Drive’s Olympic Peninsula is a harsh place to drive around in. Hazards like Dust Bunnies are everywhere trying to irradiate your car, lightning strikes, even exploding crash test dummies cause havoc and can easily end a run. It can be a lot to take in during your drives and finding out how to survive. Here are some tips and tricks to help you survive the road in Pacific Drive.
Use The Flashlights
It can get pretty dark when you’re walking away from the car without any source of light, but it’s important to remember that Road Flares provide your main light source for the opening hours of the game.
Road Flares can be found in various locations in the open world and in containers, primarily in the trunks of cars and trucks. Using these to navigate around the darker areas is paramount to your survival, as well as them being crafting materials primarily for headlights and other sources of illumination.
The best way to utilize Road Flares is to not throw them all around. Use them like a torch and only strategically throw one down if it is necessary to pick something else up that will fill your hands if it can’t fit in your backpack. Road Flares are a one and done use, and they do not last very long once opened.
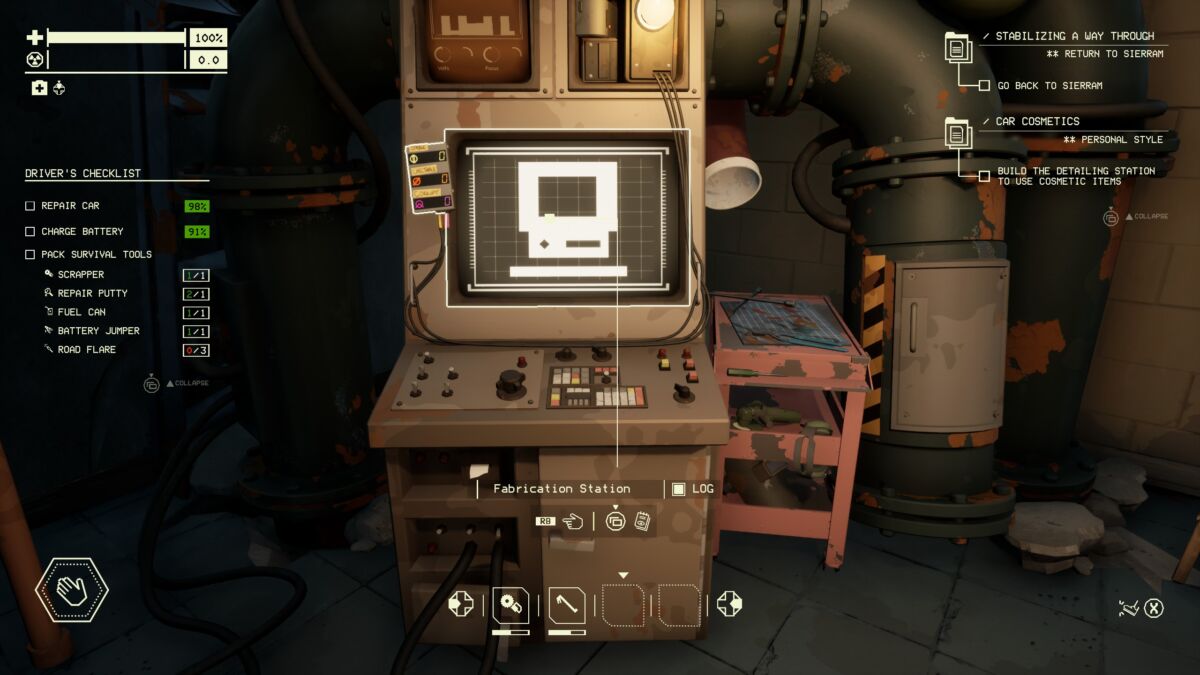
However, if you go look in the Fabrication Station under the Lights tree there are progression paths to turn your Road Flares into the Relightable Flare, a variant of the Road Flare that can be toggled on and off and lasts longer. This recipe can be accessed fairly early on after your first or second non-guided expedition, so it’s best to invest in it right away. More advanced versions of a flashlight can be unlocked after the Relightable Flare, but they require you to bring back Unstable Energy from expeditions for the Fabrication Station to unlock different recipes past Tier 2.
Always Be Crafting
It may be extremely tempting to just hoard resources and just collect at all times, but it’s more economic to always have tools on hand for when disaster strikes. Things like Sealing Kits, Mechanic’s Kits, and Battery Jumpers are valuable for longer expeditions deeper into the Zone.
Resources can be found almost anywhere at any given time if you look in any container or scrap something along the way. The best practice early on is to accumulate some resources and then hold some ingredients in the garage at home base, preferably in the Transfer Trunk, and then keep another batch inside the car’s storage. That way there is always enough materials to craft both in the field and back at base.
Every time you return from an expedition into the Zone and you bring back Anchor energy, it’s always best to spend it on crafting patterns at the Fabrication Station and advancing yourself into the tech trees. Hoarding this resource isn’t a big need unless you’re very deep into tech tree progression when it requires several units of energy to unlock something.
Don’t Be Afraid To Go Off The Beaten Path
Exploration is the name of the game, but you may be too afraid to get off the main roads. At times, exploring on navigable terrain is worth the risk if your car can handle the trek. If you have access to at least Off-Road Tires, this can make things easier to a point. Buildings can sometimes be hidden off the roads quite a ways and sometimes this is where the rarer finds can be. Don’t be afraid to take a few extra minutes to take a look if you have time.
However, going off the main roads will have its risks. More potent anomalies can show up here such as Abductors and Pylons which can easily wreck your car if you’re not careful. Slippery terrain can also make it hard to avoid obstacles, especially going downhill. Be sure to scout out the terrain before committing to taking off, as your car very easily will lose control on slippery surfaces and steering away from a tree can prove fatal.
Take Risks, But Don’t Overdo It

Taking a risk in the Zone can be a huge difference between life and death, but there is a very fine line to ride with navigating hazards of the zone. Just driving through the stage and heading for the exit will get tedious fast. Don’t be afraid to do something a little silly a couple times. Drive past that Wriggling Wreck enemy, or get through that cloud of radiation. Something could be there waiting for you that could be passed over because you missed out. Most of what you can repair is relatively inexpensive to repair so long as it was not completely broken. Repair Putty can fix almost any external component on the car and it’s a cheap, effective tool in a pinch. And knowing that it’s cheap and effective can allow you to make some crucial decisions at any time.
What you should be careful of is overdoing these risks, as it can be some costly mistakes that lose the run or valuable resources. Because if you die mid-stage, the stage you will restart in will be totally different. So plan carefully and know cues of when to abort taking risks, such as learning the sound of the alarm when the Instability storm is closing around you. Once this alarm sounds after so many minutes in a zone, a highly radioactive storm will encircle the entire area. This storm deals constant damage to both you and the car as incurable radiation damage, which can only be healed via a health kit or reduced by your car’s armor. But eventually that will fail, so know when it’s time to get out of there by either opening a gateway back home with the Arc Device or driving towards the exit road for the next stage of the expedition.
Don’t Immediately Continue The Main Quest When You Return to Sierram
Pacific Drive’s main story accelerates quickly, but there will be a crucial stopping point after your second visit to the fixed town of Sierram. This is after a point in the story where you’re required to go back to the town to look for a series of towers. When you reach the end of this mission, you will get some dialogue from Oppy about “armoring up” the car before venturing deeper into the Olympic Exclusion Zone.
This is a point where your next main mission will take you beyond the Mid-Zone wall into a deeper sector of the Exclusion Zone with much more hazardous anomaly types and more frequent instability occurrences. So it will be crucial to bring heavier armor, radiation protection, and anomaly scanning equipment you can install on the car so you don’t have to exit the vehicle to scan anything.
This is a very good stopping point to freely explore the zone and obtain more recipes from the Fabrication Station and significantly increase your car’s armor, off-road capabilities, and storage. Go on expeditions to other parts of the zone and don’t be afraid to try going into one or two Unstable areas for some more potent rewards, but beware as some anomalies in these areas can be quite deadly if you’re not careful.
READ NEXT: When the Sun Cheated a Mario 64 Speedrun (and Why It Will Never Happen Again)
Some of the coverage you find on Cultured Vultures contains affiliate links, which provide us with small commissions based on purchases made from visiting our site.