Every FromSoftware game is inevitably judged by the quality of its bosses. While the jury is still out on how Elden Ring compares to other Souls titles, the difficulty of its bosses relative to each other is evident. From the moment the player steps out into Limgrave to the final moments in the Erdtree, there are some mighty challenges that the player must overcome in order to become Elden Lord.
The difficulty of a boss might vary drastically, depending on a player’s build, progress, and order of events. We tried to take into consideration the tools, experience, and assets that the average player would have by the time they reached some of these bosses without over-leveling. With that said, here’s our ranking of the 13 hardest bosses in Elden Ring from easiest to hardest.
15. Commander Niall
Commander Niall is all that stands between the player and a half of the secret medallion that will unlock the final section of the game. However, defeating him can take some time as the player learns to anticipate his moves and whittle away his massive health pool. Niall starts the fight off by summoning two allies: One knight that dual-wields swords and another that trades one of the swords in for a shield.
Dealing with these two knights is more of a chore than a challenge as they can quickly be taken out while Commander Niall slowly walks over to wherever the fight is taking place. These are the only two allies that Niall will summon so once they are gone, the player can focus all of their attention on this tanky foe.
Commander Niall uses lightning-based attacks and can attack very quickly, so learning his twitches is important to staying alive longer than a single swipe from this boss. He has two charged lightning abilities that will either charge directly at the player or cause him to dive from up high. Finally, there is a huge AoE move that creates a giant windstorm that the player needs to get some distance from. However, once these moves are learned, slicing away chunks of his health can become second nature.
14. Rykard, Lord of Blasphemy
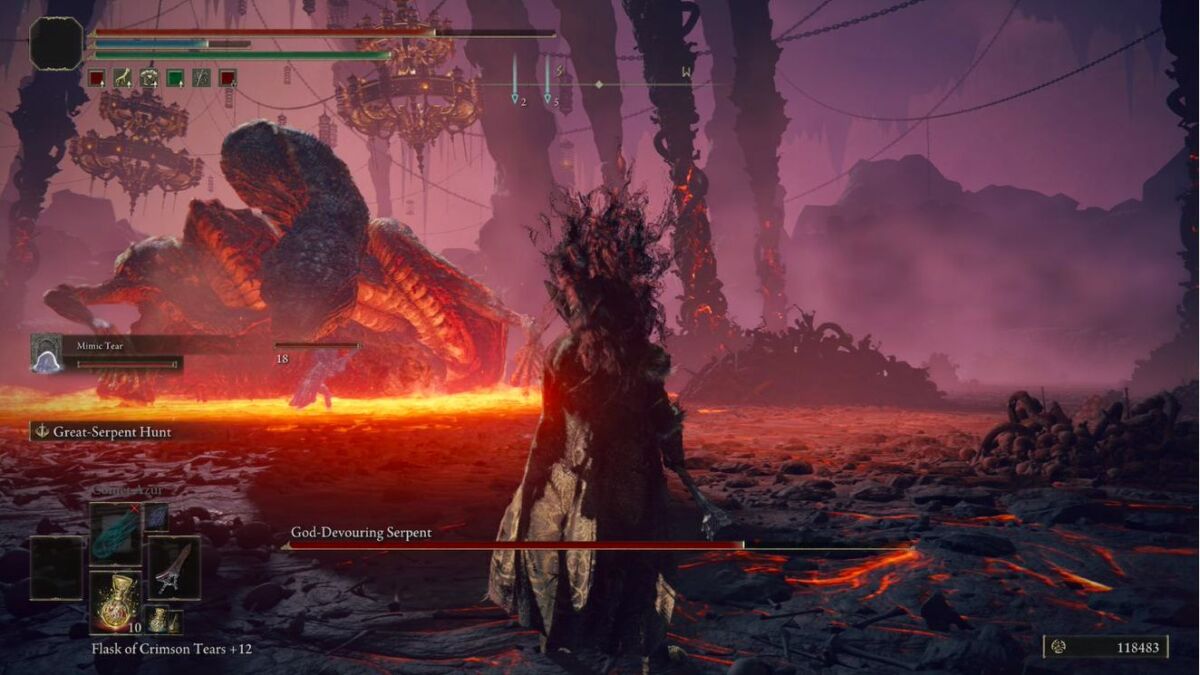
Rykard, Lord of Blasphemy is hidden in the depths of Volcano Manor and is a glorious set-piece boss that still retains a fair bit of challenge.
When the player is finally sent to the Lord’s Chambers, they’ll come across the Serpent-Hunter Wword, which makes this boss a heck of a lot easier (but not an instant win). Coiled in the middle of the chamber is Rykard, though only his serpent side appears to be fighting initially as he sweeps his body back and forth trying to take out the player or bite with its massive fangs.
The first phase is easily managed with the blade’s powers, but in the second, Rykard fully awakens and begins to show the power he has over his domain. He’ll spray lava a lot more often while shooting fiery skulls that can quickly overwhelm the player. On top of all of this, Rykard continues his relentless attacks while using a giant sword that he pulls from his serpent side’s mouth.
These attacks have wide ranges and require the player to watch their footing with the lava so close. There’s a lot going on and it requires the utmost focus from the player to come out on top.
13. Starscourge Radahn
General Radahn is one of the greatest spectacles in Elden Ring and one of the most frustrating bosses for newer players. Starting out at the bottom of a sand dune, the player needs to rush Radahn’s position and dodge his arrows all while summoning allies if they so choose.
Once the player is close enough, Radahn has two massive swords that he swings around while his loyal steed Leonard carries him through the battle. Learning to anticipate his sweeping moves is a challenge, but he also utilizes gravity magic which makes staying close for too long dangerous.
On top of that, his second phase is marked by him crashing into the earth like a meteor, doing a ton of area damage that can even one-hit kill if the player isn’t careful. He then continues his attacks as before but slightly faster while preparing giant meteors to send at the player. These meteors can easily take the player out instantly too if they aren’t watched at all times.
12. Full-Grown Fallingstar Beast
The Full-Grown Fallingstar Beast is encountered when the player reaches the summit of Mt. Gelmir on their way to Volcano Manor. Nestled in a crater, the Full-Grown Fallingstar Beast is waiting for anyone to trespass on its territory.
The Falling Star Beast uses a combination of physical and gravity-based attacks. Its moves are easy to learn but that doesn’t make them any easier to dodge effectively. The Fallingstar Beast uses its giant stone body to great effect as it swings its tail, charges at the player while gnashing its mandibles, and throws rocks from a distance. All these moves can deal a ton of damage and can often occur back to back to one another.
The player needs to chip away as much as they can during the brief respites. There are also gravity-based attacks such as the gravity slam which will require the player to run as far away as possible but the small size of the mountain top can make that difficult. Fully taking down this foe will probably be a war of attrition between player and beast.
11. Ulcerated Tree Spirit

This could technically be the first boss that a player encounters if they picked the Stonesword Key to start their playthrough. Located behind the fog in Fringefolk Hero’s Grave is a poisonous room and an obstacle course. The player must make their way down the twisting hallways and avoid the instadeath horse machine in order to even confront this boss. The Ulcerated Tree Spirit hits like a truck for an early zone and takes up the entire room that it resides in.
He’ll twist his enormous body around crushing everything in its path, breathe golden fire, and release an explosion when he begins to get a little claustrophobic. The player needs to be on their toes from the word go in order to get up close and personal with this slimy beast.
Learning to anticipate the twisting motions of this giant worm is the biggest challenge in such a cramped location where they’ll often have their back against the wall.
While this is a recurring boss throughout the game, this particular version is arguably the toughest due to its small arena and how early the player can come across it.
10. Twin Valiant Gargoyles
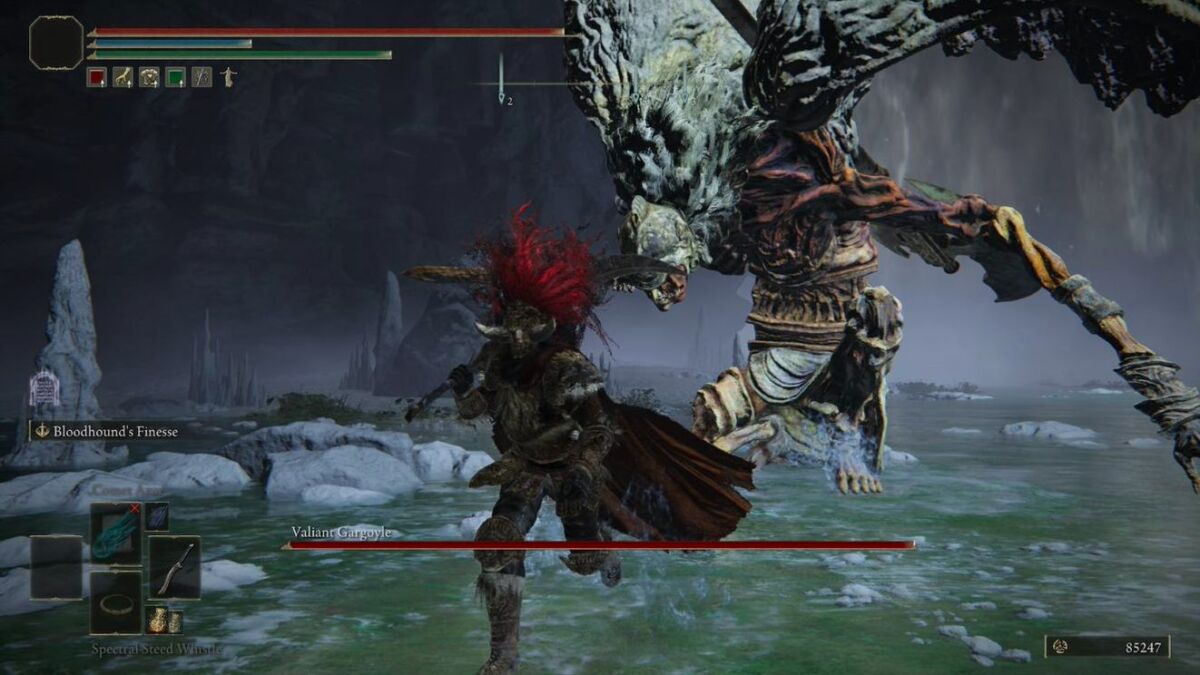
There are a lot of double fights in Elden Ring and one of the hardest duos is the Twin Valiant Gargoyles. These gargoyles both have their own unique fighting styles based on their weapon of choice. The first gargoyle prefers to use a great axe and sword interchangeably.
These attacks can be relatively easy to learn, but it’s once the second gargoyle joins in that things get complicated. The second gargoyle uses a twin blade and will often tag in and out with its partner testing the player’s ability to multitask. Both enemies can use a poison breath attack that floats along the ground covering a massive area, too. This will often break whatever combo the player was working on so they don’t succumb to the poison.
Luckily, much like the fight from Dark Souls 1, the second gargoyle is kind enough to wait until its friend is down to half health before it even begins to fly toward the arena. It’s a challenging fight, but one that will come in as handy practice for an encounter later in this list.
9. Dragonlord Placidusax
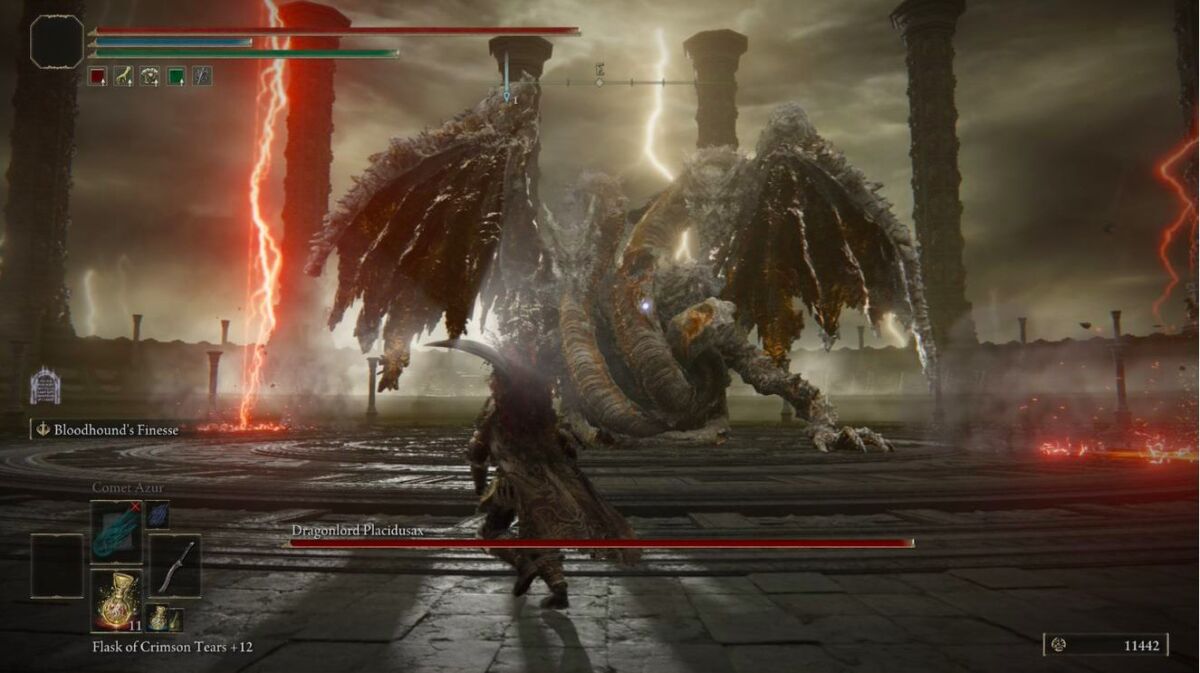
Dragonlord Placidusax is a secret boss in Crumbling Farum Azula — may Marika protect you if you found him by accident.
This hulking behemoth is fairly tanky and while it has all the regular abilities of the dragons that the player may have fought before, it brings a heck of a lot more to the fight. It uses a variety of magic attacks, such as a magic claw attack which enhances its melee range.
There’s also lightning that’ll shoot around the arena similar to some of the Draconic Tree Sentinels. Plus, he’ll periodically disappear and reappear, ready to swipe at the player. This disappearing act requires the player’s head to be on a swivel constantly – ready for where the beast might appear next. Its two heads both breathe fire, which can douse the arena in a golden glow as it tries to catch the player.
Melee builds are at a particular disadvantage here as chasing down this foe can be a struggle, while many of its attacks act as a way to keep distance between it and the player.
8. Margit, the Fell Omen
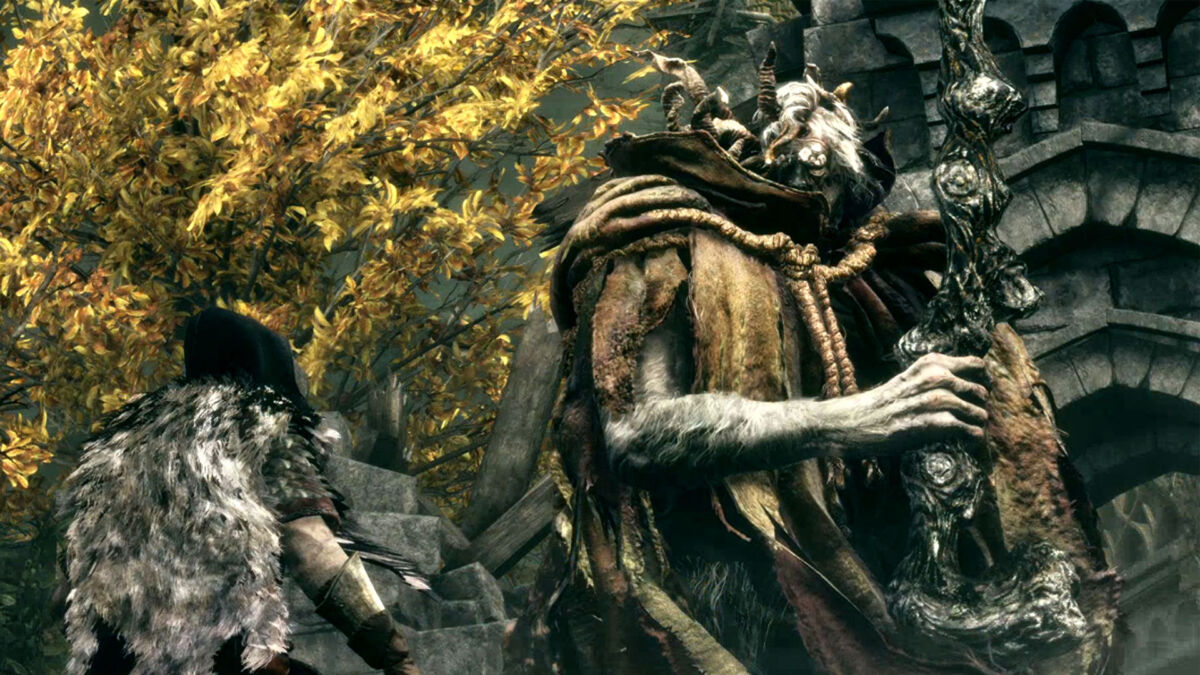
Margit, the Fell Omen is the first real wall that most players will get stuck on. He protects the entrance to Stormveil Castle, one of the most visible directions for progression.
Margit’s attacks can cover a fairly wide area and with his delayed attack style, it can be tricky to learn when to dodge appropriately. Plus, he can cover distances quickly which means the player always needs to be ready no matter how far away and safe they think they are.
It’s almost comical how Margit seems ready to throw a magic dagger the moment the player tries to take a sip from their flask. By the time that people have mastered the skills to effectively take down Margit or level up enough where they could compensate, many of the enemies proceeding this fight will be a cakewalk in comparison. Margit is a fantastic experiential teacher but also one of the hardest bosses in Elden Ring.
7. Fire Giant

You might think that the Fire Giant wouldn’t be much of an issue, as there are plenty of zombie-looking giants stomping around the Lands Between for the player to practice their giant-slaying skills on.
The Fire Giant, however, is the last surviving member of his clan for a reason. He carries a massive shield that allows him to cover a wide distance with melee damage, he’s quick to roll away from danger, and he’ll even use fire magic to protect his fragile ankles.
The Fire Giant is great at covering his weakness by coating the ground with fire which can deal massive damage to the player if they stumble into it. His second phase will have the colossus rolling around a lot more which increases the chance of being crushed while his magic attacks become his primary form of offense.
Taking down this foe at the top of the mountain can feel like one of the biggest celebratory moments in Elden Ring.
6. Mohg, Lord of Blood
This fight might look a little familiar to those players that were able to conquer Margit, but the two have slightly different fighting styles. Mohg uses his trident to deal sweeping melee attacks and perform a diving attack that drives his weapon deep into the ground. These aren’t too bad. The problem is his bleed magic.
The first of his spells is a light spray that arcs out from his hand. The direction of the arc is different from most attacks in Elden Ring and will often cause the player to slip up if they roll in one of their standard directions.
Mohg can also mark the player up to three times so he can siphon blood directly from the player into his veins with greater effect. This heals him while dealing massive damage to the player and it can hit consecutively if not stopped. Just two blood sucks could kill a player with 50+ vigor. It’s a frightening move and one that the player will want to avoid falling into at any cost.
5. Godskin Duo
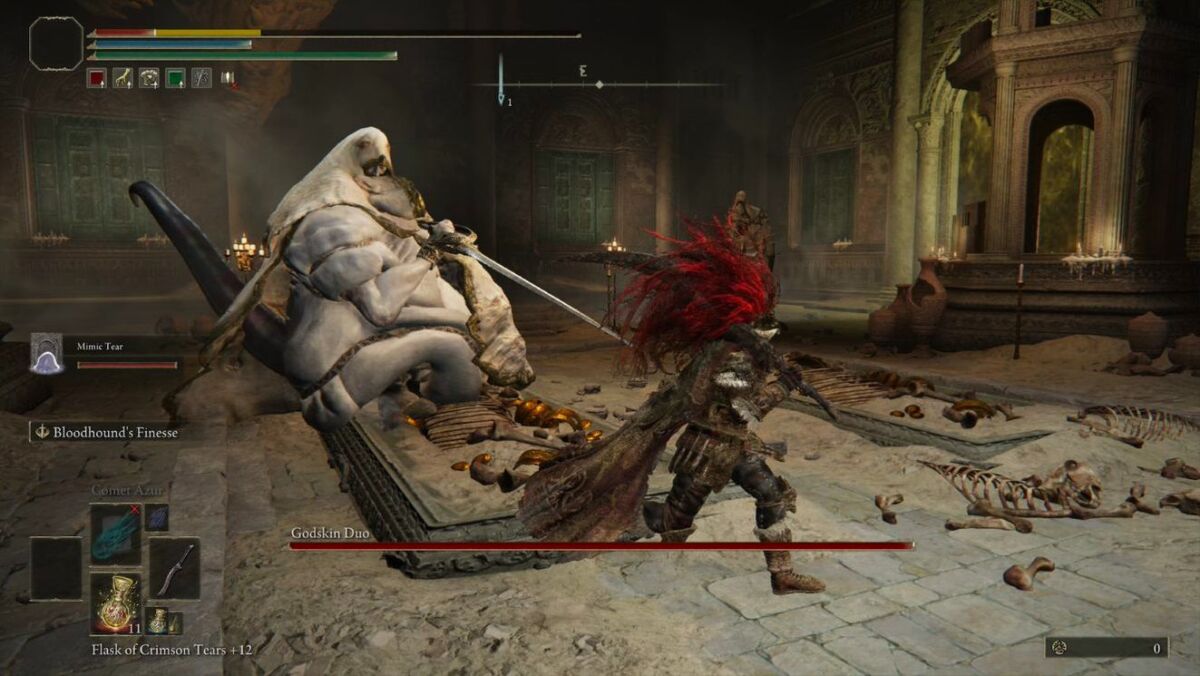
Godskin Duo combines two enemies that the player may have run into several times throughout the game: Godskin Noble and Godskin Apostle. The two share a health bar in this fight, but the player will need to defeat the duo three and a quarter times as it seems like their individual health is disproportionate to the total boss health bar.
Individually these two are very doable but in a small room together, they make up for their differences and create a headache for the player. Noble uses a large hooked weapon with wide attack ranges while it can stretch its body to reach the player at a distance. Apostle uses sword thrusting moves as well as an enlargement ability which effectively makes him a runaway boulder.
Dealing with Noble’s magic bombs while trying to evade Apostle’s crushing boulder move is a feat even if the player doesn’t deal any damage. This fight will test the player’s patience and make them vow never to return to the Crumbling Farum Azula.
4. Maliketh, the Black Blade
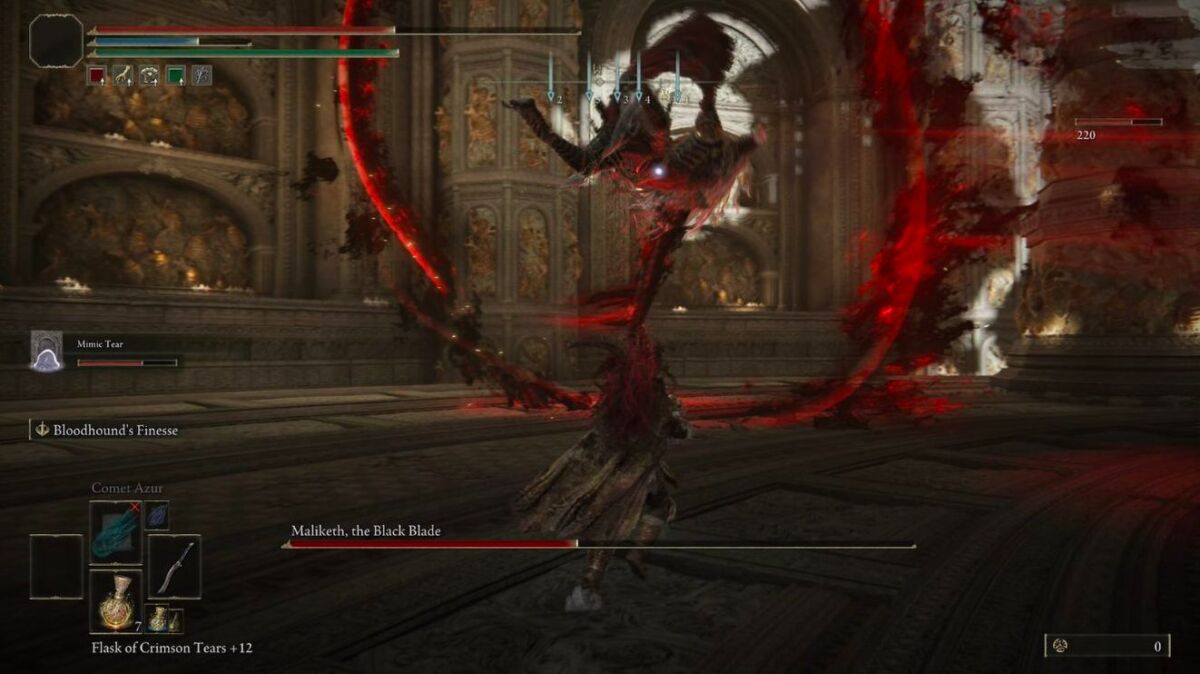
Maliketh, the Black Blade seems to enjoy hiding just how tough he can be. His first phase is a pretty standard affair as he shuffles around in his cloak dealing some meaty melee damage, tearing the ground up with his hands, and using his beast claw power. However, it can feel fairly predictable compared to some other bosses that the player may have faced up until this point.
It isn’t too hard to proceed through this first half, but his second phase turns the fight on its head as he sheds his cloak which allows him to become one of the most agile bosses. The cloak must have been weighted or something, because now Maliketh will jump around the arena sending sword slash magic at the player, pouncing on the player at the twitch of a flask, and performing a small burst of area damage.
This is just one of those bosses that the longer you fight, the more at a disadvantage you are since his movements are so erratic. Learning to read his aerial movements is crucial if the player ever wants to get close enough to land a hit.
3. Radagon and the Elden Beast
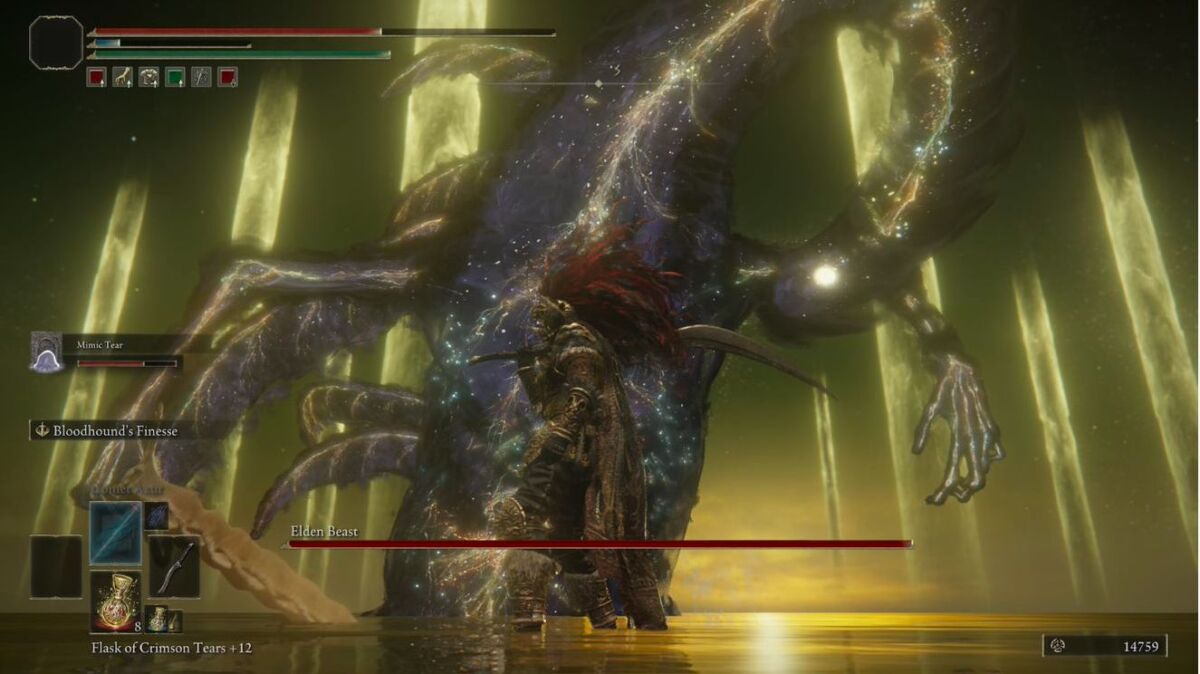
Yeah, Radagon and the Elden Beast aren’t the hardest Elden Ring Bosses, and here’s why: Radagon feels more like filler. His attacks are fairly predictable with a small area of damage. Even when he does connect, by this point in the game, his attacks don’t do too much damage, at least not enough to take the player out in a hit or two.
Once he’s defeated though and the Elden Beast appears, that’s when the real fight begins. The Elden Beast uses a range of magic attacks as well as a giant sword to beat the player back. The sword strikes are fairly predictable as long as the player stays focuse, but it’s the magic where things get tricky.
The Elden Beast has attacks that will home in on the player while it continues to float around and attack with its sword and other magic attacks. There’s even a large AoE move that the player needs to run out of. Plus, it never stays still and will require the player to constantly be running back and forth around the arena like they’re in gym class. The Elden Beast can be a pain, but it feels a lot more doable than these last few bosses.
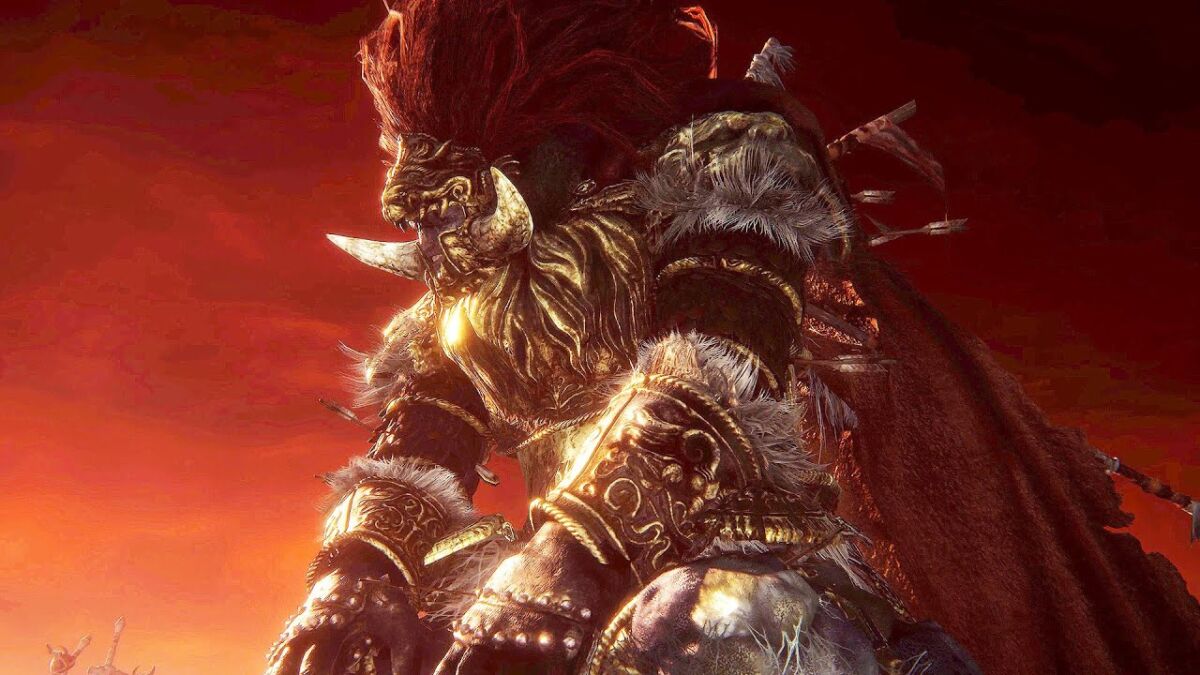
2. Godfrey, the First Elden Lord/Hoarah Loux, Warrior
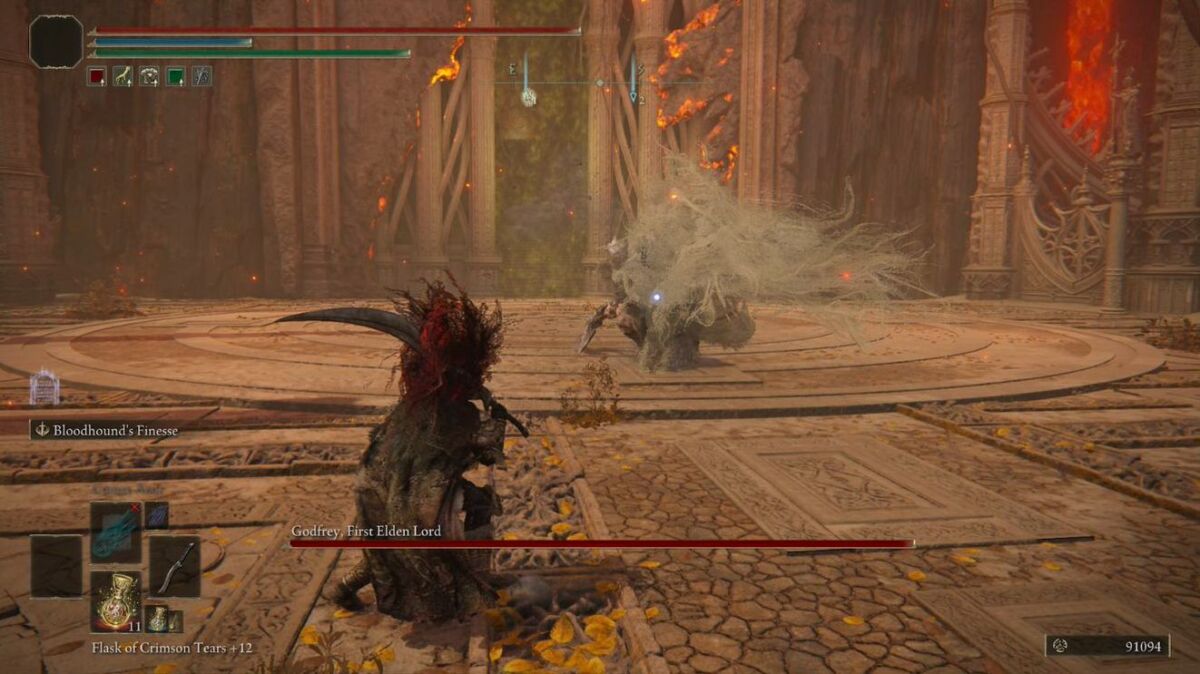
It might come as a surprise to learn that Godfrey has to be fought a second time, after having defeated his spirit during the first visit to the Inner Capital. Don’t be fooled, though: this fight is the real deal and nothing like the first run-in with the former Elden Lord. The first half of this fight is very similar to the spirit fight where Godfrey will use wide arcing attacks with his axe and giant stomps to deal damage to the player.
These giant area attacks become more frequent the closer Godfrey’s health gets to the start of his second phase. In the second phase, Godfrey becomes Hoarah Loux. Throwing away his lion spirit and signature axe, Horah Loux chooses to fight with just his hands like a professional wrestler. This part of the fight keeps the player on their toes as they keep their distance from terrifying grabs while trying to pepper in damage where possible.
These grabs can deal massive damage by throwing the player into the air where Loux will spike them back down into the dirt like a volleyball. It’s a tough fight with unique combos that will have players itching to jump back in the ring.
1. Malenia, Blade of Miquella
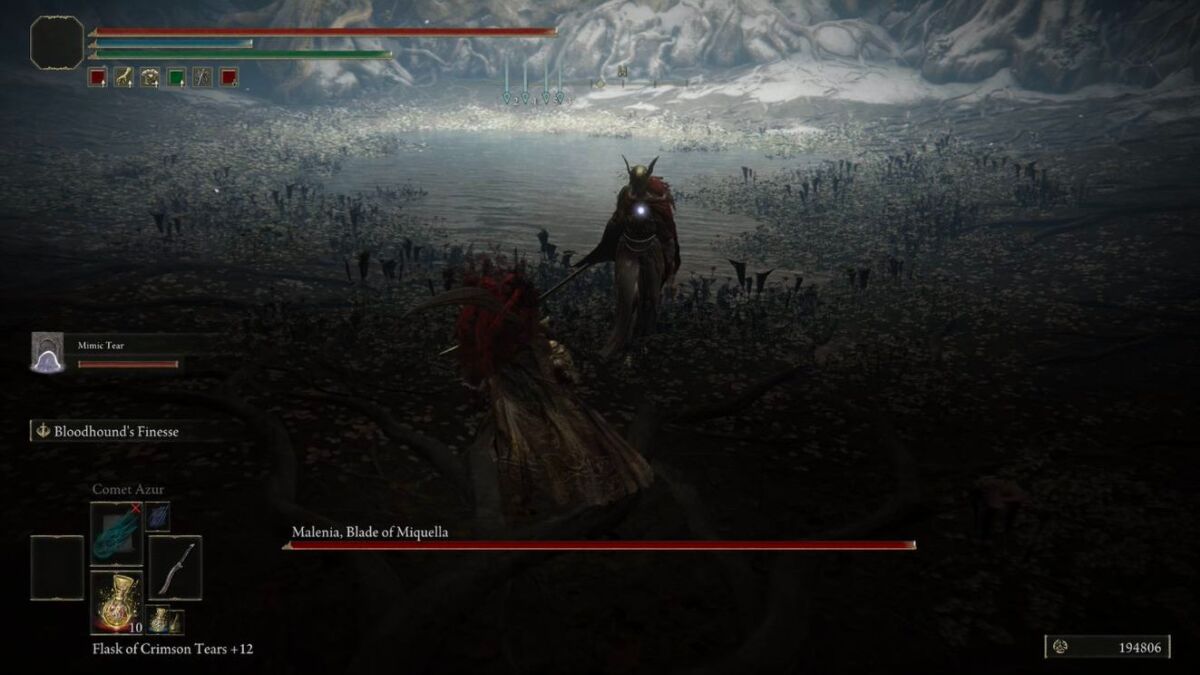
All the bosses on this list have been doable. Rarely should there be times where the player questions whether the fight is even possible to overcome. Malenia, Blade of Miquella changes all of that.
Malenia is one of the fastest fighters on this list of the hardest Elden Ring bosses with devastating melee range. She even uses a frenzied attack that effectively encloses her within a cocoon of her rapid sword swings while she dances around chasing after the player. This attack alone can drop a health bar from full to empty in seconds flat.
The biggest problem, though, is that every hit that Malenia manages to land not only hurts the player but heals her. It’s a constant tug of war to keep her health down long enough just to get to her second phase, which is a lot like her first stage but faster and harder.
To start her second phase, Malenia will hover in the air cloaked in a Scarlet Rot flower before diving at the player dealing massive damage and additional rot damage. Staying clear of the toxic flower is crucial in these early moments to even stand a chance at victory. Malenia uses Scarlet Rot a lot more in her second phase with attacks that cover an even greater distance. Malenia is easily the hardest boss in Elden Ring but overcoming this challenge means you can do just about anything, despite what Gideon the All-Knowing may have claimed.
READ NEXT: 10 Games Like Elden Ring You Should Play
Some of the coverage you find on Cultured Vultures contains affiliate links, which provide us with small commissions based on purchases made from visiting our site.