
As you progress through Sherlock Holmes Chapter One’s plentiful and various cases of theft, murder, and allaround debauchery, your partner Jon will occasionally seek to lighten the mood by making a game out of it. Ranging from merely reminding you of an optional task, to adding a twist to your investigation style, seeking out and completing Jon’s Challenges add a rewarding twist to the gameplay.
Here’s what you should know about all of the Jon’s Challenges in Sherlock Holmes Chapter One.
Sherlock Holmes Chapter One – Jon’s Challenges
Cane Tutorial
Upon finding a cane at your table at the start of the game, Jon suggests you seek out the owner who forgot it. It’s all business as usual as you ask nearby hotel guests who was sitting at the table before you, but then Jon challenges you to find the Navy Officer who was sitting there on your first try. Observation is key, out in front of the Hotel, press R1/RB to Concentrate and look for the man labeled Navy Officer. Couldn’t be easier, though it is the tutorial after all.
Master of Disguise
To gain access to the police archives, Sherlock will offer to sketch a subject based on a poor witness testimony. She’s a seamstress with tons of costumes that could match a number of descriptions.
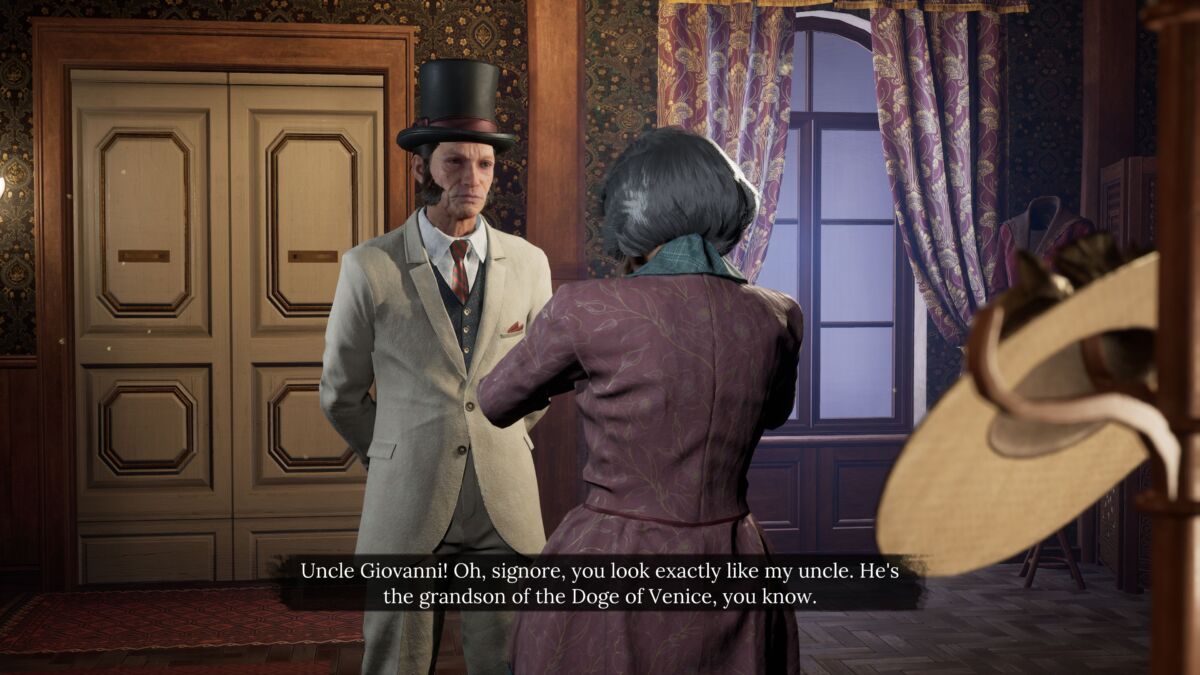
While in the dressing room changing for a police sketch, Jon will point out a painting of an old man in a top hat sporting sideburns and a white coat. Dress to match this dashing gentleman and present yourself to the shopkeeper. You’ll not only win Jon’s Challenge, you’ll snag a trophy/achievement as well.
Plan Bee
After locating the alcove hidden behind the painting of the bee farm, Jon will suggest that you also take the severed ear suspended in a jar. Simply pick it up and you’ll complete his challenge. Later on in the case, you can trade it back to its rightful owner for a real snazzy commemorative revolver.
Hidden Treasure – A Mother’s Love
Under a newspaper on the desk in Sherlock’s childhood room, you’ll find a knob that looks an awful lot like a key. Jon challenges you to find the hidden lock it goes to. Pin the “Wooden Handle” and use R1/RB to investigate the wardrobe near the door. The upper right drawer holds the secret treasure: Sherlock’s father’s cherrywood pipe. Another challenge down boys, smoke ‘em if you’ve got ‘em.
Elephant’s Life – A Gilded Cage
Upon the discovery of poor Theodore Gilden’s corpse, investigate the puddle of blood at the end of the chain to discover the two-ton footprints of an elephant (later known as Goliath). Jon requests that you take a picture and investigate the history of Goliath. Do so by aiming at the scene with L2/LT and taking a picture with R2/RT and head straight over to the Archives of the Cordona Chronicle. Don’t worry, the crime scene isn’t going anywhere.
You’ll want to narrow your search down to “Period: 1870-1879”, “People: Journalists”, and “Section: Front Page.” Jon will reminisce reading the article on Goliath when it first went to print and you’ll have another challenge under your belt.
Bazookaeology Trilogy – A Gilded Cage
Upon finding the first of Sherlock’s least favorite trilogy of archaeological fiction, Jon will challenge you to find the remaining two books to complete the set, urging you to give them a second chance all the while.
-The first book can be found at the House of Ivory in Imogen’s room, tucked away in her luggage to the right of her bed.
-The second book is in the archeological digging site, sitting atop straw baskets. Immediately after talking to the archaeologist, head down to the site, and pass the hole on your right, the stairs on your left, and the walkway to your right to reach the tents the straw baskets are under on your left. Pick up the book, then question the archaeologist about his literary taste if you are so inclined.
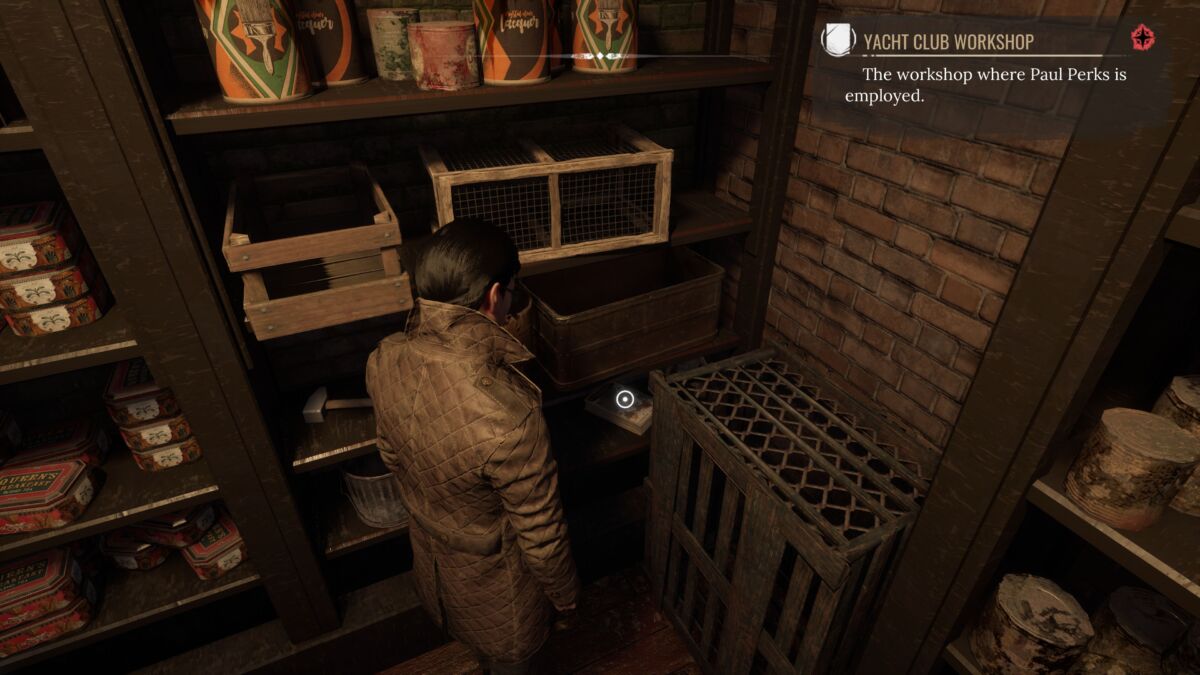
-The third and final book is in the Yacht Club Workshop. In the storage room on the right wall of the workshop, the last part of the trilogy can be found on a shelf in the corner, beside a lobster cage.
After Jon finishes fanboying to Sherlock, you’ll complete the challenge and earn the trophy/achievement “Everyone’s a Critic.”
A Match Started Long Ago – A Mother’s Love
In Violet Holmes’ bedroom at Stonewood Manor, you’ll find an unfinished game of chess. Investigating it will reveal an old unfinished match between Jon and Sherry, left untouched after all these years. Jon then challenges you to checkmate him in one move.
Your options are to move the king back and retreat or move your bishop forward to defend. Both answers appear to work, but moving the bishop to defend is a surefire solution, as it not only protects the king, it puts Jon’s king straight in the line of your rook. Checkmate, mate.
No Room For Error – Love, Death, and Cordona
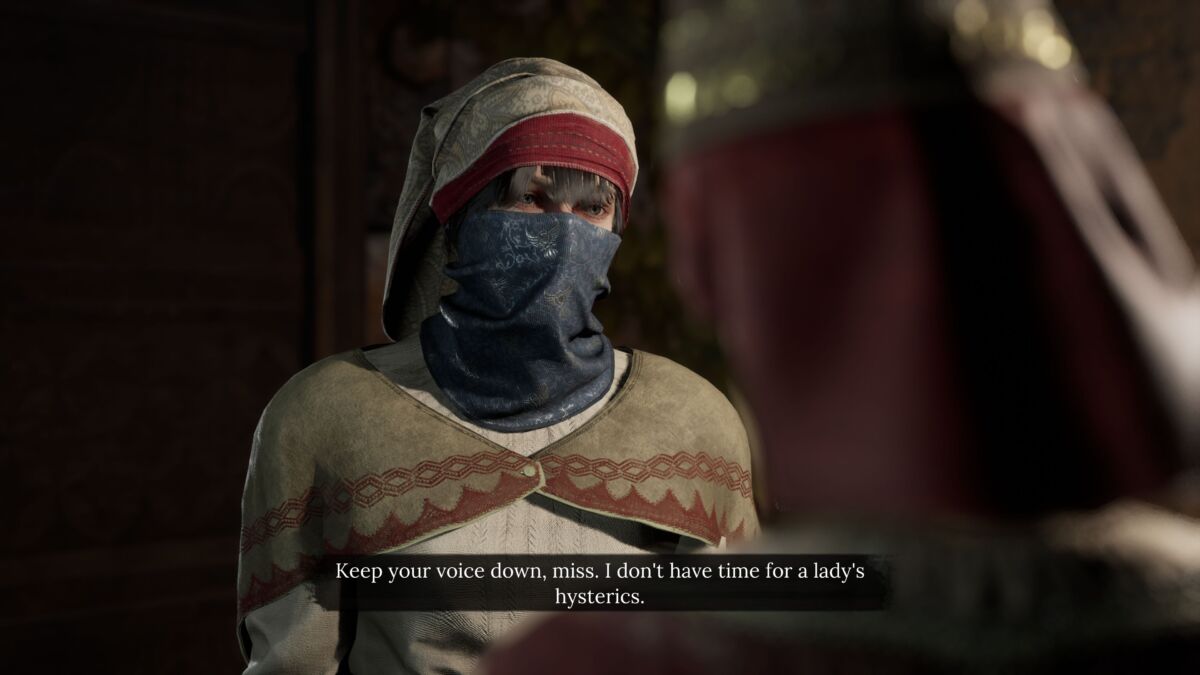
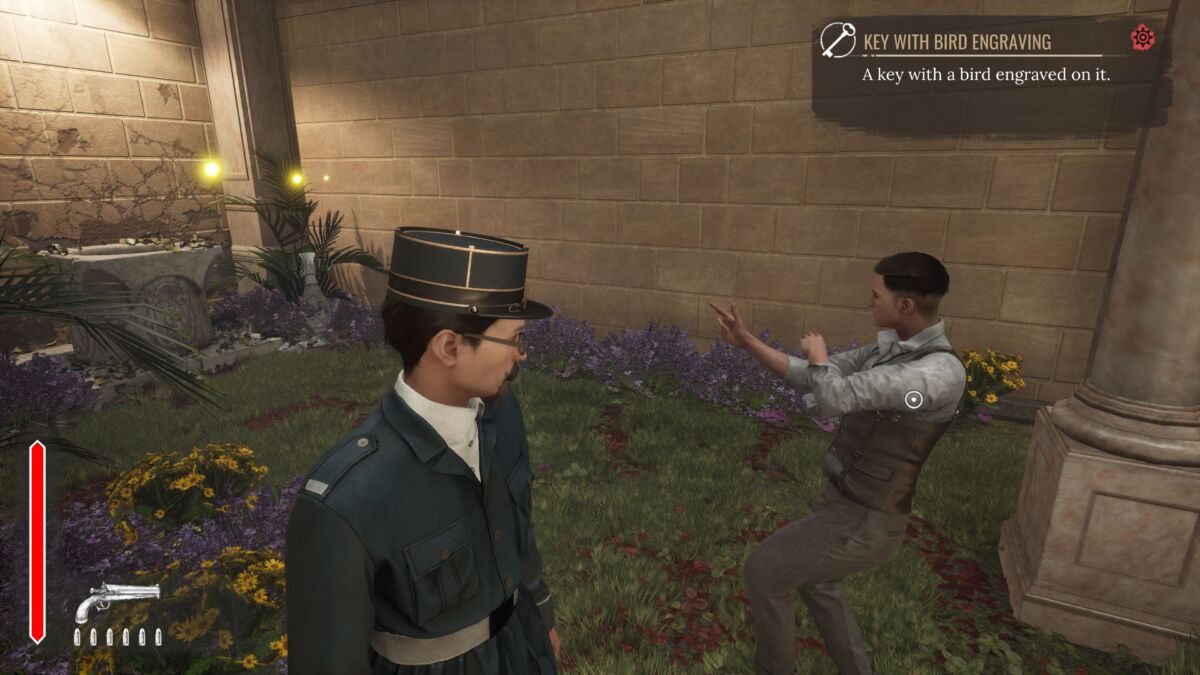
After using the blue scarf to sneak into the House of the Eagle and collecting all necessary evidence, Jon will challenge you to finger the killer on the first try so as not to draw suspicion.
Observe using R1/RB to seek out the wounded nobleman near the front door. Upon interacting with him, you’ll see that he’s stressed, bleeding, and missing the knife from his sheath, presumably the one he left in the Pillar of Knives. This is your man, and Jon would be left eating his hat if he had one.
Saving Sean – String Theory
Upon discovering the stolen donkey outside of Wet Whiskers, Jon will remind you to let the boy at the fruit stand know where his donkey got to. Simply return to the boy and talk to him to come out on top of this wholesome challenge. “What a beautiful reunion.”
Sniffing out the Informant – Eel Hunting
When you arrive at Warehouse #3 in search of Mycroft’s man on the inside, Jon will remind you that you need to find the mole first try or you’ll blow his cover. On the northeast side of Warehouse #3, use R1/RB with “File on the Man on the Inside” pinned and find the gangster with the glass eye. Talk to him and you’ll not only solve this as intended, it’ll be another one of Jon’s Challenges under your belt. (I also wore a criminal outfit when near Warehouse #3, though I’m not sure if it was necessary)
Sensitive Item – The Missing Shopkeeper

Yet another challenge where you merely do as you’re told and challenged to find the red book written by “F.D.” you were sent there to get in the first place. After investigating all of the bandit’s lair, as well as the corpse of poor old Angelo, pin the evidence “Bandit’s Lair” and use R1/RB to concentrate on the bloodstained mattress on the floor of the cell next door. You’ll find that tricky Angelo hid a copy of Crime and Punishment by Fyodor Dostoevsky under a stone that makes up the cell floor.
Dead Man Walking – The Muse From Abroad
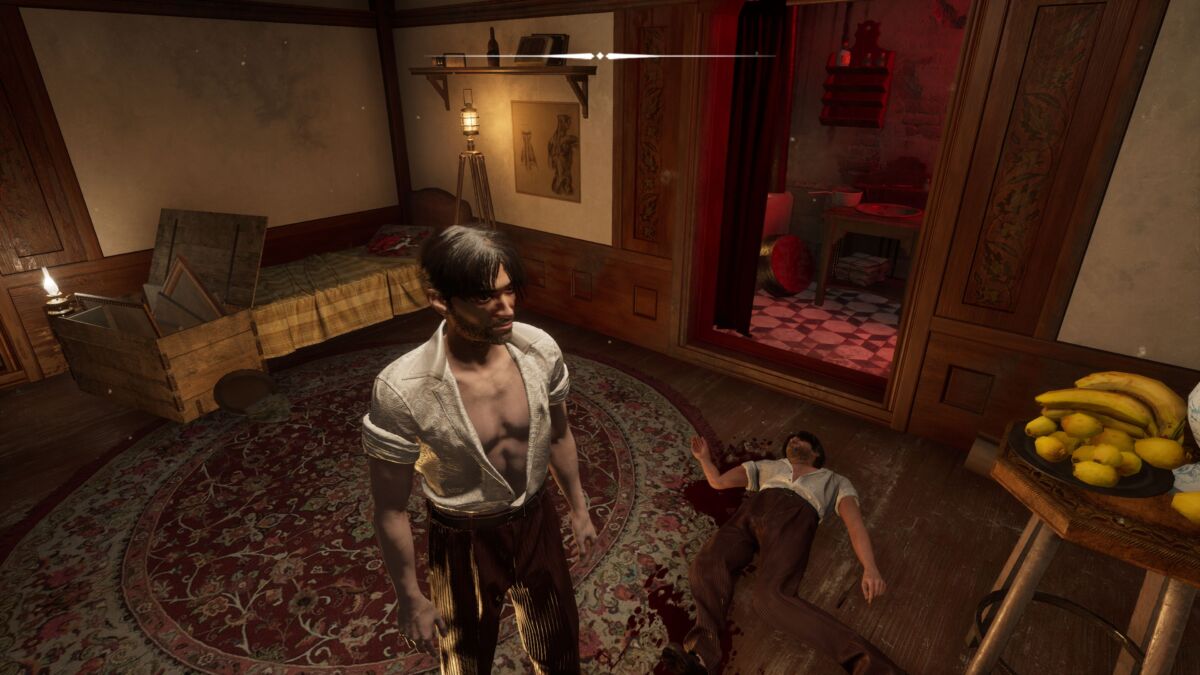
Being disguised as the man you just found murdered, Jon suggests staying in character and telling the landlady to call the police rather than revealing that the owner of your stolen identity is dead in his room. Sure in the fact that the truth will inevitably come out, head downstairs and talk to the landlady , while avoiding mentioning anything about Mercurio’s death. Finally, tell her to call the police and you’ll win the challenge, as well as earn the trophy/achievement “Perfect Gentleman.”
Wounded Refugee – The Muse from Abroad
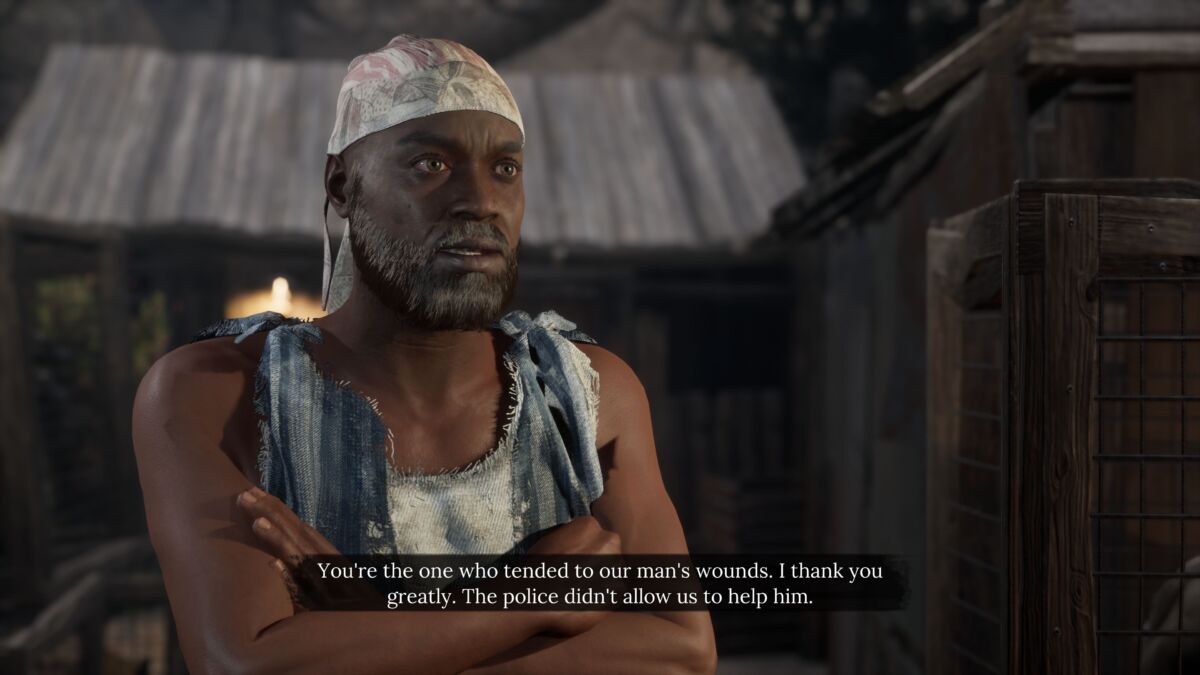
Upon discovering the African refugee camp and gaining entry, you’ll come across a severely wounded man near a shed at the back of the area. Jon will remind you how apt you are at first aid and suggest you treat him before he gets an infection. To do so, you’ll need to search the camp for makeshift medicinal supplies. Use Observation (R1/RB) with “Wounded Refugee” pinned and check your surroundings for:
– A clean cloth hanging from a clothes line near the river
– boiling water from the pot in the middle of camp
– aloe vera on the same platform as the dead henchman near the entrance to the sewers.
Perform chemical analysis on evidence titled “Wounded Refugee,” return to the refugee beside the shed to apply your mixture, and Bob could very well be your uncle. As an added bonus, you’ll gain the trust of the camp, allowing you to (poorly) question the woman you came to help.
What’s Going on at the Refugee Camp? – The Muse from Abroad
After eavesdropping on the police in the sewer entrance tunnel, Jon suggests asking around the camp about their money-making scheme. Speaking to the head inspector near the entrance bears no fruit, as he says he’s unaware but also unsurprised his colleagues would be up to something shady. You can’t interview the refugees about this until you find all the clues and finish up the Investigation Node.
One they’re free to roam the camp, talk to the refugee beside the boiling pot with “What’s Going On at the Refugee Camp?” pinned. She’ll reveal that police are allowing the refugees to be smuggled out to do odd jobs and busywork, the “victim” in this case being one of the smugglers. With that knowledge, the case is given a new twist, Jon is satisfied, and the challenge is complete.
Internal Affairs – The Muse from Abroad
Upon trying to enter Bernadotti’s warehouse the back way, the guard at the back door will cut you off and start counting down menacingly. Do not hit him. Instead, walk away and Jon will remark that we know the way these people dress, meaning a costume will get us in easily.
Head to a clothing trader and you’ll find the Bernadotti neck tattoo in the makeup section. Wear it alongside the Street Brawler outfit, messy hair, and designer stubble and return to the back door of Bernadotti’s. Talk to the guard again and you’ll be allowed entry with little to no issue. Another challenge in the bag.
The Master of Unlocking – A Mother’s Love
After inspecting the Cabinet of Curiosities, Jon will remark that Sherlock has never seen the inside of Mycroft’s locked desk drawer. The challenge is afoot, as Jon suggests today be the day you finally unlock the drawer and see what’s been hidden away inside.
With “Master of Unlocking” pinned, use Observation (R1/RB) to investigate the locked drawer, then follow Sherlock’s memory of Mycroft leaving the Cabinet of Curiosities. Eventually, you’ll be led upstairs to the fireplace. Sherlock will mention that the fireplace wasn’t always in use. Upon further inspection, you’ll find a cleverly hidden key among the ashes. Return to the Cabinet of Curiosities and open Mycroft’s drawer to complete yet another of Jon’s Challenges.
The True Blind Duelist – Blindsided
Upon discovering the Blind Duelling Club rulebook, Jon pokes at Sherlock, suggesting that he could never adhere to such a club’s strict rules. Determined to prove him wrong, Sherlock initiates this challenge himself. There are only 3 rules, and you’ll have opportunities to follow them as you progress through this blindingly well-paced case.
Do Not Talk about the Blind Duelling Club: When you return to the beach to question the undertaker, do not select the dialogue option asking him about the Blind Duelling Club. This will satisfy Rule #1.
Never Miss an Opportunity to Practice Your Shooting Skills: After meeting Magda von Straub, sister to the deceased, leave through the next set of doors to a lovely patio area, complete with a small shooting gallery and a sign reminding you of the second rule. Simply take part in shooting all the targets, and you’ll satisfy Rule #2.
Do Not Shed Blood at Duels or Other Club Meetings: Later on in the case, you’ll find the Blind Duelling Club’s clubhouse. Another sign similar to the one at the von Strab residence will remind you not to shed blood. Once you head downstairs, a combat sequence will begin. If you’ve been playing correctly up to this point, you know how to non-lethally take down enemies using the environment and your snuffbox. Once everyone is alive and neutralized, you’ll have proven to Jon and yourself that you can follow rules. Sometimes. When the reward is right. The reward this time being the trophy/achievement “Join the Club.”
Playing the Law – Iron Coffin
After picking up some gossip about the CEO of a home security sent to jail when a body was found in one of his safes, Jon says “Let’s pretend to be cops, eh? We can just stand around and look confused.” The next step is to dress up as a cop and head down to Cordona Police Station’s basement holding cells to question Copello.
Lie and call yourself an honorable cop. Repeat the lie to his wife upstairs in the Inspector’s office. Keep the outfit on for the length of this case as you travel from scene to scene, talking to everyone involved as an officer of the law. After the arrest of Felicia Sevinge following the assault on the Backyard Boys (more on this in the next challenge), introduce yourself to her as a cop and question her about all relevant evidence.
Once the questioning is finished, you’ll complete the challenge and get the Trophy/Achievement “Lawful Neutral.”
Thinning the Ranks – Iron Coffin
After discovering the location of the Backyard Boys’ hideout, Jon will urge you to investigate the surrounding area before heading inside, beginning another challenge.
Once you reach the proximity of the hideout, you’ll find some gangsters talking that you can eavesdrop in on. It’s here you’ll learn about the information broker known as “The Pipe.” He only works with the homeless, so get your Sunday worst on and head to the market. The Shabby Suit, eye bandage, designer stubble, and black eye makeup worked for me. “The Pipe” can be found in the market by Observing (R1/RB) the people standing around. Eventually you’ll find the “British criminal” with the “limp left leg.” Talk to him, and depending on the info you give him, it’ll change the difficulty of the upcoming fight with the Backyard Boys.
This will conclude the challenge, and if you were dressed properly you’ll get the Trophy/Achievement “Friends in Low Places.”
Another Dead Sailor – Siren Song
Dressed in your finest sailor garb (the officer outfit acquired during Love, Death, and Cordona works wonders here), enter the Drunken Dutchman and talk to the barkeep about the cursed crew. He’ll inform you of a third victim. Jon would rather leave no stone unturned in chase of this curse, and urges you to investigate.
Head to the back alley of the Giant Sparrow Club and you’ll find another dead sailor. After examination, you’ll find his death doesn’t match the MO of the other two victims, making this poor drunken sailor completely unrelated to the Siren case. At least you’ll get the Trophy/Achievement “Curse Correction” for your troubles. “After all this, I assume we’re gonna meet a werewolf next.”
Yellow Press – Sacrificial Lamb
Upon arriving at the sinful masquerade, Jon will request that you dig up dirt on Cordona’s elite so he can write an article exposing all of them. Start by eavesdropping on the pair of gossips to the right of the entrance. Next, head to the hallway left of the entrance (the one further in will progress the case), and look for the section with the slightly opened curtain. You’ll eavesdrop on a fitting conversation about mandatory masks at a masquerade, and moreover, Jon will be pleased with your findings, completing this final challenge and earning you the Trophy/Achievement “Rumor has it.”
Sherlock Holmes Chapter One is available on PC, PS5, and Xbox Series X | S.
Some of the coverage you find on Cultured Vultures contains affiliate links, which provide us with small commissions based on purchases made from visiting our site.