Remnant II gives you the freedom to choose how you want to play. Whether you want to tank it till you make it, snipe from afar, or go in guns blazing, there’s something here for everyone. You’ll be able to select one starter type, but that doesn’t mean you won’t want to try out the rest further down the line. It might be confusing how to get them, so here’s a short breakdown of the starting Archetypes and how to obtain them.
Remnant II Starter Archetypes
How to Unlock The Hunter

You will be able to pick up this Archetype by talking to Brabus in Ward 13 and purchasing the Rusty Medal from him. He can be located at the firing range. Once you have the medal, simply return it to Wallace out by the docks, and the Hunter class is yours. Happy hunting.
The Hunter’s Core Abilities

If you’re the type of player who likes to aim for those sweet crit spots and shoot from a safe distance, then you might have found the perfect Archetype. This precision-based class comes equipped with a sniper to pick off your foes before the fight has even begun.
Their skills include:
Hunter’s Mark – A key ability for the perfect sharpshooter. When activated, Hunters can see through walls, and all Marked targets take increased ranged and melee damage. Additionally, the crit chance is increased by 15% for all team members. This also gives you valuable intel about the fight ahead, allowing you to identify the enemy types and plan your strategy accordingly.
Hunter’s Focus – When enemies are charging to your position, it’s best to keep your eye on your scope if you are to survive the coming onslaught. Hunters apply Mark when aiming down sights, giving you some of the value from the first skill. If you aim without shooting or being attacked, Hunters will become Focused. In this state, you’ll gain huge stat increases in critical chance, accuracy, and damage as long as you remain aiming. Perfect for sniping.
Hunter’s Shroud – The final skill is best used when the fight doesn’t go your way, as it allows the player to become cloaked, which reduces enemy awareness and makes you harder to hit while moving. Exiting Shroud by attacking or activating a mod or skill will apply Mark to the enemies within close proximity to you while also adding a powerful melee and ranged damage buff. Players will enter a shrouded state again after a short duration if they do not attack. Stalk from the shadows, Hunters.
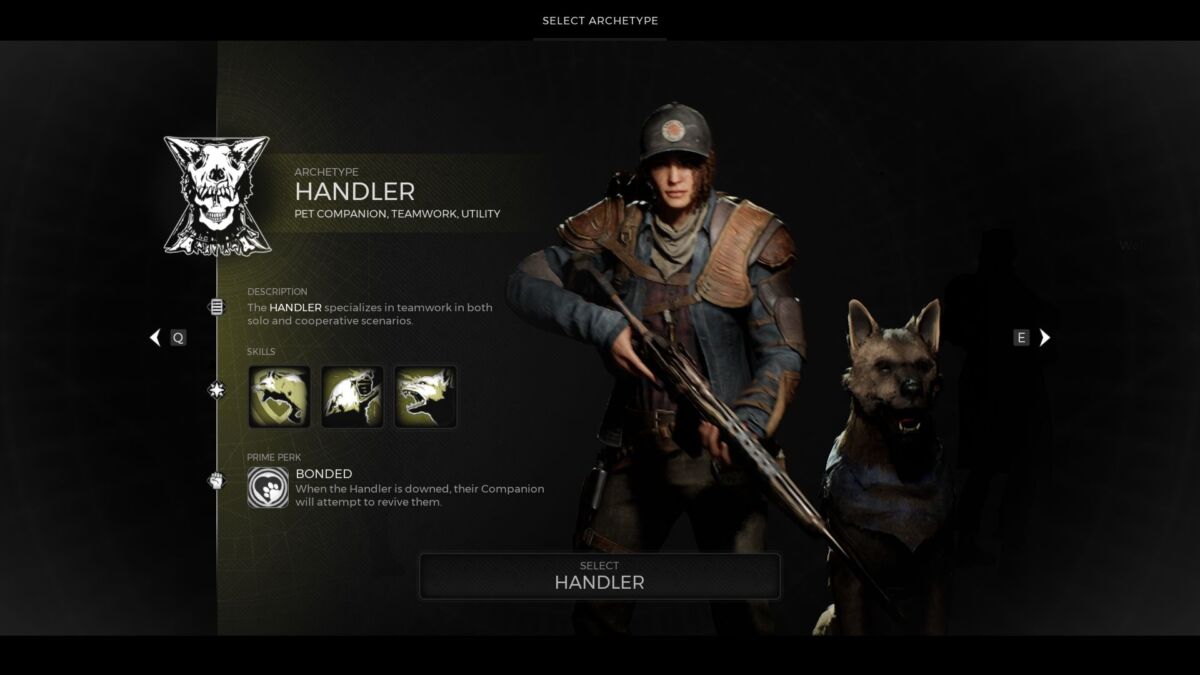
How to Unlock The Handler

A fine choice for your Archetype collection. You can pick up the Handler by talking to Mudtooth in Ward 13 and purchasing the Old Whistle. He’s located near the entrance of Ward 13 when you first arrive during the tutorial. He’s also asleep when you first speak to him, so give him a nudge and get your Whistle. Deliver this to Wallace, and the Archetype is yours. Give the dog a pet whenever you can. He’s a good boy.
The Handler’s Core Abilities

If the Hunter wasn’t your second choice, then the Handler might better suit you. This Archetype offers utility to a team, providing speed as well as support for themselves and those around them. They also come equipped with a dog, which is great company and backup for the fight ahead. What makes this Archetype unique is that it doesn’t have skills but instead offers behaviours that add passive buffs to you and your allies, as well as tweaking your companion’s AI to be more aggressive or supportive.
Their behaviours include:
Guard Dog – This allows the dog to take more aggro and take reduced damage. Perfect for splitting the fight to make the situation more digestible. Activating the dog’s howl provides the team with defensive buffs and increases the companion’s aggro generation.
Support Dog – The companion keeps players in the fight for longer by passively healing nearby allies over time. The howl boosts the healing radius around the companion and greatly buffs its capabilities.
Attack Dog – This behaviour is about all things damage and is the last skill you’ll unlock with the Handler. As you can probably guess by the title, the companion passively increases the dog’s damage, and after using the howl, a damage buff will be applied to all nearby allies. Perfect for getting the job done and quickly tearing through enemies with teeth, claws, and bullets.
How to Unlock The Medic

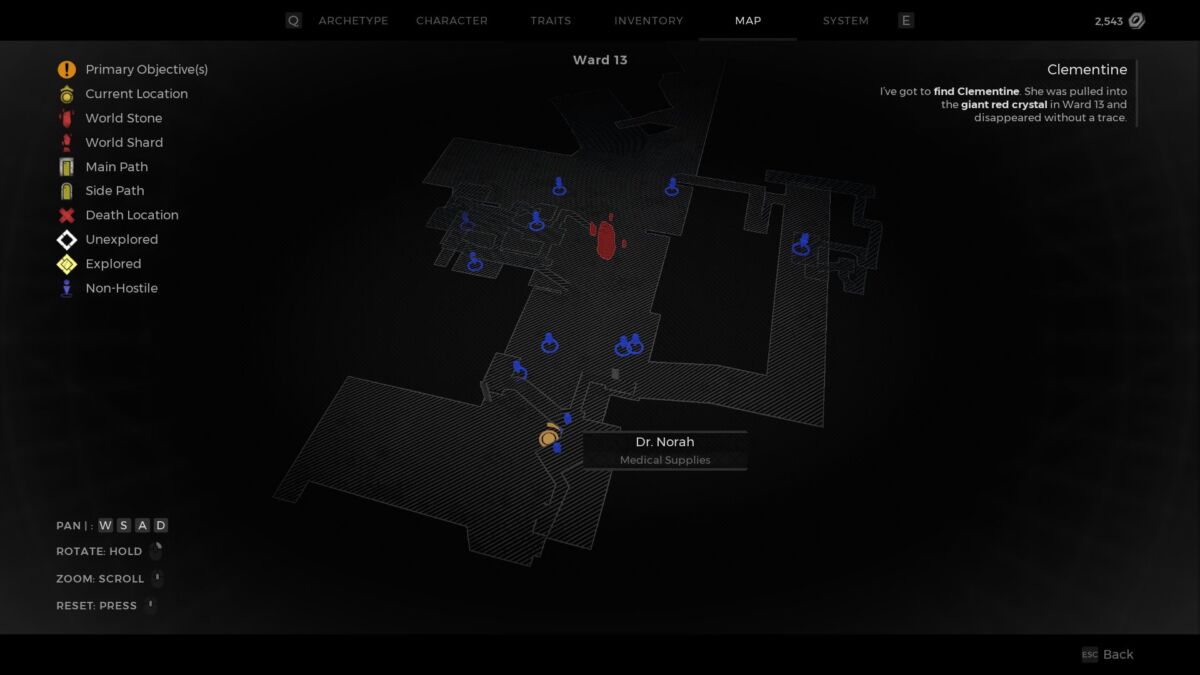
To add the Medic Archetype to your arsenal, seek out Dr. Norah in Ward 13 and purchase the Medic Pin. She’s located next to the entrance when you first arrive at the hub area during the tutorial. As usual, take this to Wallace out by the docks for the best chance of survival in the early hours.
The Medic’s Core Abilities

If you’re all about staying in the fight for the longest possible time, then the Medic might be for you. A class where every ability heals you and provides a variety of additional buffs, you’ll rarely be going down with the ultimate support class.
Their skills include:
Wellspring – Slam the ground to create an aura of healing around you. This is the most effective of the healing abilities, but Its radius is small, so healing everyone will be tricky without coordination.
Healing Shield – Summon a protective barrier around everyone within 25 metres for a strong defence against the nightmares you’ll be pitted against. While the barrier is active, players will be healed passively until the barrier is destroyed or its duration runs out.
Redemption – This charging skill provides an increasingly potent heal ability that allows players to efficiently regenerate their health and even revive downed players. This is a game-changing skill and can easily put your team back in the fight if the situation dips sideways.
How to Unlock The Challenger

Simply pick up the Old Metal Tool from Reggie in Ward 13. He’s located next to Mudtooth near the entrance to the hub area when you first arrive. Take this to Wallace and unleash the brute strength within you to crush anything that gets in your way.
There’s certainly a lot to grasp with each Archetype, and understanding the skills of each one could be the difference between life and death. There is a little something for everyone here, and make no mistake, these are just the starting classes. There are many more to be found in the world of Remnant II. Some are more difficult to acquire than others, but while you plunge into the depths of Remnant II, you’ll be grateful to have the right Archetype for the right situation.
The Challenger’s Core Abilities

If you’re someone who desires to tackle the challenge head-on and smash it, then the Challenger is for you. Half tank, half sword master, all muscle—this is the Archetype that balances brute strength with great survivability and is a killer combo on the battlefield.
Their skills include:
War Stomp – Slam the ground with your boot and unleash a wrathful shockwave to decimate foes in front of you. You’re able to cast this multiple times, which will make short work of weaker enemies or stagger tougher elite enemies to buy yourself more time to end them.
Juggernaut – Does what it says on the tin. Become nearly unstoppable as you are empowered by a variety of buffs, such as severely reduced damage, movement speed, melee speed, and melee damage.
Rampage – While the second skill made you nearly unkillable, this one lets you dish out more damage than your average enemy can take. You’ll be gifted with buffs such as increased fire rate, reload speed, and movement speed to keep you in the action. Additionally, as you damage your foes, you’ll gain rage stacks, which increase range damage. Upon reaching max stacks, the Challenger will go Berserk, which doubles all stat bonuses applied by this skill. Few—that’s a lot of buffs to round out the ultimate killing machine.
READ NEXT: Remnant II: How to Change Difficulty
Some of the coverage you find on Cultured Vultures contains affiliate links, which provide us with small commissions based on purchases made from visiting our site.

