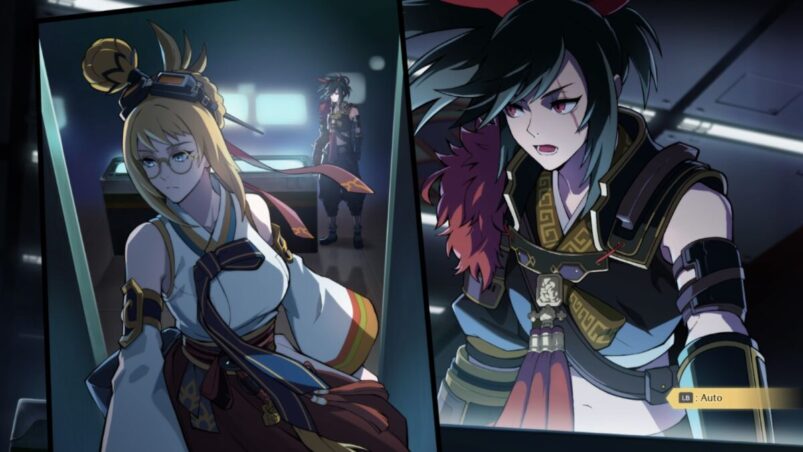
Launcher in DNF Duel is a master of mid and long range combat, sporting an arsenal of weapons for every occasion.
While not a total runaway character, she can unleash a flurry of varied long-range normal and MP attacks to chip away at the life of the indecisive opponent. While she can take measures to cover herself at close range, the main weaknesses of Launcher become evident if your aggressor manages to consistently get their hits in.
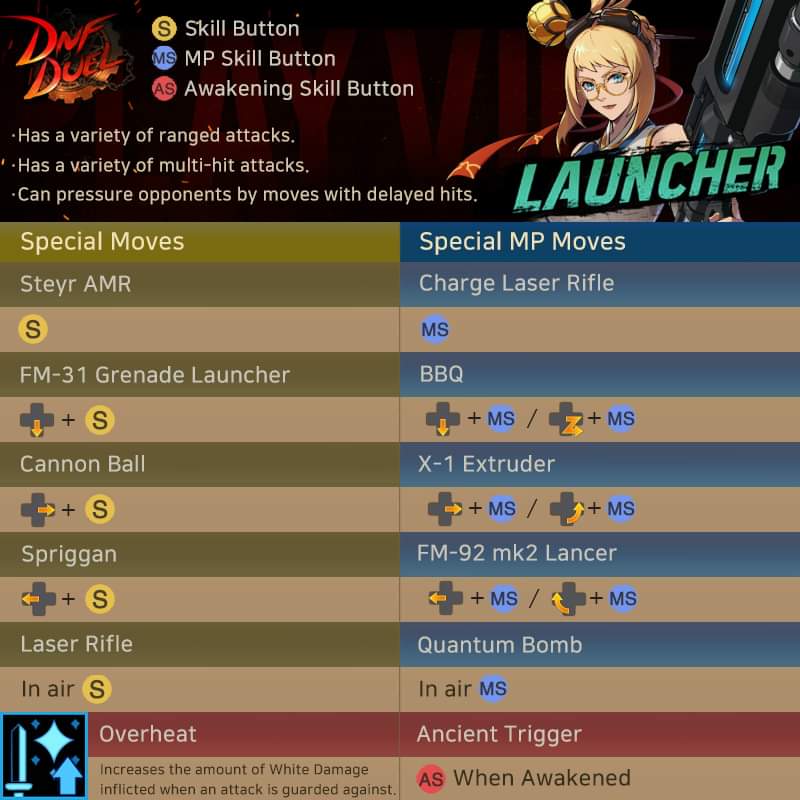
DNF Duel uses a 5-button system primarily, with a single control method used to control your fighter. Your buttons are A (Light Attack), B (Medium Attack), S (Skill Attack), MP (MP Attack) and Guard. The Awakening Skill button (AS) is only active once a characters’ HP hits their last 25%.
Launcher Attacks and Strategy
| Input (default layout) | PS | Xbox |
|---|---|---|
| Standard Attack A (A) | Square | X |
| Standard Attack B (B) | Triangle | Y |
| Skill Attack (S) | Circle | B |
| MP Skill Attack (MP) | X | A |
| Grab (A+B) | L1 | LB |
| Conversion (B+S) | R1 | RB |
| Guard | R2 | RT |
| Awakening Move (AS) | L2 | LT |
Launcher’s A and B attacks fulfill more of a utility role than pokes or combo pieces like other characters. While both standing and crouching A can lead to clean follow-ups such as Spriggan (Back+S) followed by BBQ (Crouch/Down+MP), standing and crouching B are a bit more abstract. Standing B sees Launcher break out a flamethrower that’s great for catching aerial opponents, while crouching B throws a grenade out in front of her. This grenade won’t explode until a short time after being thrown or after making contact with the opponent. While not great for combos, both of these offer a huge amount of utility to cover Launcher from both air and ground advances. She can also use her BBQ in a pinch when the pressure is really on.
When Launcher herself wants to advance, one of her best options is jumping forward with a flying B. This unleashes a flurry of minigun rounds until the beautiful gunner lands, giving you a combo opportunity if you land close enough after connecting. This is simple to do, since standing A has huge range. Even if your combos up close aren’t great, it’s good to know you’ve got solid options if you need to get in, especially against characters such as the Ranger.
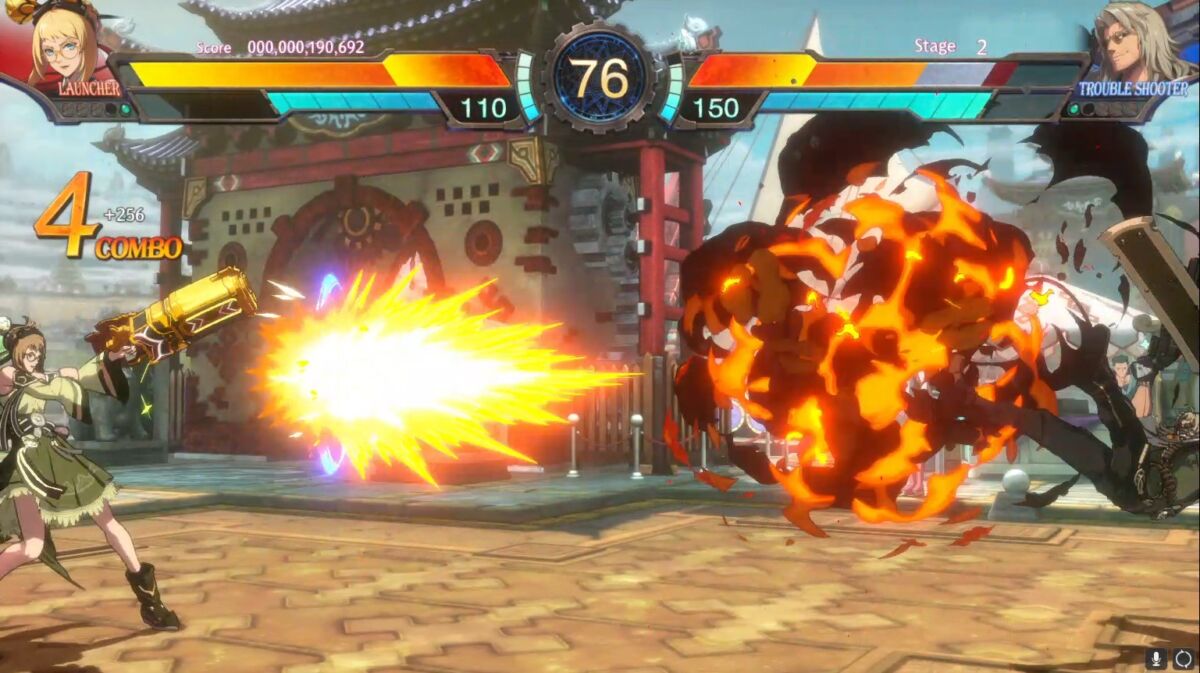
Where Launcher is most at home is at a long distance unleashing a flurry of munitions. Alternating your sluggish but strong Steyr AMR (S) rockets and your quick but weak Cannon Ball (Forward+S) at a distance is the key to a good offense. You should also be ready to walk back or forward slightly depending on your opponents’ behavior, as you’ll always want to sneak a well-placed grenade with crouching B in to stifle any advance your opponent might make. While this strategy may often result in huge amounts of white damage, there are plenty of ways to get wayward hits with MP attacks.
Launcher Combos
| Input (default layout) | PS | Xbox |
|---|---|---|
| Standard Attack A (A) | Square | X |
| Standard Attack B (B) | Triangle | Y |
| Skill Attack (S) | Circle | B |
| MP Skill Attack (MP) | X | A |
| Grab (A+B) | L1 | LB |
| Conversion (B+S) | R1 | RB |
| Guard | R2 | RT |
| Awakening Move (AS) | L2 | LT |
While the tutorial teaches the player some great corner juggles using the Steyr AMR and the FM-31 Grenade Launcher (Crouch/Down+S), close-range combat is not Launcher’s strong suit.
Your strategy centers around forcing your opponent to come to you, then answering their pressure accordingly. This means you’ll want to be fishing for stray anti-air hits, or using your Quantum Bomb(Air MP) to trap your opponent in a big damage situation. A game plan like this means being patient and waiting for an opening while building up white damage, then cashing out on all that pressure with a well-timed MP attack. Launcher also has the unfortunate quirk of having a poor Awakening Skill, as the opponent needs to be directly in front of her in order for this cinematic move to land.
Below are a couple of combos as well as a tricky set-up that are meant to capitalize off of situations where your opponent has a large amount of white life.
Air B – Standing A – Standing A – Steyr AMR – X-1 Extruder (Forward+MP)
This combo is a solid mid-screen approach that pushes your opponent towards the corner. After landing this, you are able to start an offensive barrage with your Steyr AMR and Cannon Ball.
After hitting with a deep rocket from the Steyr AMR: Steyr AMR – Steyr AMR – X-1 Extruder
This combo requires a small set-up first. When your Steyr AMR hits a reckless opponent as they get up, you are able to go for this combo if the rocket hits the other side of their body.
Steyr AMR – Cannon Ball – Charge Laser Rifle
This combo is the perfect tool to mix into your full-screen pressure. When your opponent has built up a lot of white damage, you are able to cash out on it full screen to make sure they can’t recover any of it. Remember to delay unleashing your Charge Laser Rifle (MP) for a split second to squeeze every ounce of damage out of it.
The Hitman, Swift Master and Launcher are all wildly different characters that approach the game in a different way. With these guides, you should be able to master each of them quickly and fight your way to the top both online and offline.
DNF Duel is available on PC, PS4, and PS5.
READ NEXT: 10 Best Fighting Games For Beginners
Some of the coverage you find on Cultured Vultures contains affiliate links, which provide us with small commissions based on purchases made from visiting our site.