Warhammer 40,000: Battlesector is the quintessential Starship Troopers-style bug hunt game, where players take command of the best super soldiers humanity has to offer and fight back against the ravenous Tyranids. Though it may seem as simple as pointing weapons at the evil-looking toothy aliens and pulling the trigger, any successful commander will recognize that more finesse and strategy is needed for success.
Here is a list of Warhammer 40,000: Battlesector tactics and tips to get players started on their bug-squashing journey. Though primarily focusing on the single-player campaign, much of the advice can also be adapted for multiplayer.
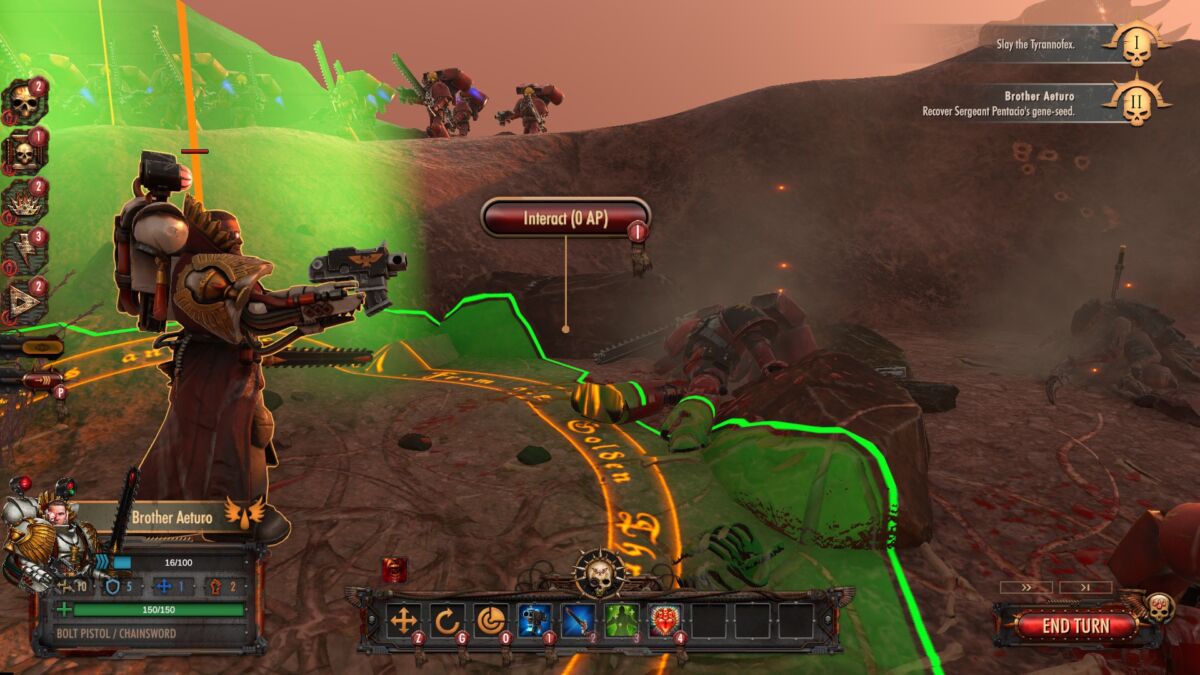
Change Unit Facing
In Battlesector, all units, single entity or otherwise, have a facing that will dictate the direction their weapons are pointed towards and this has two important effects: melee overwatch and scouting.
Any melee weapon-equipped unit exerts a Zone of Control to three tiles in front of them, meaning that any unit that moves through these tiles will get attacked for free. However, if the unit in question literally turns their back on an enemy that hops, flutters, slithers, or stomps away behind them, they won’t be able to affect their move.
In addition, all units have an auspex vision radius, which is essentially the unit’s detection range with sight increasing to the unit’s front. Most importantly, changing facing for any unit is free so players can do so as much as they like. Because of this, a neat trick to maximize scouting is to move a single unit forward and then do a 360 degree turn, which acts as a sort of scan, giving much needed intelligence into the fog of war.
Scoot and Shoot
Attacking with a weapon or using an ability doesn’t preclude the unit from continuing to move if they have unspent movement points. This makes the whole dynamic of unit command quite flexible and incentivizes players to utilize all of their units’ available actions. It’s highly advised for players to approach movement in increments to find the right defensible or shooting position, use an ability, then reposition once again to avoid unnecessarily exposing troops to enemy fire.
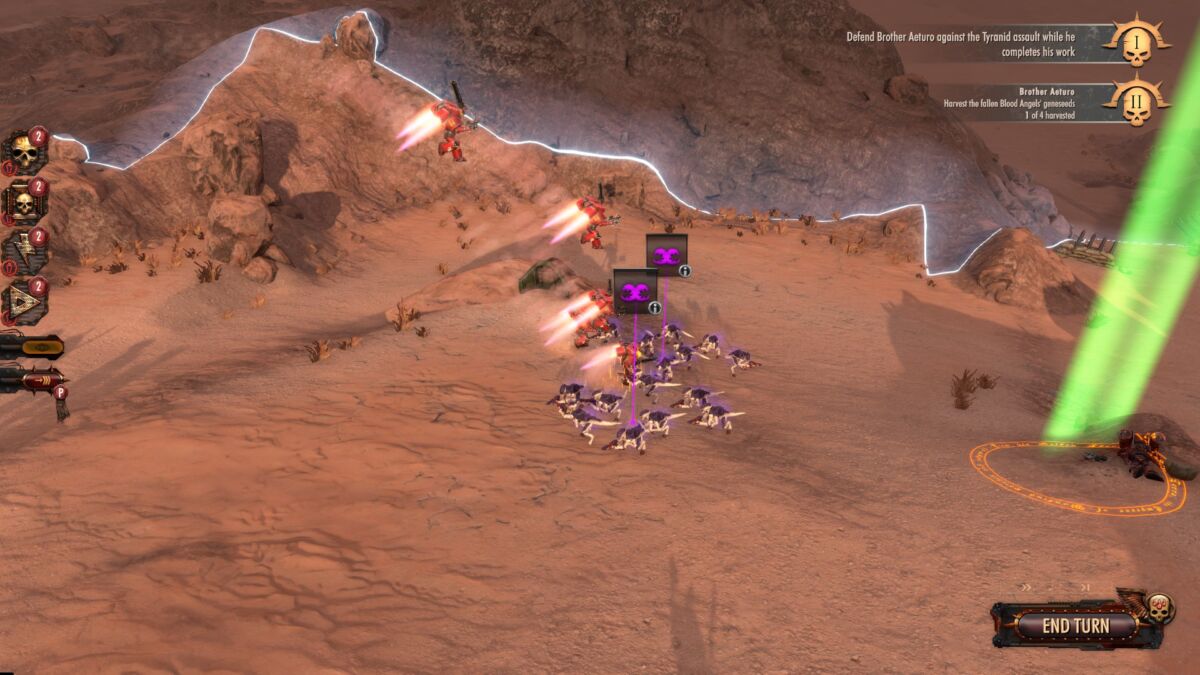
Use Grenades
Tyranids are known for their mass swarm tactics with the goal of overwhelming the Space Marines with lots of multi-entity units like Hormagaunts, Termagants, and Gargoyles. There’s no better way of smoking a horde of squishy grubby ‘Nids with a well-placed frag grenade, which only Intercessors carry. Assault Marines can carry Krak grenades which are more for taking out armored targets, but frag grenades are most useful given the Tyranid propensity for swarm tactics.
Assault Marines Love Hand Flamers
Speaking of methods of clearing hordes, while Assault Marines act as responsive shock troops, eliminating big targets with Krak grenades and slicing up weakened enemies with their chainswords, if there are no frag grenades left or a swarm of little buggers ends up spawning where you least expect them, Assault Marine Hand Flamers will easily put down any lightly-armored threat with a single shot. Tyranid swarm units will be prevalent throughout the entirety of the campaign and getting Hand Flamers unlocked, found in Sergeant Carleon’s upgrade tree, will certainly pay dividends.
Melee is Deadly Against Single Targets
You might think that melee weapons, especially the aforementioned chainswords, are excellent at clearing swarms of units. In actuality, most melee weapons have high damage output but only a few number of attacks, which makes them ideal for taking out single or few entity units like Tyrannofexes or Tyranid Warriors. While melee weapons can certainly be used to finish off a half damaged swarm unit in a pinch, they’re better used for taking chunks out of bigger targets.
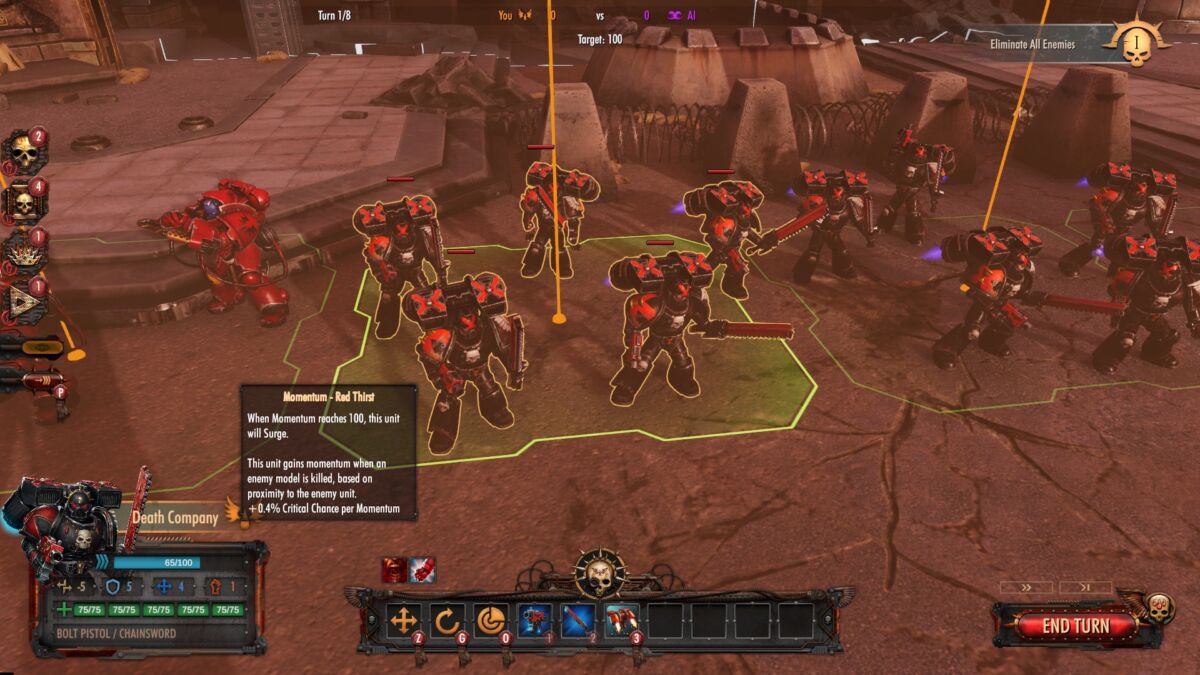
Use Hero Abilities Actively
Most HQ or hero units, especially for the Blood Angels, aren’t necessarily damage dealing monsters, despite having above average hit points and a base action point count of two. This additional action point compared to non-hero units is more useful to heroes activating powerful buffing or damaging abilities, like increasing unit accuracy, buffing Momentum gain, upping damage, or calling in a powerful air strike with command points. Essentially, heroes are best used to ensure that the troops under their command perform optimally and carry the day.
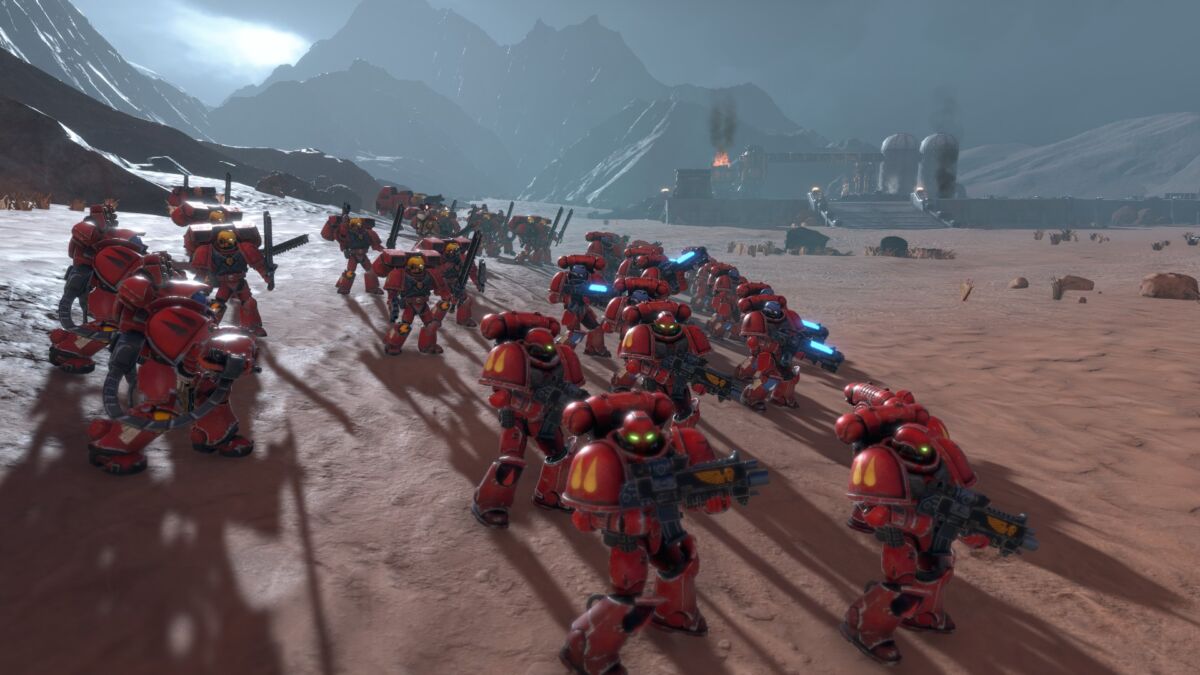
Compose a Balanced Force
Throughout the campaign, the Tyranids will slowly bring newer, scarier, and more ferocious units to the field that will keep players on their toes. Though the initial starting units of Aggressors, Intercessors, and Assault Marines for the Blood Angels are quite capable of tackling a variety of targets, they will start getting outclassed by massive Tyrannofexes and volatile Exocrines, all the while getting constantly swarmed by the standard Tyranid complement of ‘Gants and Gargoyles. Because of this escalation and the lack of pre-mission scouting information, it’s vital to keep a well-rounded force to deal with any surprises.
Fire at Optimal Range
All ranged weapons have limited ranges to prevent units from shooting across the map (I’m looking at you, Exocrine). However, ranged combat isn’t simply about targeting the enemy at maximum range and firing with reckless abandon. All weapons have a designated optimal range, which indicates the best accuracy for any given weapon to maximize damage output and clear out targets quickly and efficiently.
Overwatch Idle Units
Anyone familiar with XCOM will recognize this tactic, which also finds its way into Battlesector. Since combat is quite mobile in Battlesector with lots of troop movement and especially considering the Tyranids’ general desire to get into close range quickly, the Space Marines can set up overwatch firing lines. As soon as any Tyranid waltzes into range, it will get shredded. This tactic is also incredibly important to have as a habit, especially if the scouting capability of your force is limited, as it can act as the first line of defence before the enemy closes in for the kill.
Fight in Formation
Closely related to the balanced force tip, fighting in formation means deploying your troops in small groups or sections with weapons and abilities mutually benefitting all nearby units. While these formations shouldn’t get in the way of the overall mobility and speed of friendly units, moving troops in such a way that they cover each other to respond to various threats will ensure unit survival and maximum damage. Formations can also help give the player a sense of cohesion and security, as well as tools for composing an effective battleplan to best achieve the given mission objective.
READ NEXT: 15 Best Warhammer Strategy Games You Should Check Out
Some of the coverage you find on Cultured Vultures contains affiliate links, which provide us with small commissions based on purchases made from visiting our site.